Table of Contents
How to Play Minecraft with Friends
Here at CodaKid, we recognize the importance of community. Independence and self-sufficiency may be important, but group learning is always welcome. It’s why we encourage parents to sit in with their children as they learn coding with Roblox or Minecraft.
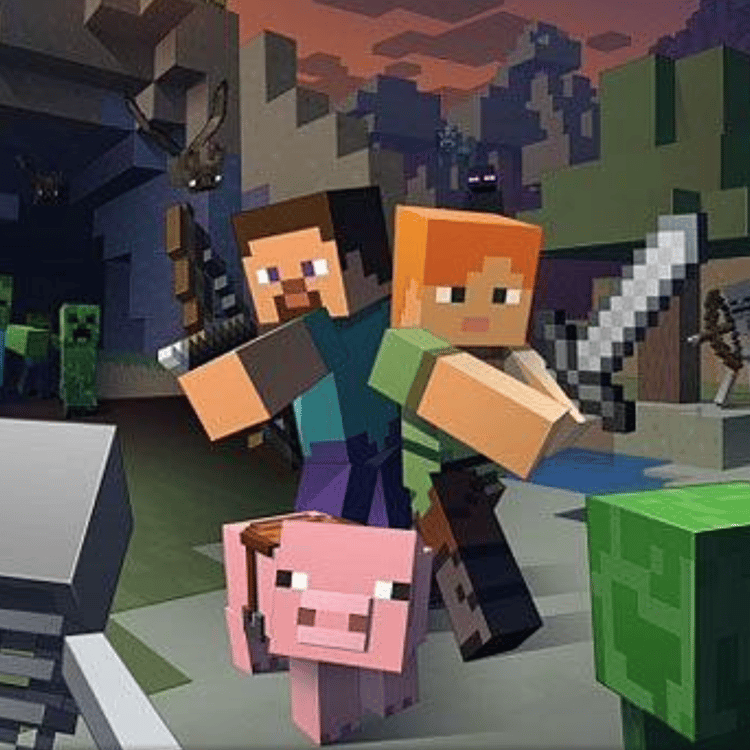
This sense of community is, I believe, one of the major factors that catapulted Minecraft to its top-game spot. Yes, solo play offers plenty of entertainment (especially when you involve mods). In fact, many Minecraft players prefer keeping to themselves as they explore, experiment, craft, and create in this sandbox world.
However, some players would also like to experience Minecraft with their friends. From looting a village to going on outlandish raids, the entertainment can only be amplified when you’ve got a solid team watching your back.
(Or, you know, a bunch of excitable heroes who are just as chaotic as you are.)
That being said, you definitely can play Minecraft with your friends. In fact, you have four options to do so:
- LAN
- Minecraft Servers
- Minecraft Realms
- Split Screen Console Play
Let’s take a look at each.
LAN
Good option if … your friends live nearby (i.e., the same street or neighborhood) or they’re in the same place you are (like a school setting or community lot setting) and are connected to the same WiFi.
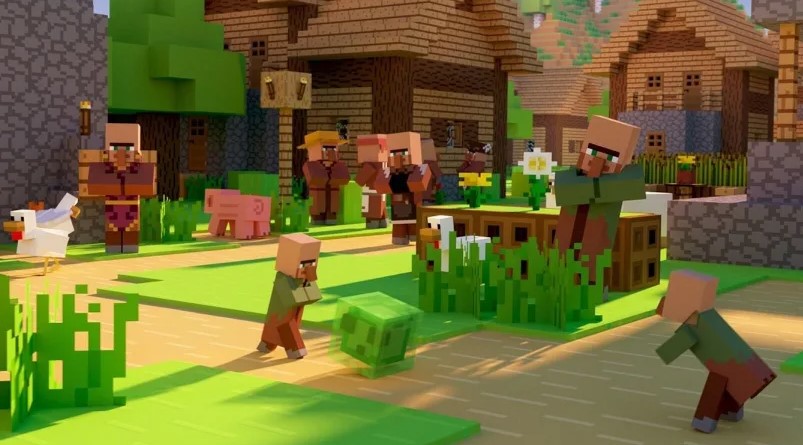
LAN is short of Local Area Network, and it’s one of the quickest – and arguably – safest ways to play Minecraft with your friends. It’s fairly easy to set up and is quite secure in the sense that only players connected to the same network can join. Assuming that you don’t hand out our WiFi details to just anybody, this level of exclusivity means you know (and can keep track of) every person in the game. Potential security threats – like trolls, hackers, etc. – are virtually non-existent.
How to Set-Up LAN Play for:
Minecraft Java Edition
- Choose a host computer. Make sure it has enough processing power to play Minecraft while running a server for other players playing Minecraft, too.
- Launch the Game on the host computer
- Select “Single Player” and either:
- Create a new world
- Choose an existing one
- Once inside the world, press the ESC key
- Select the “Open to LAN” option
- Choose your preferred game mode:
- Survival (default Minecraft game mode)
- Creative
- Adventure
- Once you’ve made all your decisions, select “Start LAN World”
- You should get a message informing you that a local game has been hosted
Have the other players (on the same network) start their own game. This time, make sure they select “Multiplayer.” As long as they’re on the same network, their computer will automatically detect the locally hosted game.
Related Reading:
Minecraft for Windows 10, Minecraft for Xbox, Minecraft for Mobile Devices
- Choose a host device to run the Minecraft world. If possible, choose the device with the highest processing power.
- Ensure every player is:
- Connected to the same network as the host
- Running the same game version as the host
- Launch Minecraft and press Play
- Select the pen icon to create a new world or edit a current world
- Go to Multiplayer and make sure that “Visible to LAN Players” is enabled
- Select “Create” or “Play” to start the game
How to Join a LAN Game for Minecraft on Windows 10/Xbox/Mobile Devices:
- Go to the Play menu
- Click on your “Friends” tab and look for any available LAN Games (it will be indicated)
Minecraft Servers
Good option if … the people you want to play with are far away (i.e., different neighborhood, city, state, country, etc.) and/or can’t connect to the same network you’re on.
Note for Parents: If your child wants to host their own Minecraft server (private or online), we highly recommend supervising them during the entire process. Even if they have the programming knowledge and technical know-how to do so, private information (such as your IP address) could still be accidentally compromised. Safety first!
A Minecraft server is a player-owned platform that allows two or more players connected to different networks to play the same game. There are plenty of open online servers that players can just jump into, but just as many Minecraft players opt to host private servers instead.
Setting up your own private Minecraft server mitigates a lot of the security risks that come with hosting or joining public online servers. A private one provides a level of exclusivity and control in terms of the player pool, so you can still – more or less – keep tabs on the people who are connecting with your child online.
On that note, it might be a good idea to ask your child to keep a roster of all the people they’ve invited or are planning to invite to the server. This way, you can instantly tell if something is amiss and contain potential safety risks before they worsen.
Related Reading:
How to Create a Minecraft Server
Note: only people running Minecraft Java Edition can host their own custom server. Minecraft Pocket Edition, console, or Windows 10 version are not capable of server hosting.
- Make sure you have the latest version of Java
- Download the server.jar file from the Minecraft website
- Create a batch file to run the server
- Accept the EULA (End User License Agreement) by opening the eula.text file and changing the value from false to true.
- Optional: create a batch file to help your server run smoother and prevent as much lag as possible
- Optional: set up server properties to further customize your Minecraft game
- Run the batch file to launch your server
- With the server launched, open your Minecraft launch page and load the Minecraft version that matches your downloaded .jar file
- Click Play and open the “Multiplayer” tab
- Click on Add Server to connect to your own server. A green connection bar means your server was successfully created and launched and is now ready for people to jump in.
Don’t worry if that felt too brief! For the sake of keeping things short and simple in this guide, we decided it would be better to provide a simple outline. For a more in-depth tutorial on how to make your own Minecraft server, check out our updated 2021 guide!
Minecraft Realms
Good option if … you have less than ten friends who want to play at the same time but don’t all live in the same area. This option is also good for people who don’t mind paying for security and exclusive features.
Minecraft Realms is described as a “multiplayer service” developed by Mojang. Think of it as an official server (seeing as Mojang is the company that released Minecraft) that allows your kids to play with their friends in an exclusive setting.
Just like a Minecraft server, Minecraft Realms can be accessed by two or more players who aren’t connected to the same network. However, just like Minecraft LAN play, only a select few can join the realm.
In a way, Minecraft Realms is the best of both.
Minecraft Realms is also quite easy to set up. When you purchase Minecraft Realms, you’ll be able to download the Realm that you own straight from the launcher. Then, you can send your friends a unique, custom URL (or an invite link) that they only need to click on. Once they do that, they’ll automatically be added to your realm. Yes, it’s that simple! No server hosting or batch files required.
Of course, these features come at a cost. The current monthly subscription for Minecraft Realms for a maximum of 10 players comes to about $7.99/month for a maximum of 10 players. Some parents might be perfectly fine with that if it means their kids can securely play Minecraft with their good friends. It also helps that Minecraft players with a Realms subscription have access to extra game perks and benefits!
The only real downside to Minecraft Realms is that it doesn’t support plugins or modded play. So if you and your friends want to try out some Minecraft mods, you can’t do it in your Realm. Otherwise, we’d have to say that Minecraft Realms is one of the best multiplayer options for parents who are especially concerned about safety.
Related Reading:
Minecraft Split Screen Console Play
Good option if … you’re running Minecraft on any console (Xbox, PlayStation, or Nintendo Switch) and you have a small group of friends (maximum of four) in the same household.
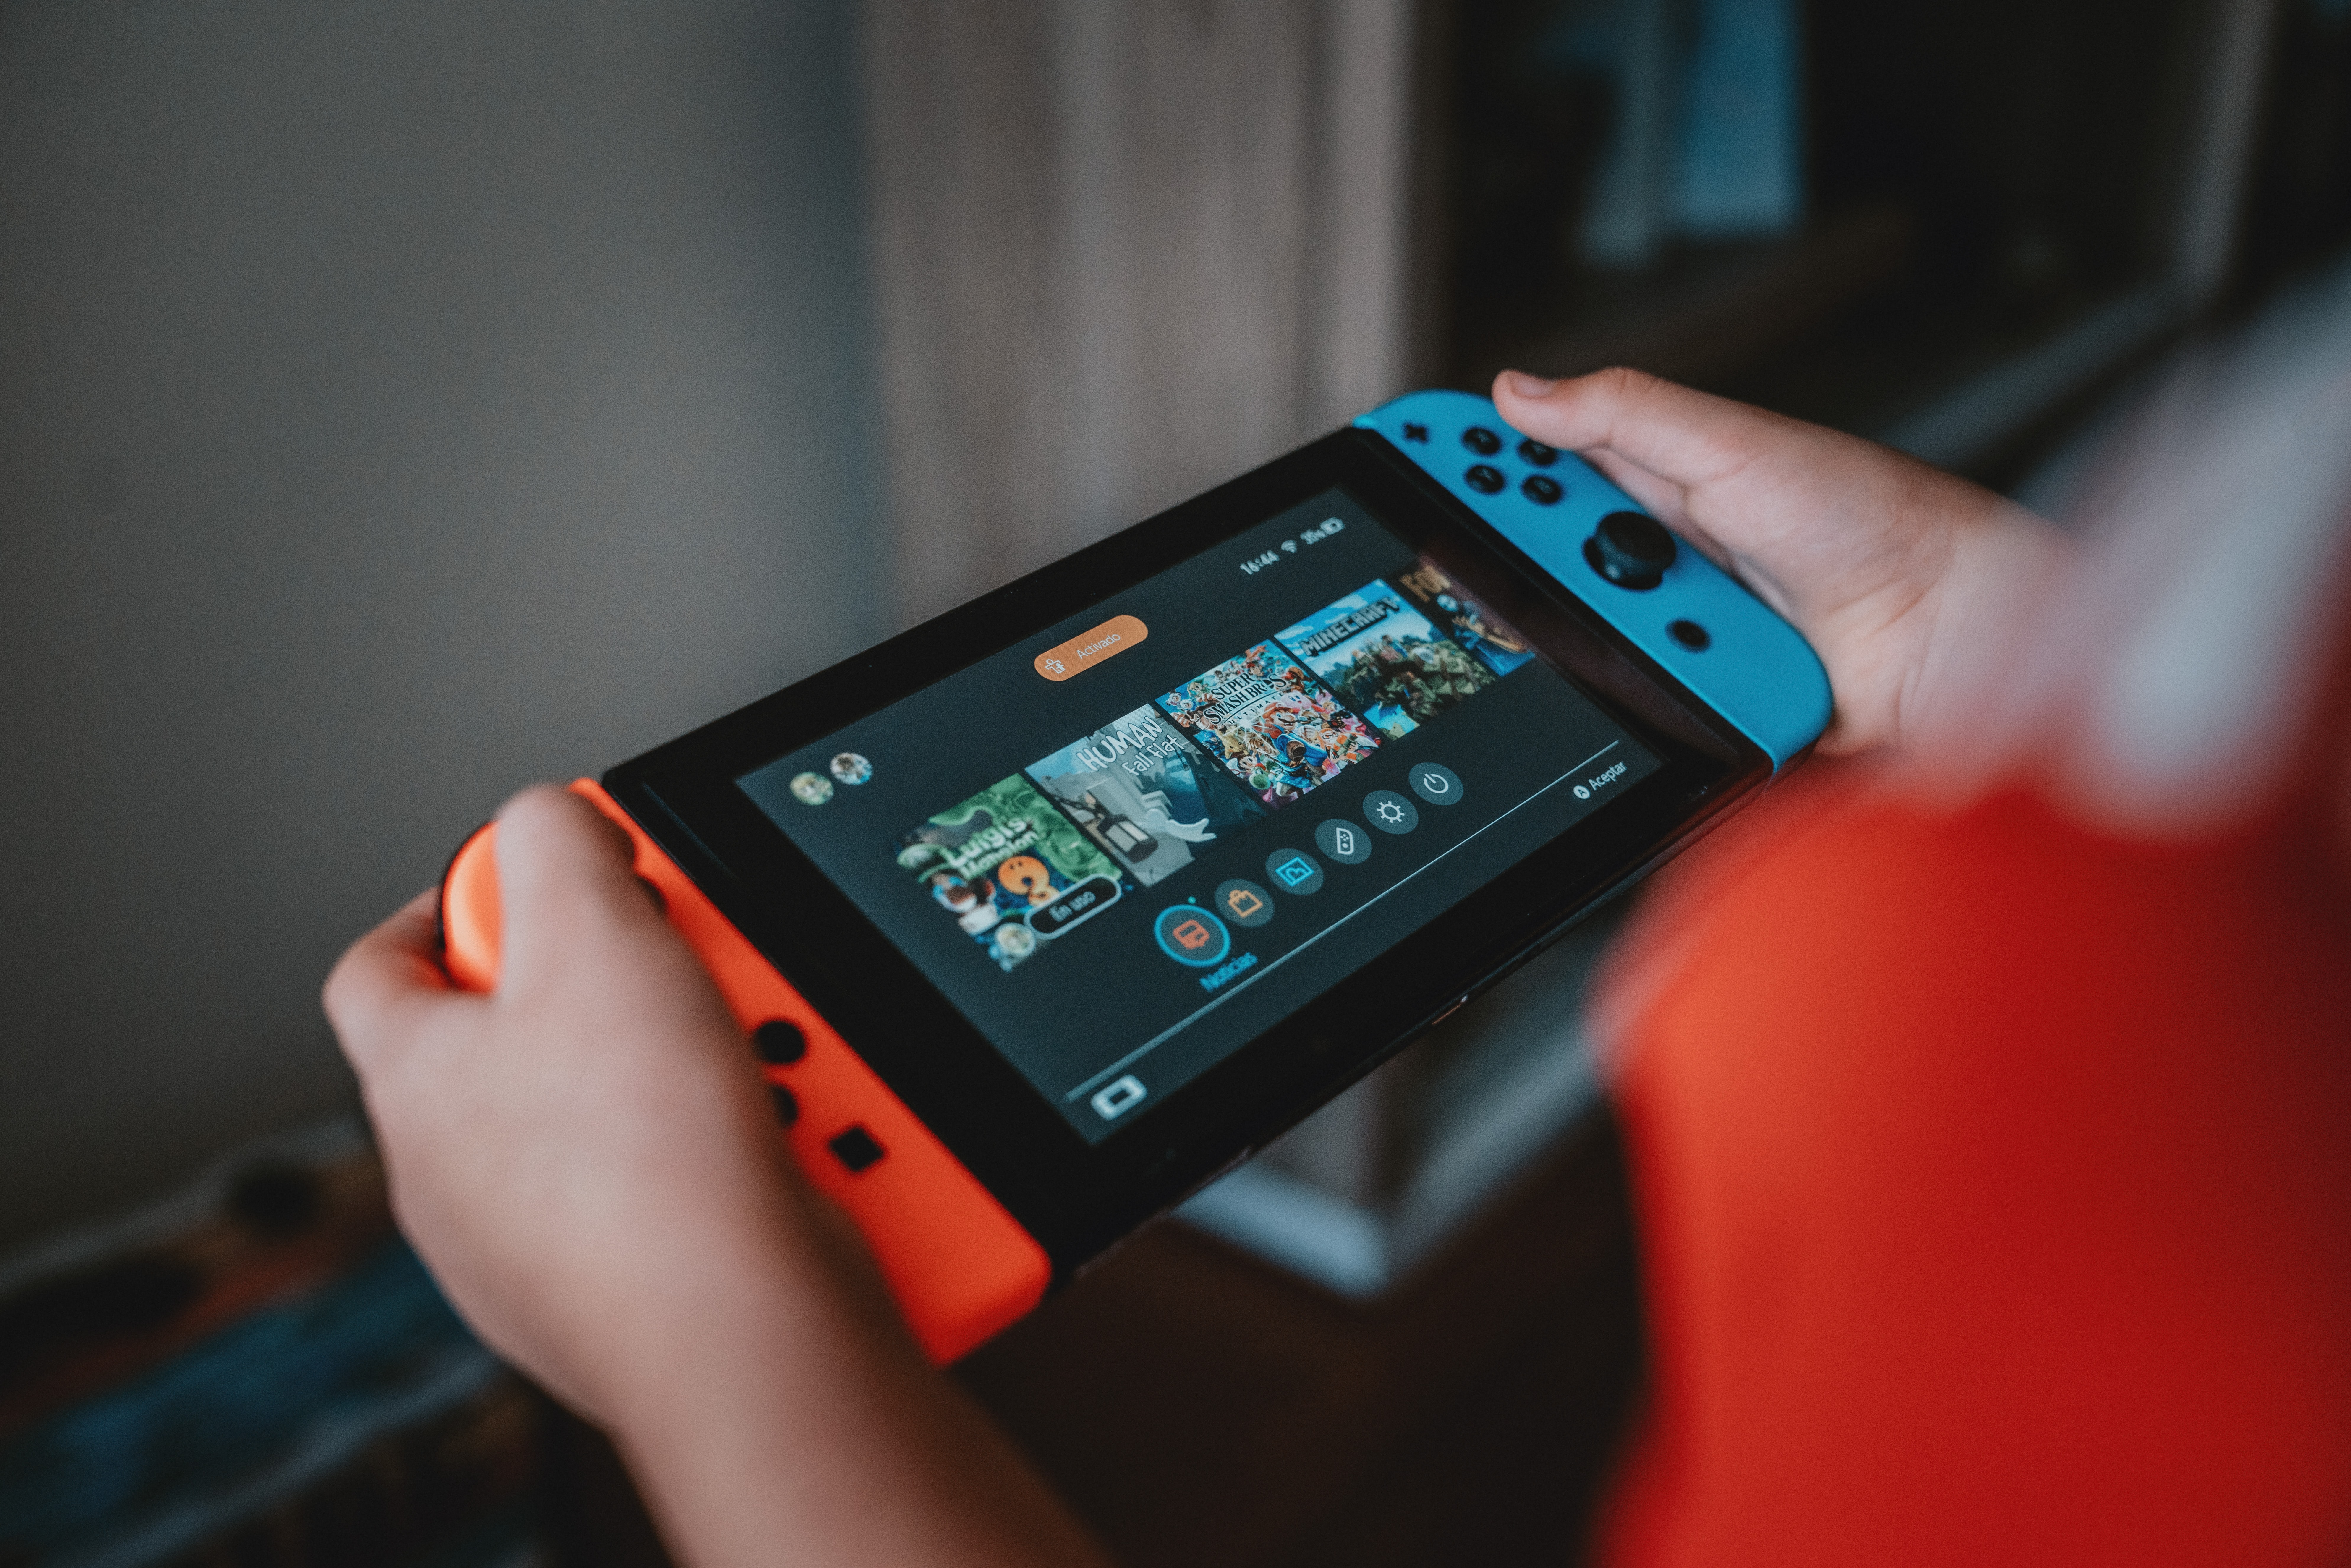
Running Minecraft on a split-screen console is perhaps the quickest, easiest, and safest way to play Minecraft with friends. You won’t need to host or join any servers, you won’t need to set up LAN play, and you don’t need to pay any sort of monthly subscription.
The split-screen feature allows up to four Minecraft players to connect and play on the same screen at the same time. You’ll automatically be in the same setting as your friends and you’ll be able to monitor their actions in real-time. The term “split-screen” is because the main screen is split into four smaller player-specific screens (one for each player).
As far as safety is concerned, we’d argue that this is the safest you can get. All players are in physical view of each other, the player pool is extremely limited (no more than four), and everything everyone’s doing can be seen on the big screen. If your child and their friends don’t mind sharing one screen, this is an excellent choice.
The biggest downside to Minecraft split-screen console play is that it’s a console-exclusive feature, meaning all players must have a console (or use a console) to join. Some may also not be used to the four-way view, which could lead to a lot of confusion and discomfort during play.

Conclusion
And, there you have it. The four main multiplayer options for Minecraft. Again, just to quickly recap, how to play Minecraft with friends:
Table of Contents:
- LAN
- How to Set-Up LAN Play
- Minecraft Servers
- How to Create a Minecraft Server
- Minecraft Realms
- Minecraft Split Screen Console Play
The safest, in terms of exclusivity and budget, is definitely Minecraft Split Screen Console play. The most customizable, by far, would be hosting or joining a Minecraft Server. One option isn’t really better than the other. It all depends on your child’s specific needs and situation – and what you, as the parent, feel comfortable with as well.
Want to take your Minecraft experience to the next level? Try CodaKid for free today!
Related Reading:
