Table of Contents
Learning Computer Science Using Raspberry Pi
Teaching kids to code with a Raspberry Pi is a fantastic way to introduce computer science to learners of all ages. With its affordability, versatility, and user-friendly interface, the Raspberry Pi is an excellent platform for teaching computer science fundamentals.
Whether you’re a parent looking to engage your child in coding or an educator seeking innovative teaching methods, the Raspberry Pi offers a hands-on and interactive way to explore programming, hardware, and software concepts. Through projects like creating games, building robots, or setting up web servers, learners can gain practical experience and develop problem-solving skills that are essential in the world of computer science.
One of the key benefits of using the Raspberry Pi for computer science education is its adaptability to various skill levels. Beginners can start with basic programming languages like Scratch or Python, gradually advancing to more complex topics as they become more proficient.
Additionally, the Raspberry Pi community is vast and supportive, providing access to a wealth of online resources, tutorials, and forums where learners can seek help and share their projects. Learning computer science with a Raspberry Pi is not only educational but also fun, inspiring a new generation of tech enthusiasts and problem solvers.
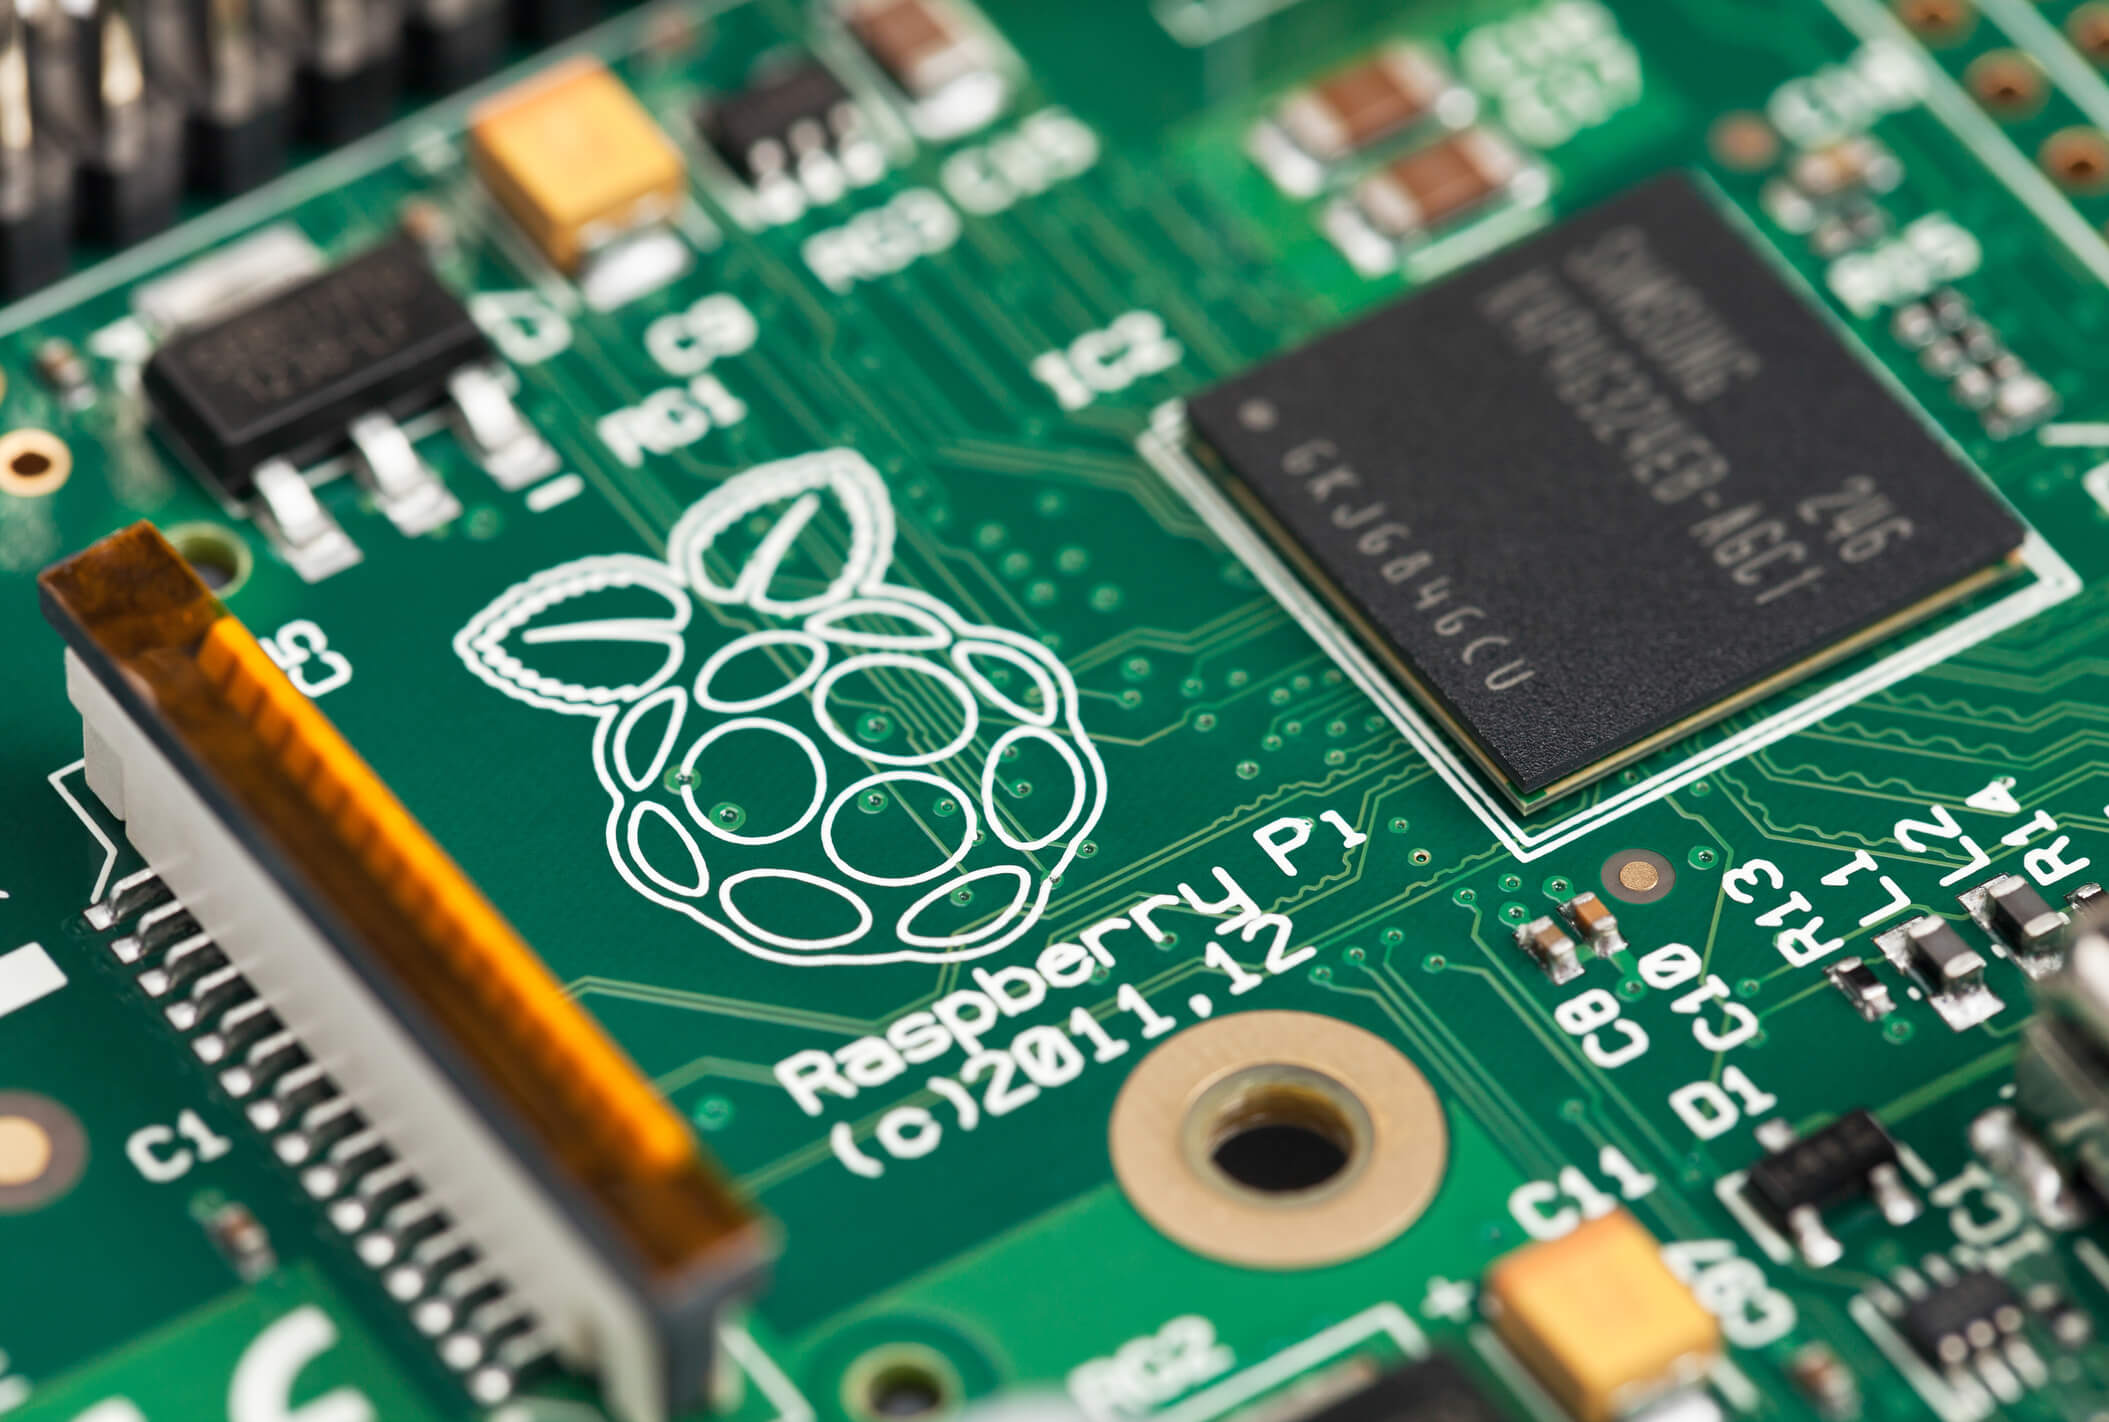
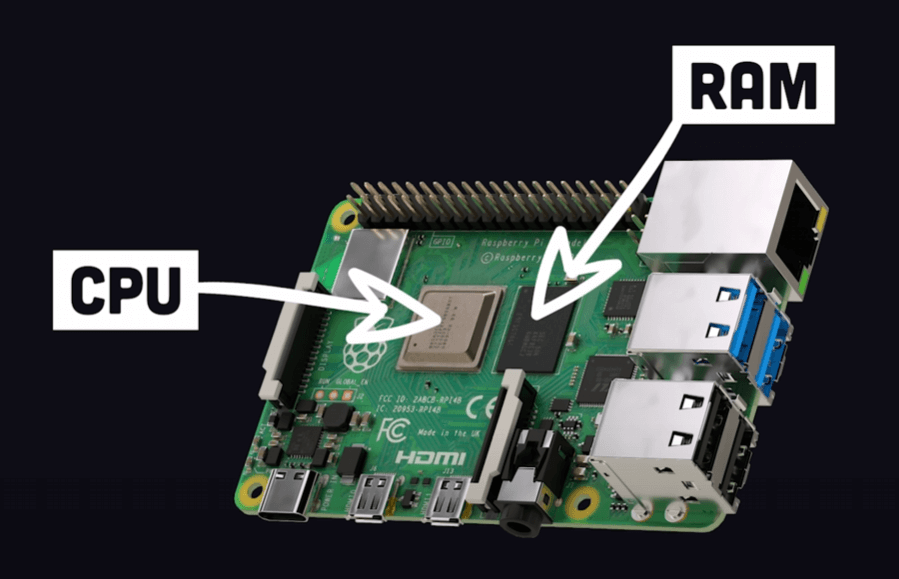
What is a Raspberry Pi?
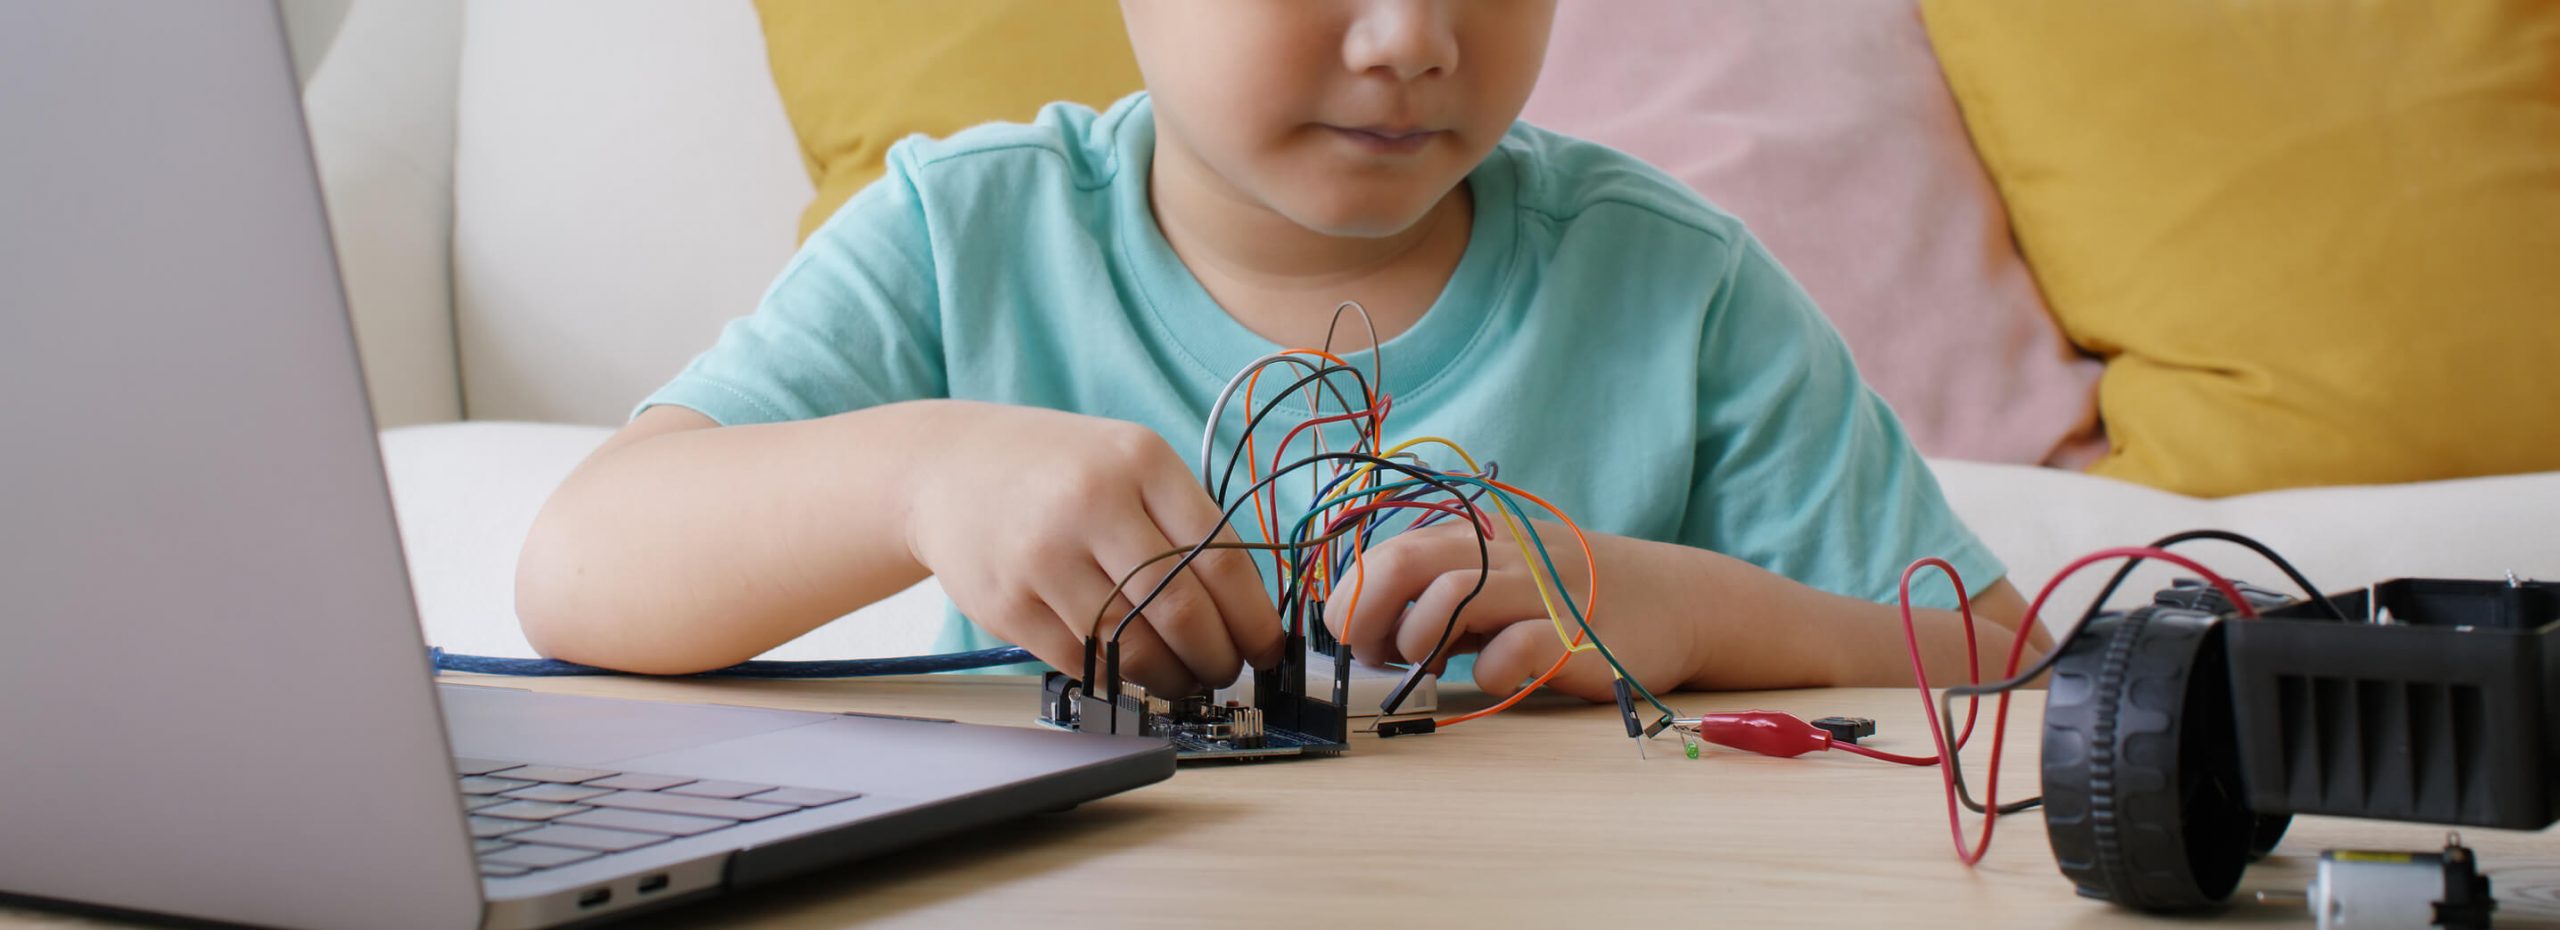
The Raspberry Pi serves as a valuable tool for introducing children to the world of programming and coding. Once installed on their computer, it allows them to dive into the learning process almost immediately. Beyond offering exposure to programming and real-time hands-on experience, it fosters a sense of confidence in children as they tackle technical challenges and language barriers.
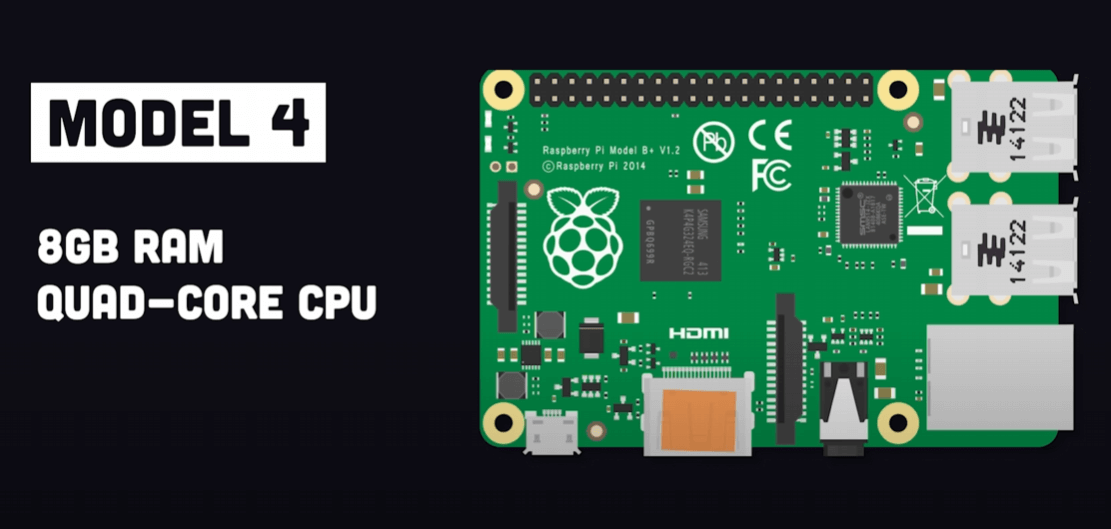
Since its initial release in 2015, various models of the Raspberry Pi have become available, each with distinct capabilities. This versatile device empowers students to install multiple programs and files aligned with their interests.
They can simultaneously learn to code while engaging in activities such as predicting the weather, creating their video games, and capturing photos and videos. Essentially, the Raspberry Pi is designed to serve as the technical foundation for our students’ creativity, and the only limit to what they can create is their imagination!
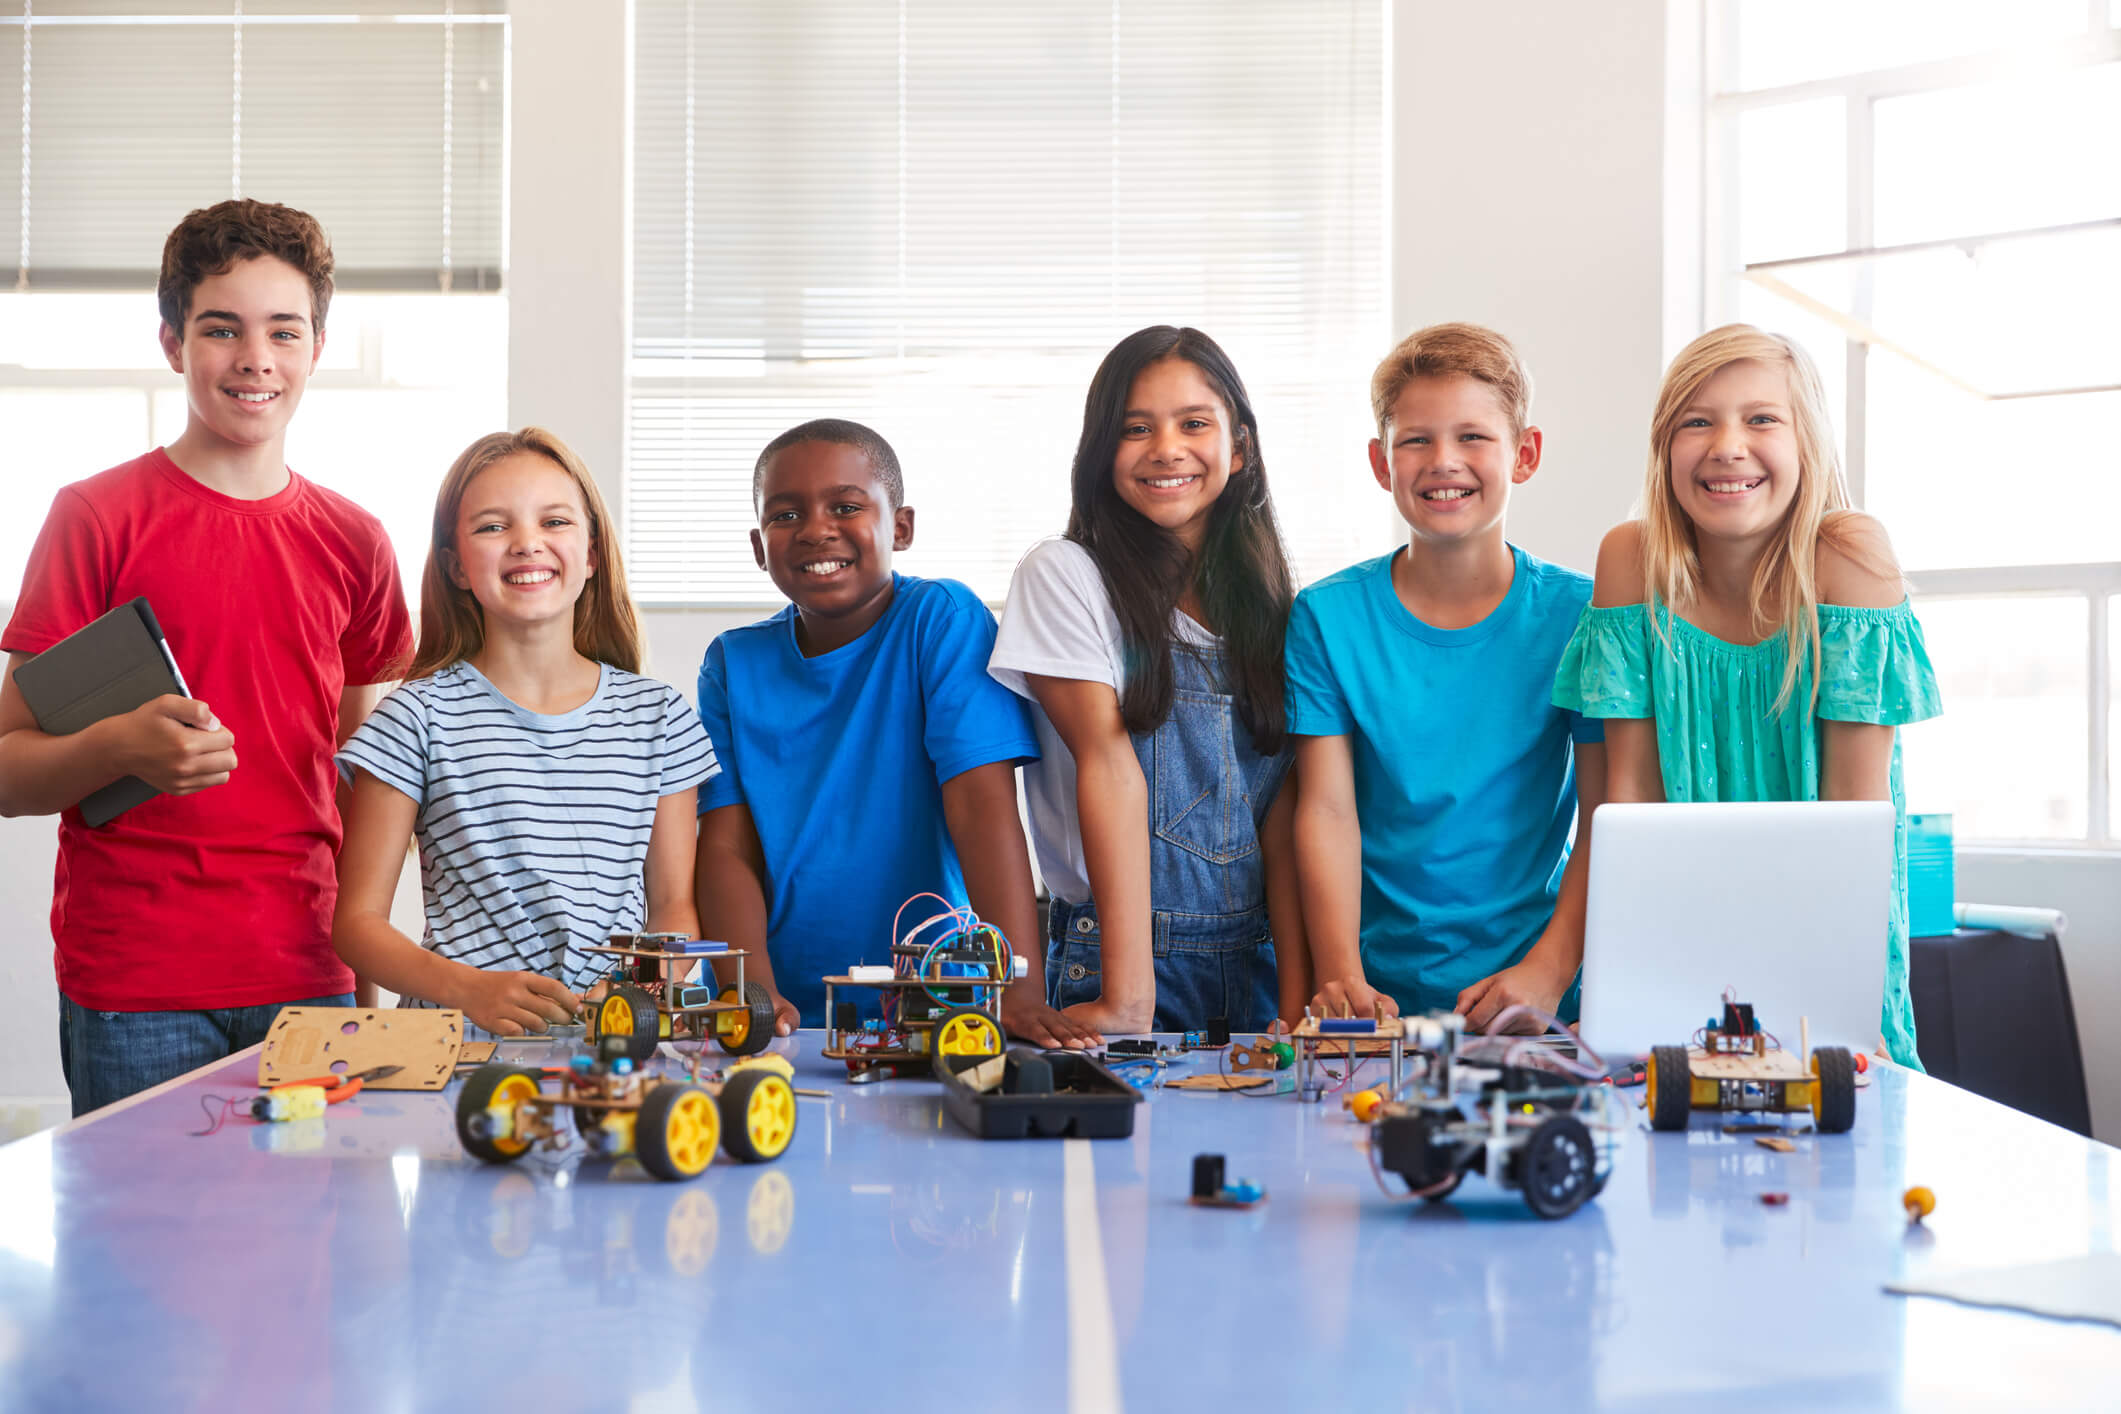
Raspberry Pi Projects
Apart from the multitude of potential applications it offers, the Raspberry Pi also presents children with practical examples of coding concepts that are traditionally challenging to teach. For instance, students can gain insights into creating a home file server, understanding the relationship between clients and servers, and recognizing the privacy risks associated with data handling.
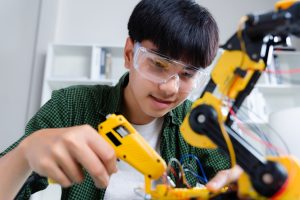
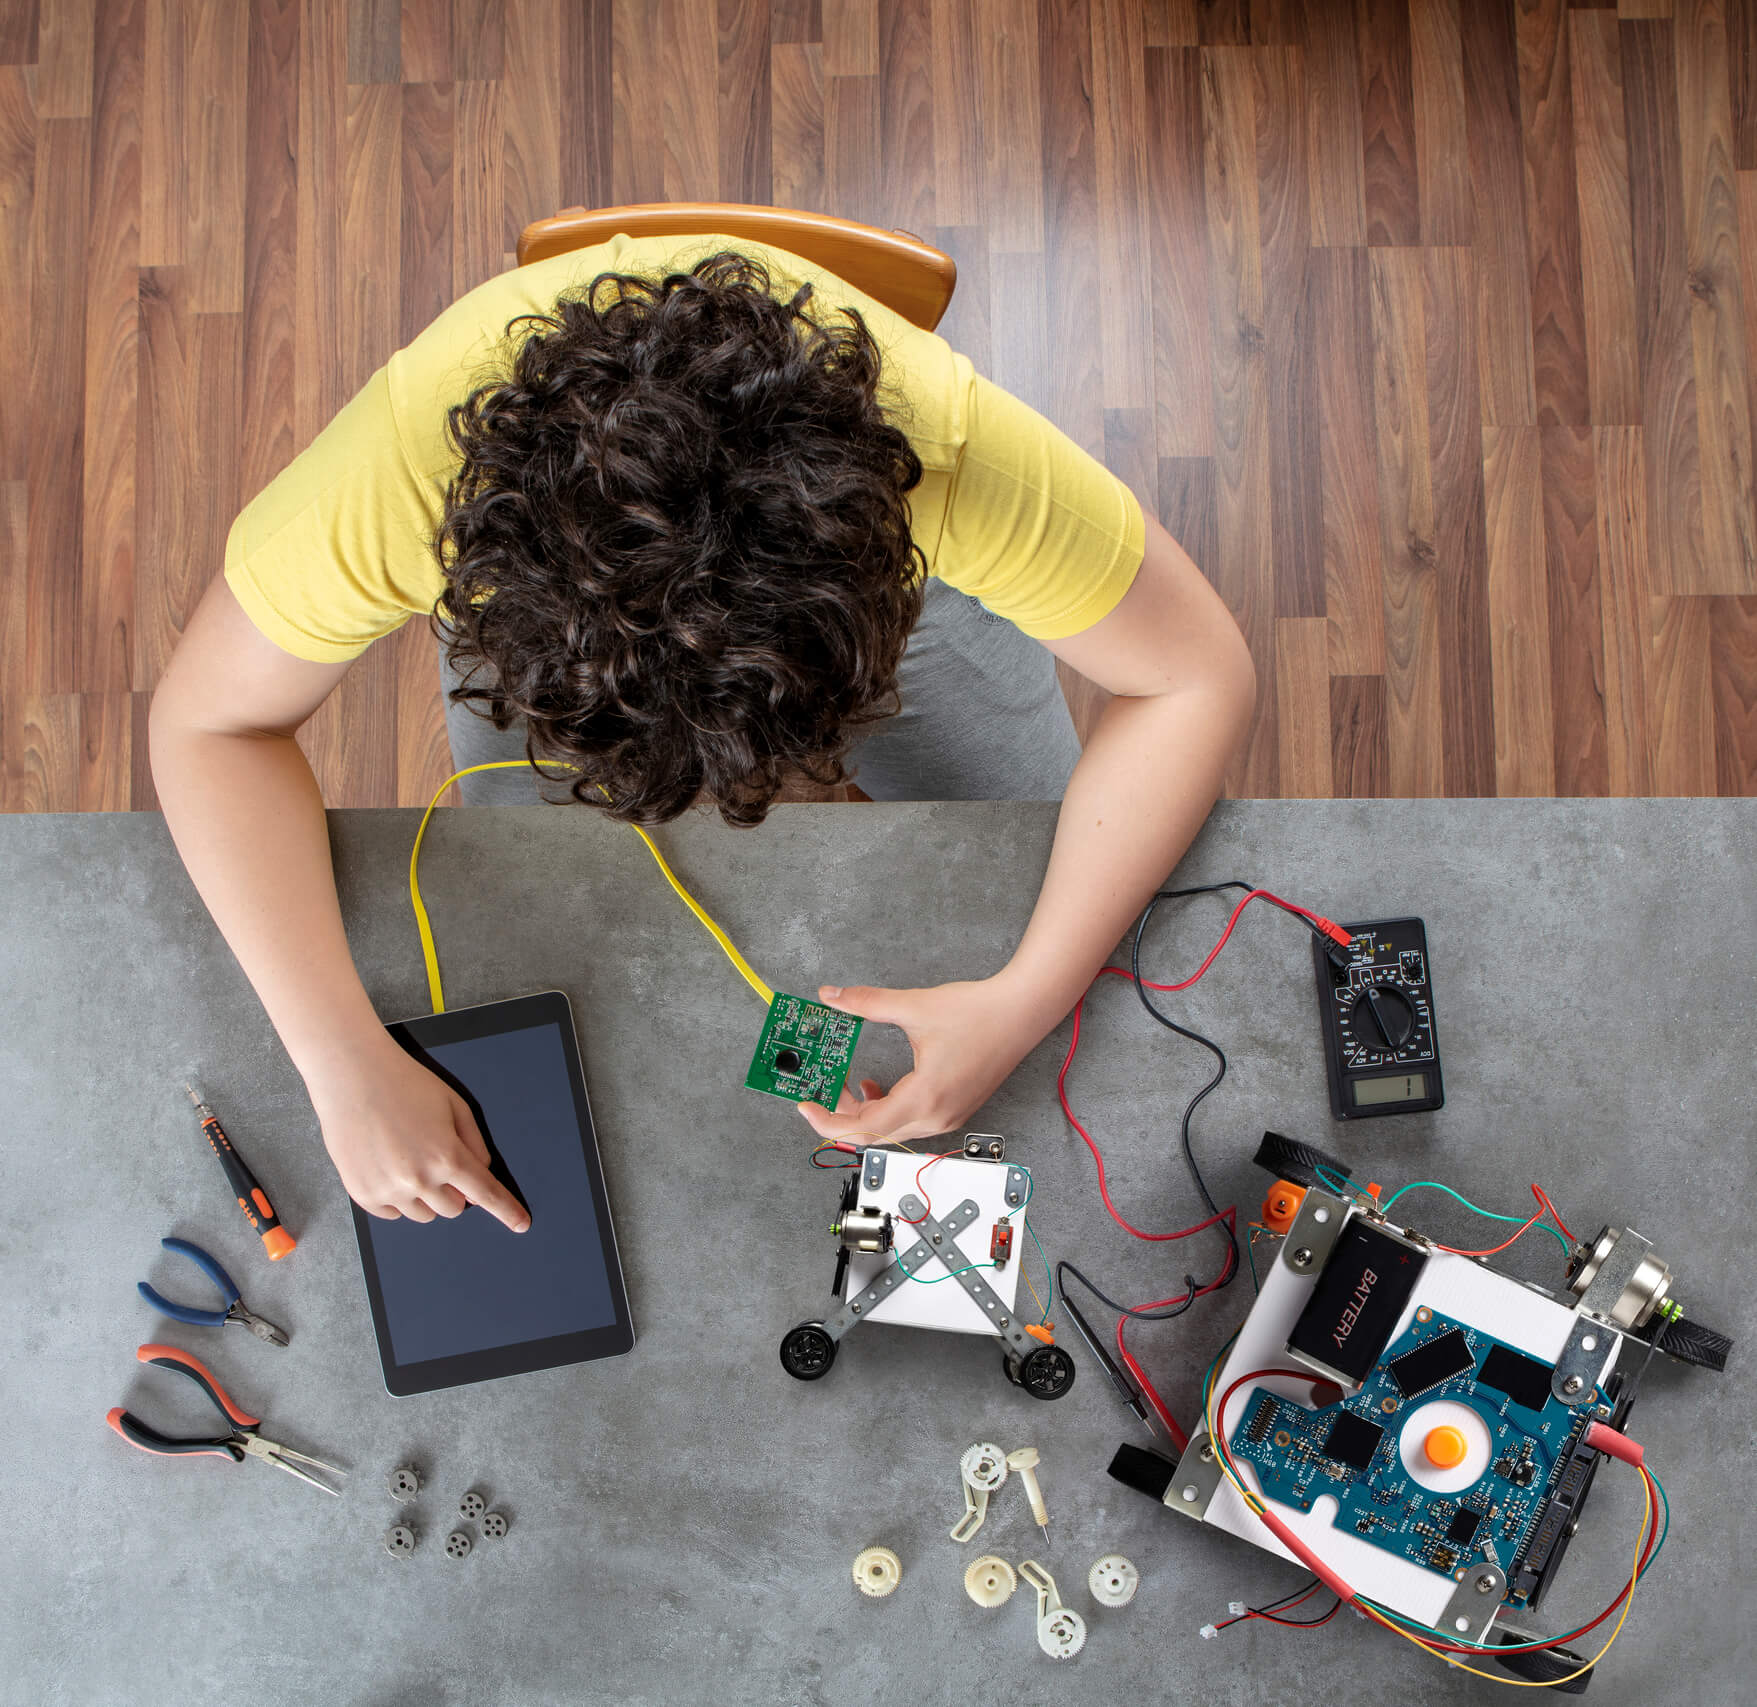
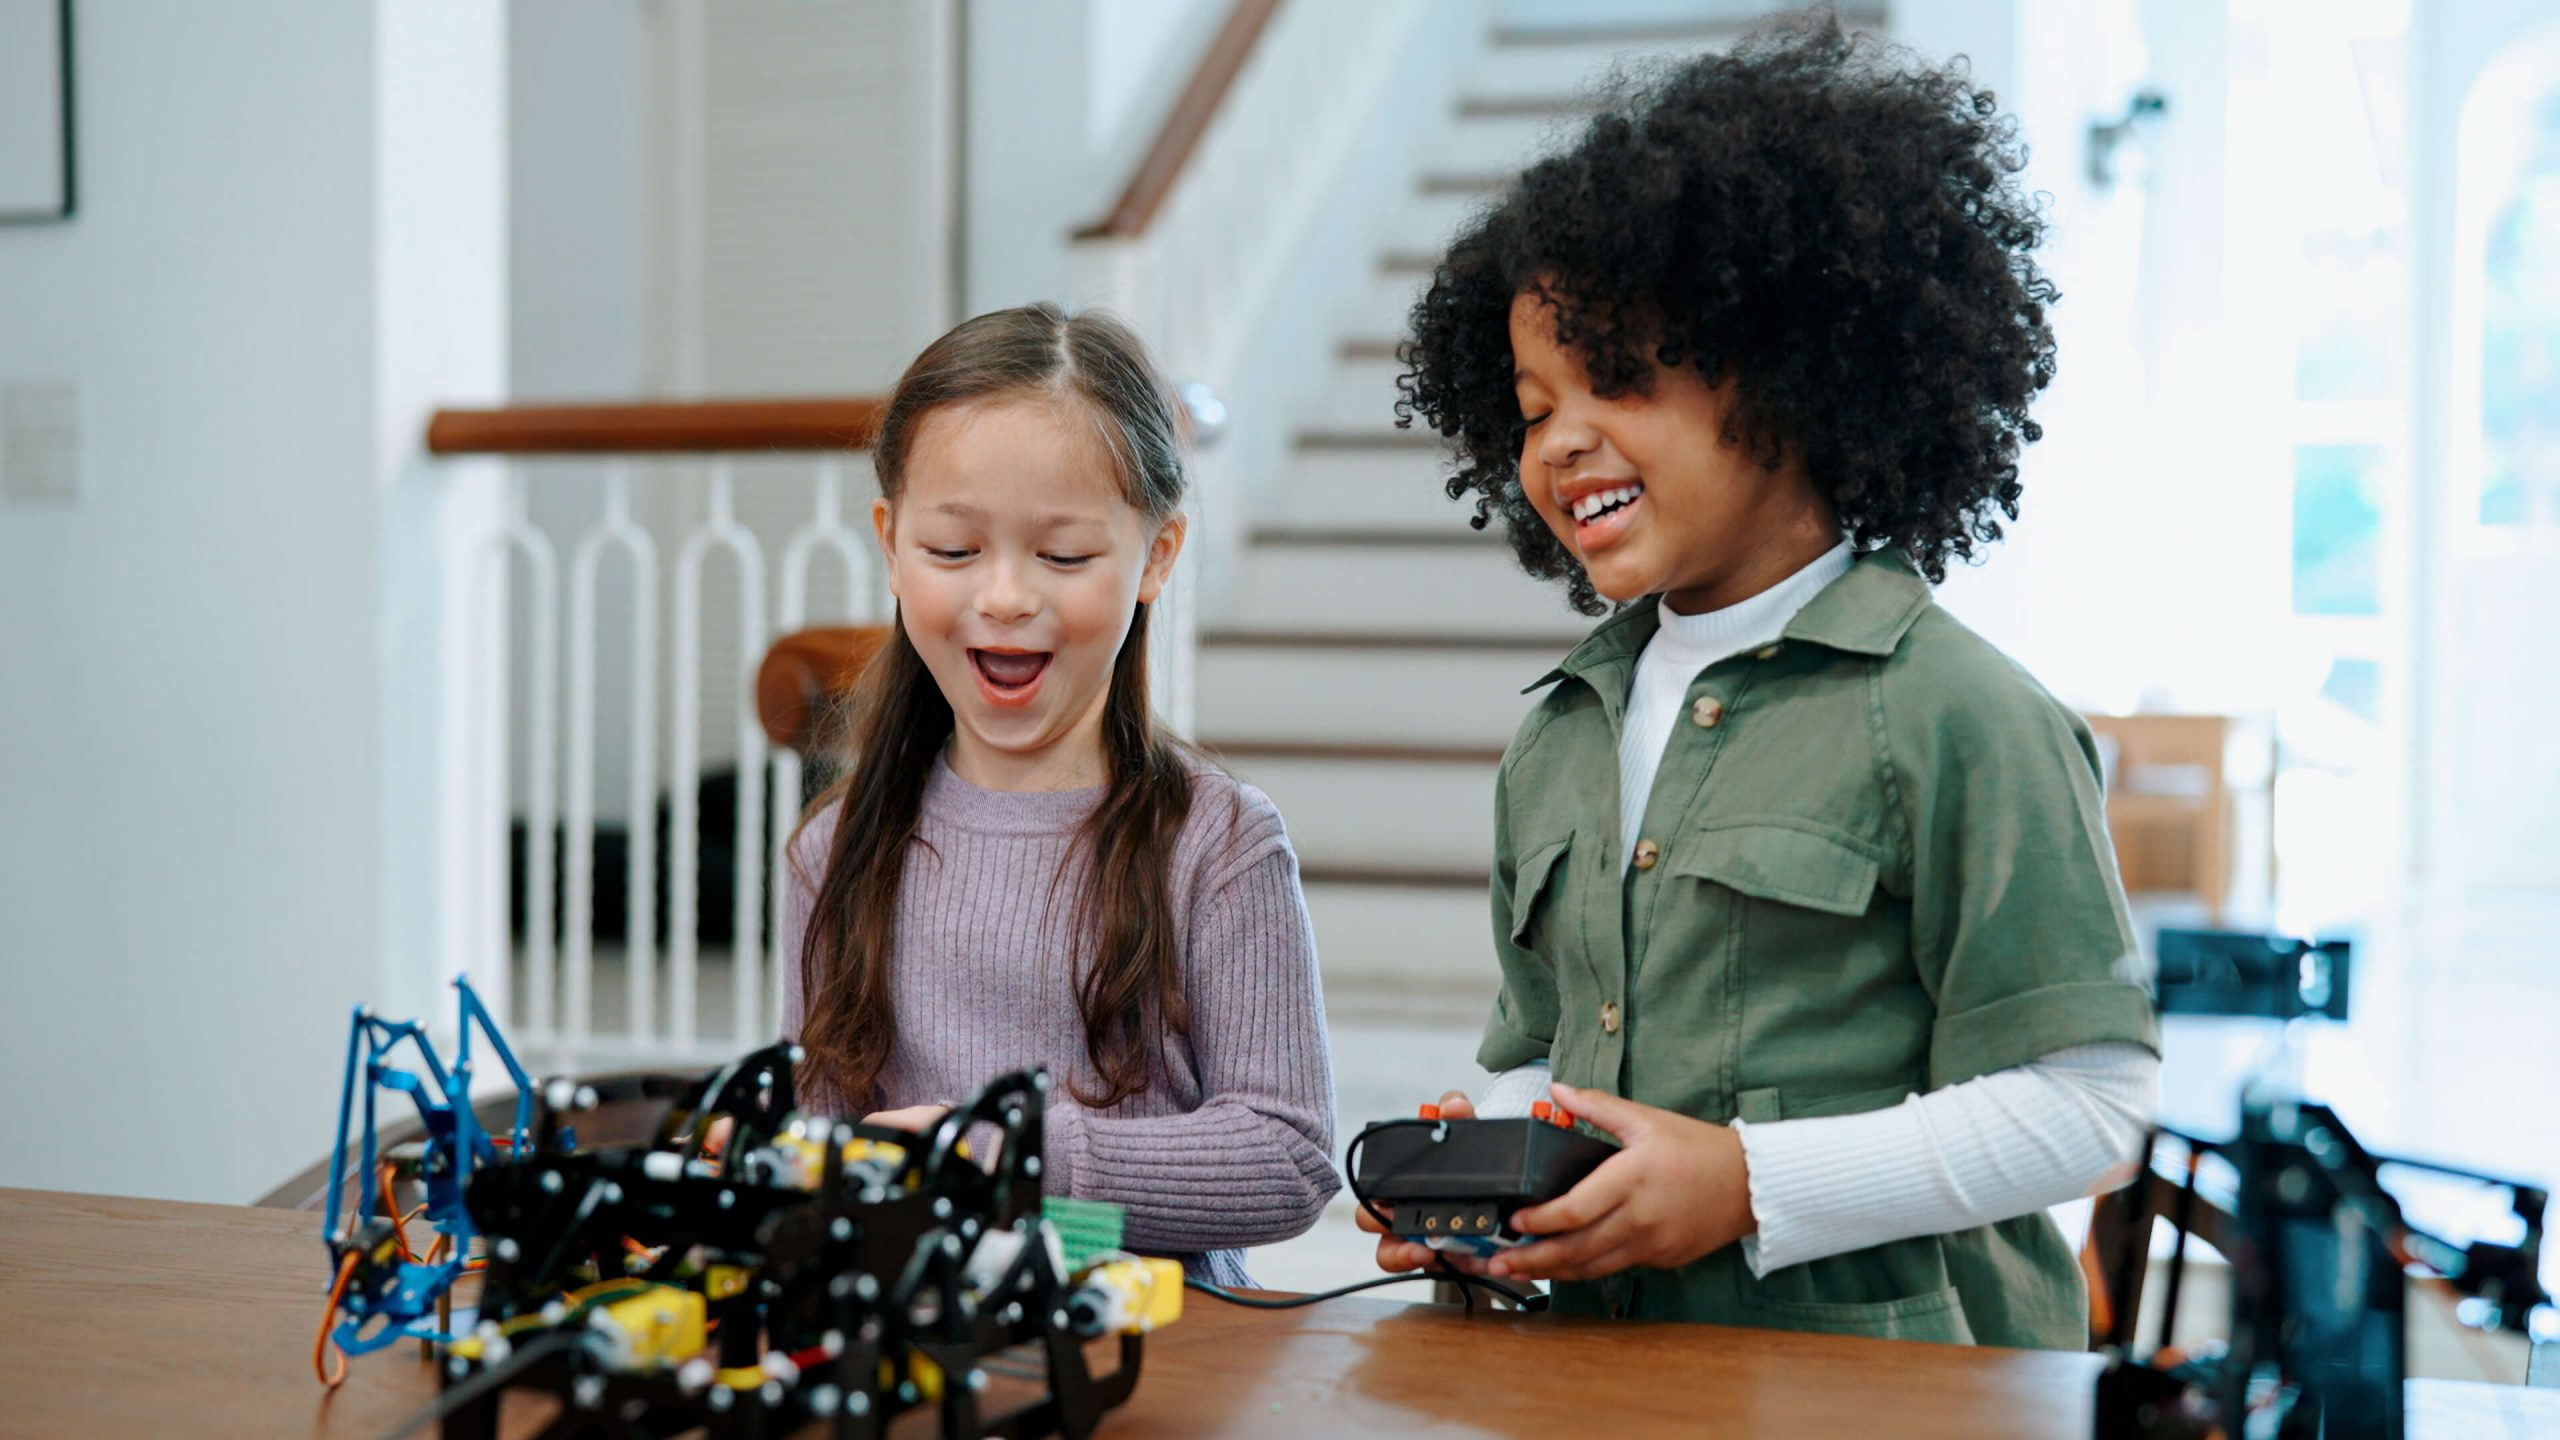
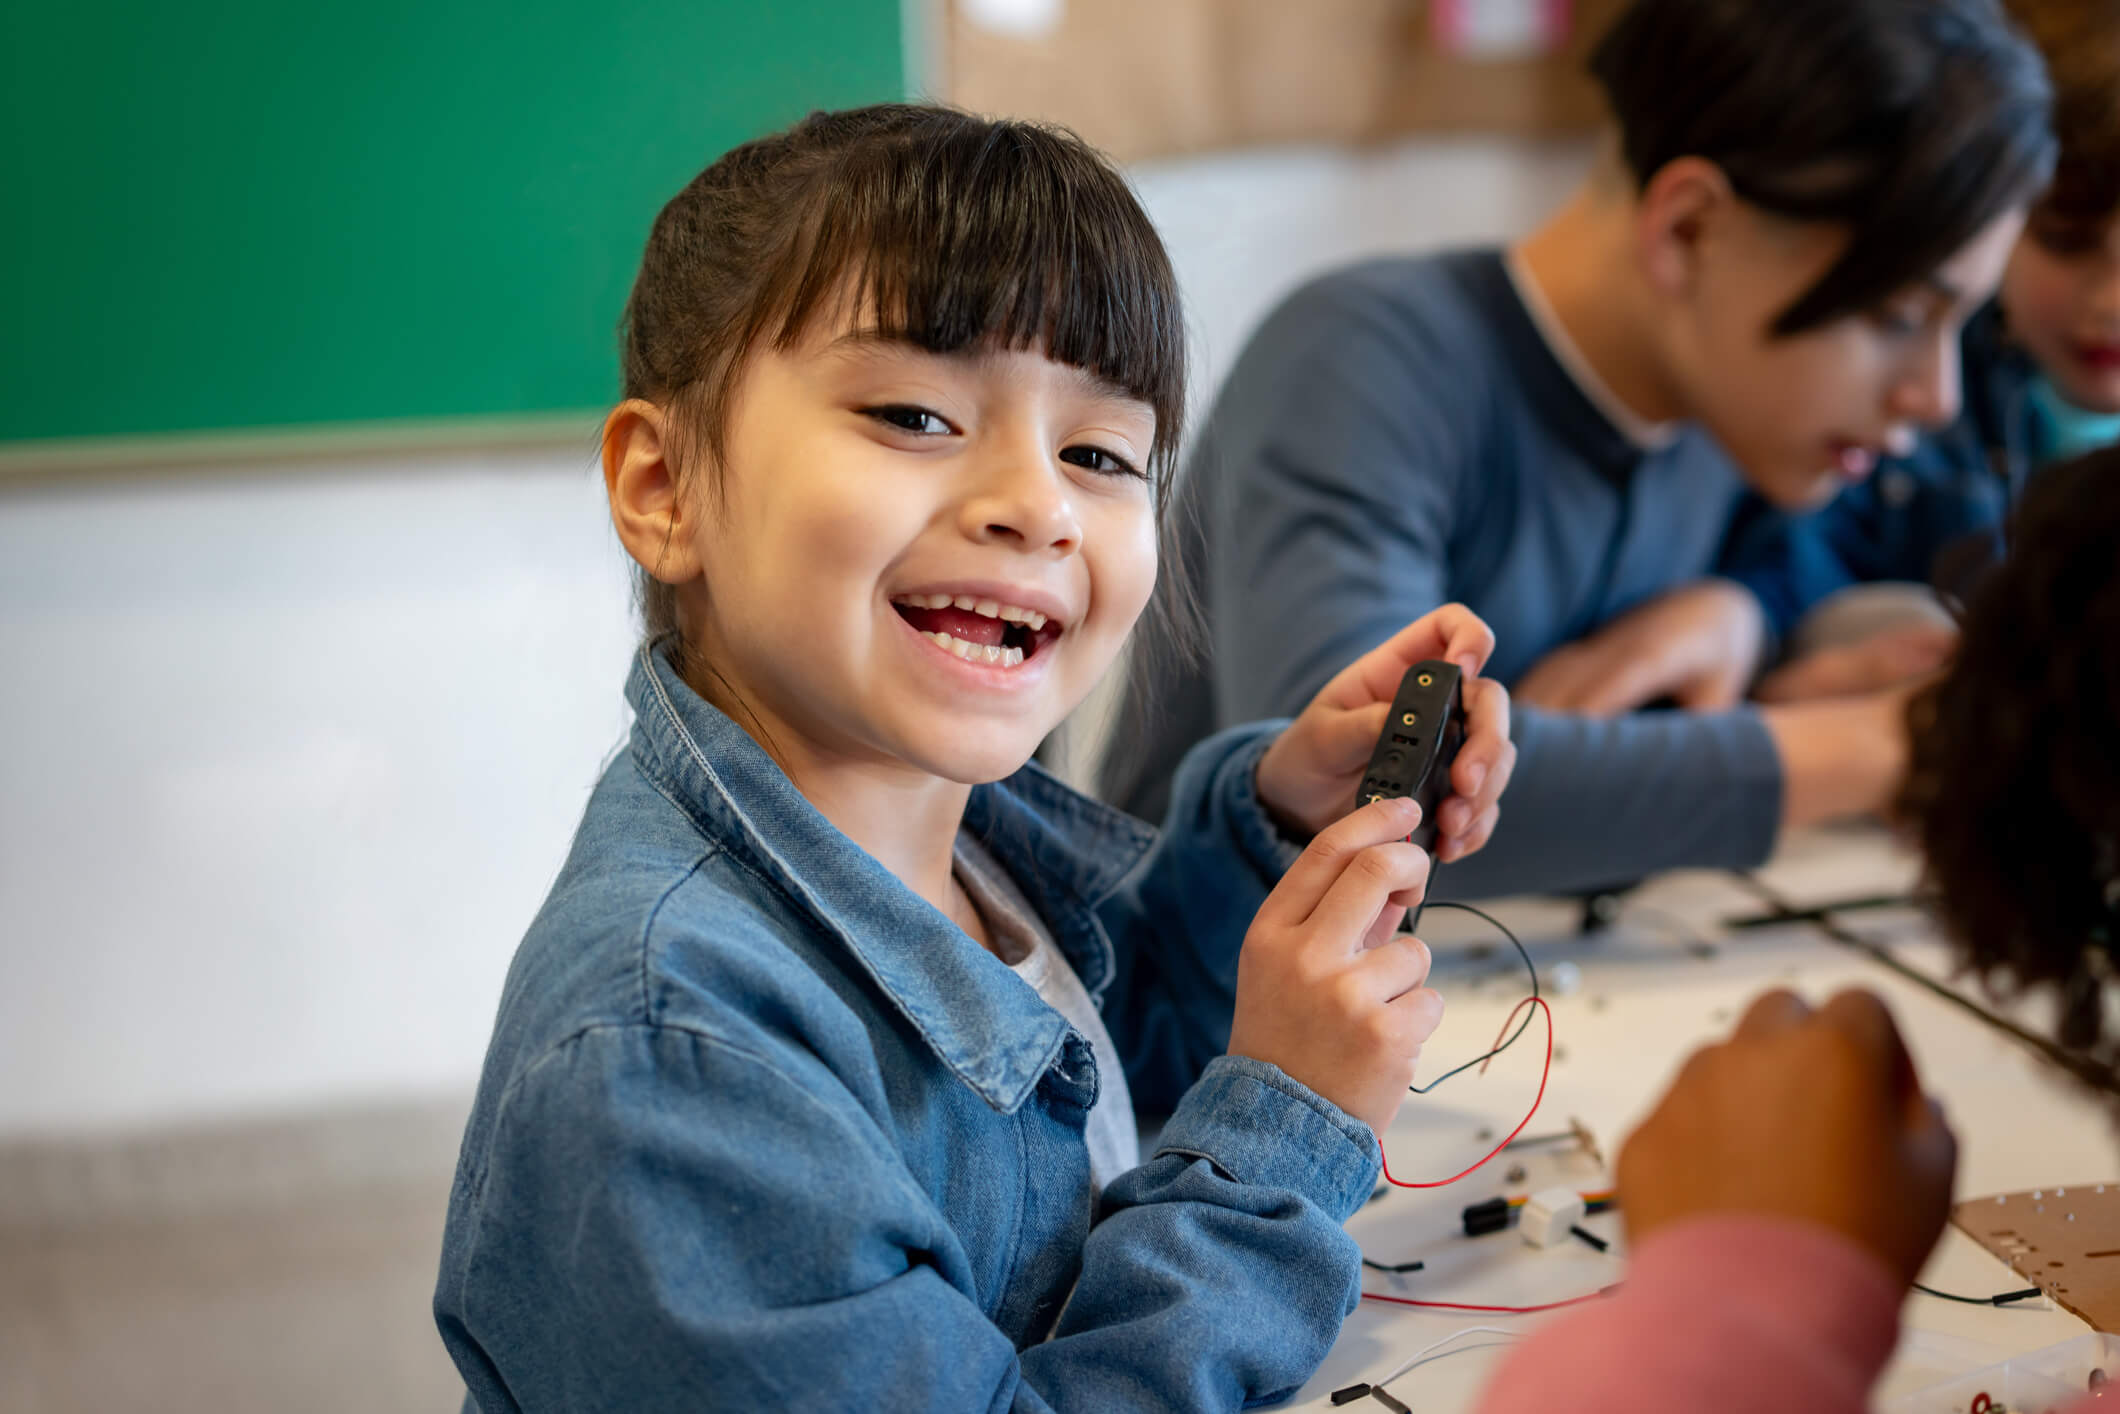
What’s even more captivating is the Raspberry Pi’s versatility in connecting to various toys like cars, trains, and rudimentary robots. This hands-on interaction pulls kids away from screens and allows them to witness how their coding efforts can manipulate tangible objects.
The confidence and excitement stemming from successfully building and operating their own devices serve as powerful motivators, keeping both children and adults engaged while acquiring valuable technological skills.
The possibilities with a Raspberry Pi are virtually limitless. To help you kickstart your journey, we’ve curated some favorite projects that maximize both fun and learning experiences, making them perfect for sharing with your kids.
1. Build Your Computer
Despite its small, handheld form factor, the Raspberry Pi packs a punch, capable of running programs like Microsoft Word, Excel, and even some calculator apps. These are software applications typically associated with larger, more conventional computers.
By constructing a Raspberry Pi-powered computer, children can witness firsthand the potency of programming and computer science, gaining insights into the symbiotic relationship between hardware and software.
2. Store Files on the Cloud
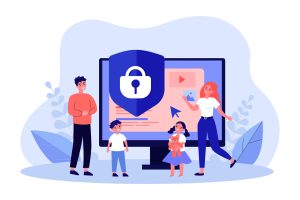
The Raspberry Pi introduces kids to the intricate world of file storage, simplifying complex computing concepts. It also raises awareness about the security implications of online data storage. In an era where cloud computing dominates and personal data resides in the cloud and data centers, children must grasp the implications of personal privacy.
By expanding the storage capacity of the Raspberry Pi and utilizing the Linux operating system, kids can remotely access drives using SSH commands. If Linux isn’t your preferred option, various server monitoring systems can be employed to secure your home network.
3. Predict the Weather with the Raspberry Pi Weather Station
One of the most popular Raspberry Pi kits is the Weather Station, designed by Raspberry Pi for school use, allowing kids to create their very own weather monitoring stations. This kit comes with a plethora of resources and tools to make it accessible. It’s a gadget that’s sure to captivate children while demonstrating the real-world applications of computer science.
By configuring a Python operating system, students can gather and record local climate and environmental data. They can then use this data to predict the weather, providing a tangible demonstration of the power of coding.
4. Design Your Games
For young gamers, the Raspberry Pi offers an exciting avenue. Similar to robotics and coding, it gamifies the educational process, enabling students to design and program their video games. The process is made accessible through a user-friendly drag-and-drop interface, reminiscent of the Blockly editor used in the CoderZ online learning tool.
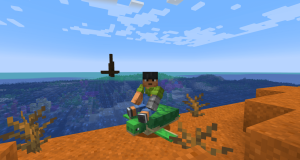
5. Link to Minecraft
Last but certainly not least, the Raspberry Pi opens up possibilities for enhancing a student’s Minecraft experience. What makes the Raspberry Pi unique is its compatibility with custom modifications, or mods, using the Minecraft Application Programming Interface (API).
This allows students to customize the game with new graphics and gameplay mechanics, effectively altering the entire gaming experience through short programming scripts. It’s a fantastic way for kids to learn programming in a fun and familiar gaming environment.
What are the things you can do with Raspberry Pi?
Raspberry Pi is a versatile and affordable single-board computer that can be used for a wide range of projects and applications. Here are some of the things you can do with a Raspberry Pi:
- Learn Coding: Raspberry Pi is an excellent platform for learning programming languages like Python, Scratch, and Java. It’s ideal for beginners and students who want to develop coding skills.
- Build a Personal Computer: You can use Raspberry Pi as a basic desktop computer for tasks like web browsing, word processing, and spreadsheet calculations. It’s a cost-effective option for basic computing needs.
- Retro Gaming Console: Turn your Raspberry Pi into a retro gaming console by installing emulators and game ROMs. It can emulate consoles like NES, SNES, Sega Genesis, and more, allowing you to play classic games.
- Home Media Center: Install media center software like Kodi or Plex to transform your Raspberry Pi into a media player. You can stream movies, TV shows, and music to your TV or other devices.
- Home Automation: Use Raspberry Pi to control and automate various aspects of your home, such as lighting, heating, and security systems. Projects like home automation hubs are popular among DIY enthusiasts.
- Internet of Things (IoT) Projects: Raspberry Pi is ideal for IoT projects. You can create smart devices, environmental sensors, and data logging systems to monitor and control your surroundings.
- Network Attached Storage (NAS): Set up a Raspberry Pi as a network-attached storage device to store and share files on your home network.
- Web Server: Turn your Raspberry Pi into a web server to host your website or web applications. Popular web server software like Apache and Nginx can be installed.
- Robotics: Raspberry Pi is commonly used in robotics projects. You can build robots, drones, and automated vehicles with sensors and motor controllers.
- Digital Art and Creativity: Raspberry Pi can be used for digital art projects, interactive installations, and creative endeavors like digital painting and music composition.
- Educational Tools: Raspberry Pi is an excellent educational tool for teachers and students. It can be used to create educational software, simulations, and interactive lessons.
- Network Monitoring: Raspberry Pi can be configured as a network monitoring tool to monitor network traffic, analyze data, and manage network security.
- Weather Station: Build a weather station with sensors to collect and analyze weather data. You can display weather information in real time on your Raspberry Pi.
- Security Camera: Use Raspberry Pi as a security camera system by connecting a camera module. You can set up motion detection and remote monitoring.
- Virtual Private Network (VPN) Server: Create your VPN server using Raspberry Pi to enhance online privacy and security.
- Voice Assistant: Turn your Raspberry Pi into a voice-controlled assistant using software like Google Assistant or Alexa.
- Pi-hole: Set up a Pi-hole on Raspberry Pi to block ads and improve network privacy by acting as a network-wide ad blocker.
These are just a few examples of what you can do with a Raspberry Pi. The possibilities are virtually endless, limited only by your creativity and technical skills. Raspberry Pi’s active community and extensive online resources provide ample support and inspiration for various projects.
At what age can kids learn Raspberry Pi?
Kids as young as 7 or 8 years old can start learning and working with Raspberry Pi, depending on their level of interest, aptitude for technology, and the guidance they receive. Raspberry Pi is designed to be accessible to beginners, and it can serve as a valuable tool for introducing children to computer science and programming concepts. Here are some considerations for determining when a child can start learning Raspberry Pi:
- Interest and Curiosity: The most critical factor is the child’s interest and curiosity in technology, computers, and programming. If a child shows enthusiasm for exploring these topics, they may be ready to start learning with a Raspberry Pi.
- Basic Computer Skills: While Raspberry Pi is beginner-friendly, it’s helpful if a child already has some basic computer skills, such as using a keyboard and mouse, navigating a desktop environment, and understanding file management.
- Reading and Math Skills: Basic reading and math skills are beneficial because programming involves reading code and performing mathematical operations. However, children can start with block-based programming languages like Scratch, which don’t require advanced reading or math skills.
- Parental or Adult Guidance: Children may need some guidance and supervision from parents, teachers, or mentors, especially when they’re just starting with Raspberry Pi. Adults can help with setup, troubleshooting, and ensuring a safe learning environment.
- Age-Appropriate Resources: There are age-appropriate resources and tutorials available for kids to learn Raspberry Pi. Some educational kits and books are designed specifically for younger learners.
- Patience and Problem-Solving Skills: Learning Raspberry Pi can involve solving technical problems, debugging code, and troubleshooting hardware issues. Children who are patient and enjoy problem-solving are more likely to excel.
- Supportive Learning Environment: Creating a supportive and encouraging learning environment is essential. Children may need encouragement, positive feedback, and the freedom to explore and make mistakes while learning with Raspberry Pi.
It’s important to note that children develop at different rates, so there is no specific age at which every child can start learning Raspberry Pi. Some kids may be ready at a younger age, while others may need more time and experience with technology before diving into Raspberry Pi projects. Tailoring the learning experience to the child’s interests and abilities is key to their success and enjoyment in working with Raspberry Pi.
What coding language does Raspberry Pi use?
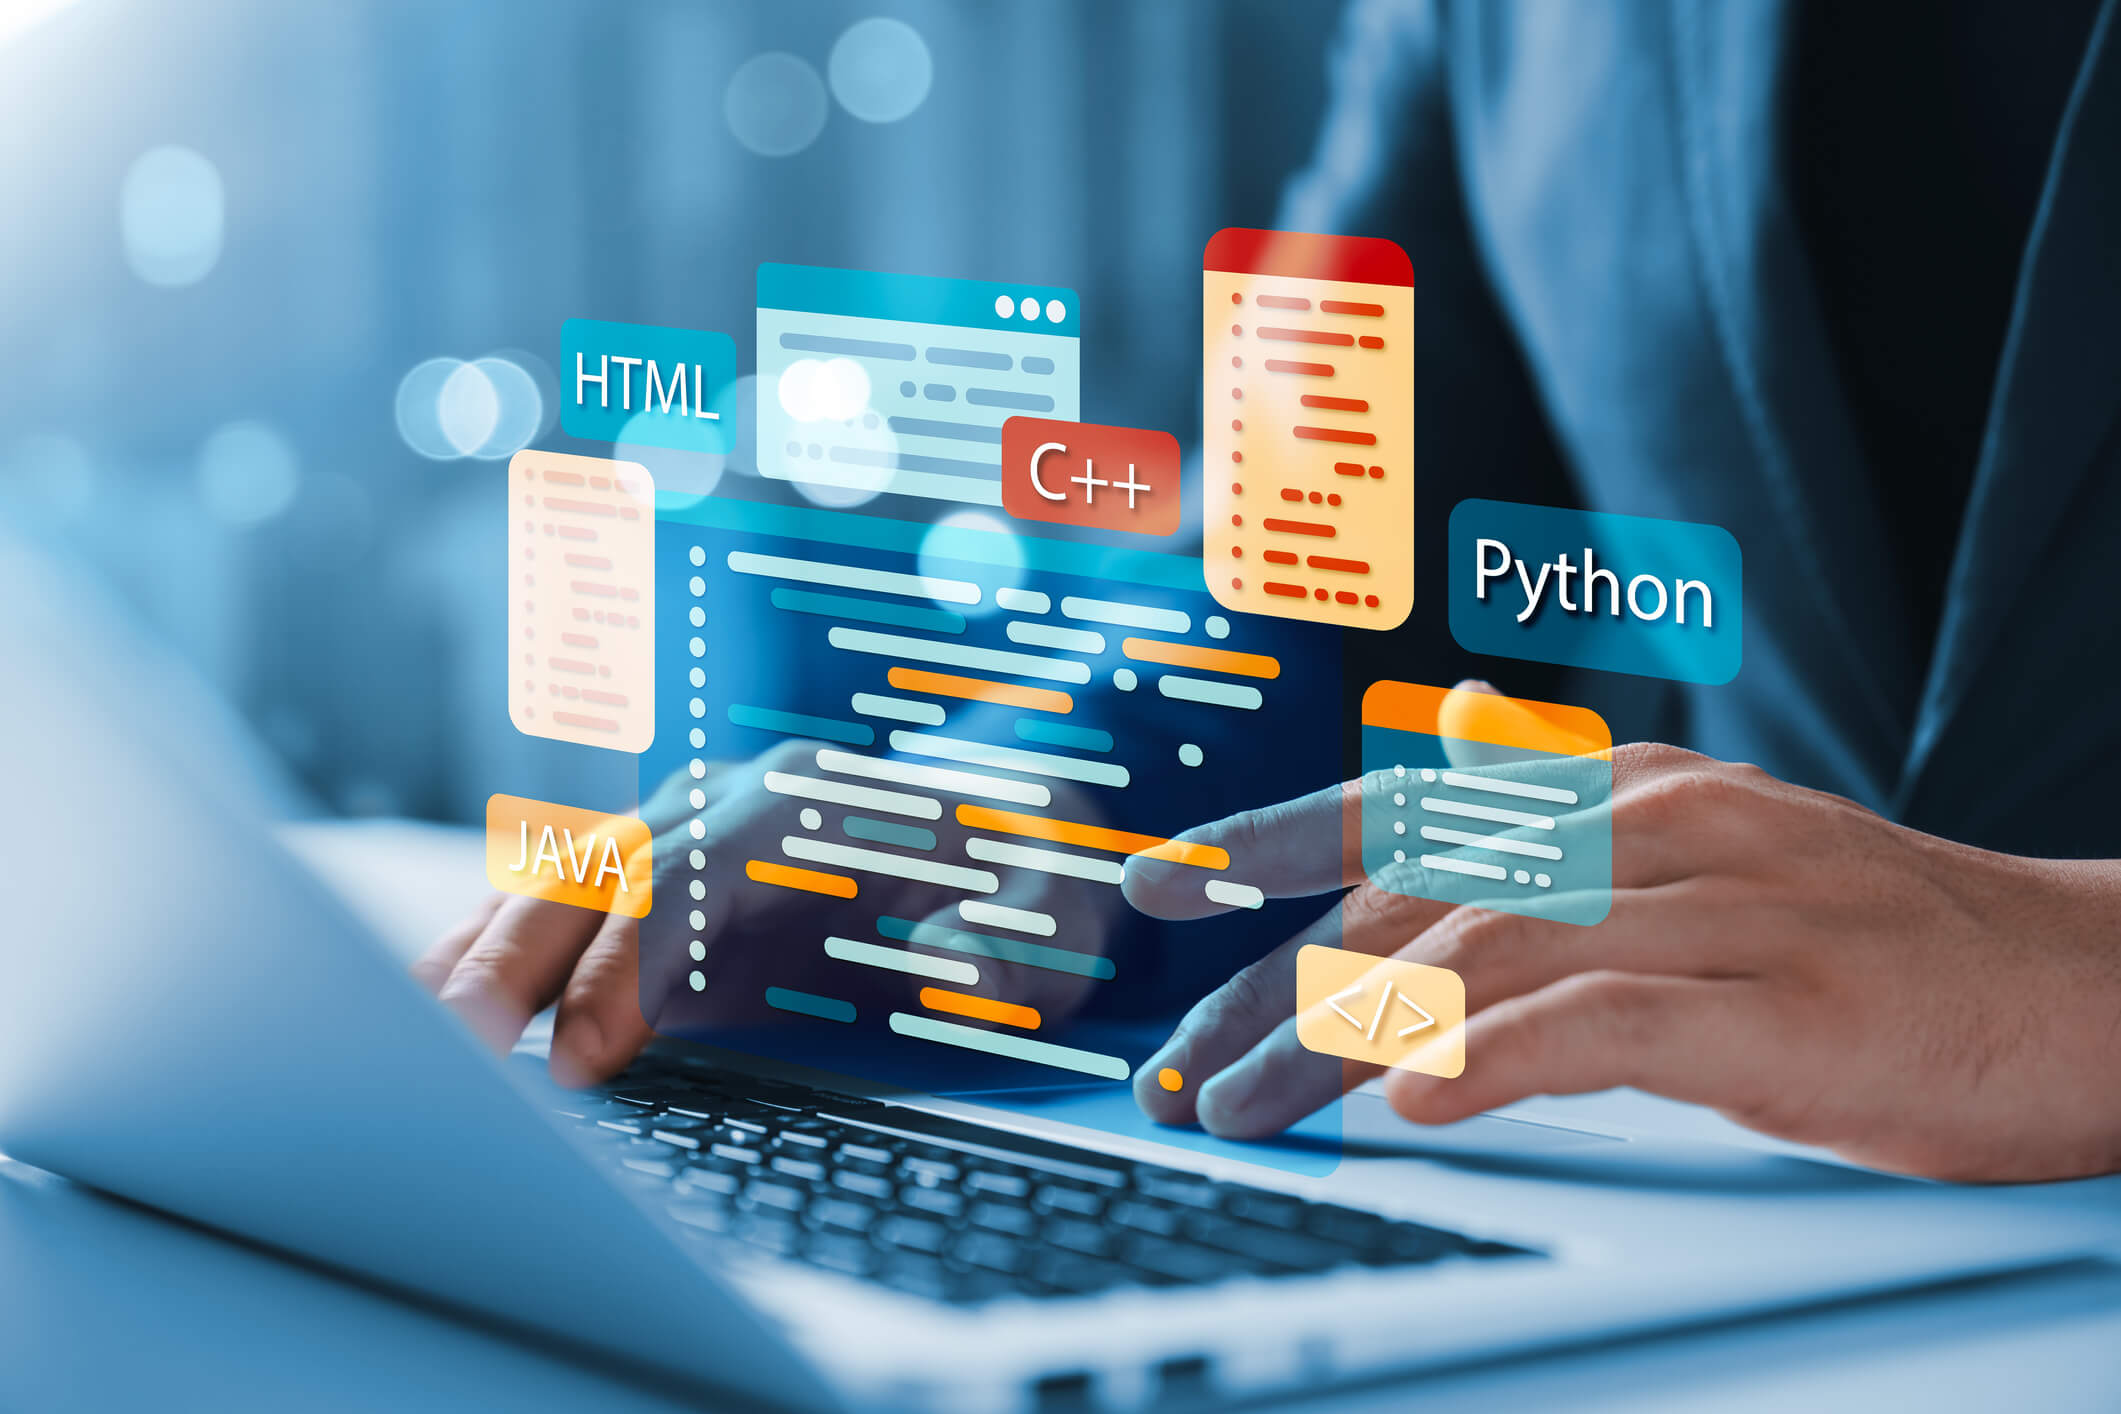
Raspberry Pi supports a variety of programming languages, making it a versatile platform for both beginners and experienced programmers. Some of the commonly used programming languages on Raspberry Pi include:
Python: Python is one of the most popular programming languages for Raspberry Pi. It is known for its simplicity and readability, making it an excellent choice for beginners. Python is widely used for a wide range of applications, including web development, automation, data analysis, and more. The Raspberry Pi Foundation provides a Python IDE (Integrated Development Environment) called Thonny, which is well-suited for learning and coding on Raspberry Pi.
Scratch: Scratch is a visual, block-based programming language designed primarily for kids and beginners. It uses a drag-and-drop interface, making it easy to create animations and simple games. Scratch is an excellent choice for young learners who are just getting started with coding and want to have fun while learning.
JavaScript: JavaScript can be used on Raspberry Pi for web development and creating interactive web applications. It is commonly used for projects that involve controlling hardware through a web interface or running web servers.
Useful article: Java vs. Javascript | What’s the Difference?
C and C++: Raspberry Pi supports C and C++ programming languages, which are well-suited for projects that require low-level hardware control and performance optimization. These languages are commonly used in robotics and embedded systems development.
Java: Java can be used on Raspberry Pi for developing desktop applications, web applications, and Android app development (using Android Studio). Java provides portability across different platforms.
Ruby: Ruby is a dynamic and user-friendly language used for web development, scripting, and general-purpose programming. It’s less commonly used on Raspberry Pi but is available for those familiar with the language.
Other Languages: Raspberry Pi is a versatile platform, and you can use a wide range of other programming languages based on your project’s requirements. This includes languages like Lua, PHP, Perl, and more.
The choice of programming language largely depends on the specific project and the programmer’s familiarity with the language. For beginners, Python and Scratch are often recommended due to their ease of learning and the extensive educational resources available. However, more experienced developers may choose languages like C or Java for specific applications or performance-critical projects on Raspberry Pi.
How to Setup Raspberry Pi Learning Desktop?
Setting up a Raspberry Pi Learning Desktop is an exciting and educational endeavor that can introduce you or your child to the world of computing and programming. To get started, you’ll need a few essential components: a Raspberry Pi board (such as a Raspberry Pi 4), a microSD card with sufficient storage (at least 16GB is recommended), a power supply, an HDMI cable, a keyboard, a mouse, and a monitor or TV with an HDMI input.
First, download the Raspberry Pi OS (formerly Raspbian) from the official Raspberry Pi website. Choose the version that suits your needs; the Raspberry Pi OS with a desktop environment is recommended for a learning desktop.
Next, use a computer to flash the downloaded OS image onto the microSD card. You can use software like Etcher to do this. Once the image is flashed, insert the microSD card into the Raspberry Pi, connect the HDMI cable to your monitor or TV, and plug in the power supply to turn on the Raspberry Pi.
Upon booting up, the Raspberry Pi OS will guide you through an initial setup process, including configuring your language, time zone, and password. Once completed, you’ll have access to a fully functional desktop environment, similar to what you’d find on a traditional computer.
From here, you can explore a wealth of educational software, programming tools, and resources available on the Raspberry Pi, making it a fantastic platform for learning, coding, and exploring various STEM (Science, Technology, Engineering, and Mathematics) subjects.
Whether you’re a student looking to dive into programming or an enthusiast eager to experiment with hardware projects, your Raspberry Pi Learning Desktop is a versatile tool that can open up a world of possibilities in the realm of technology and computer science.
Useful article: STEM Programs For Kids
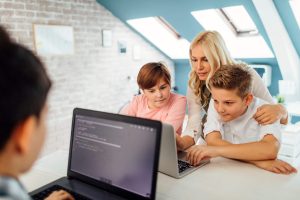
How to use Raspberry Pi to teach children at home?
Teaching children at home using Raspberry Pi can be a rewarding and educational experience. This versatile single-board computer offers numerous opportunities to introduce coding, technology, and hands-on learning in a home environment. Here are some steps to effectively use Raspberry Pi for teaching children at home:
Get the Right Equipment: Start by acquiring the necessary hardware. You’ll need a Raspberry Pi board (such as Raspberry Pi 4), a microSD card with sufficient storage, a power supply, a keyboard, a mouse, and a monitor or TV with an HDMI input. Consider purchasing a Raspberry Pi starter kit, which often includes essential components and accessories.
Install Raspberry Pi OS: Download the Raspberry Pi OS (formerly Raspbian) from the official Raspberry Pi website. Flash the OS image onto the microSD card using software like Etcher. Insert the card into the Raspberry Pi, connect the HDMI cable to your display, and plug in the power supply. Follow the on-screen instructions to set up the initial configuration, including language, time zone, and password.
Choose Educational Software: Raspberry Pi comes pre-loaded with various educational software, including programming environments like Scratch and Python, as well as educational games and tools. Explore the available software and choose age-appropriate applications that align with your child’s interests and learning goals.
Coding and Projects: Begin teaching your child the basics of coding using Scratch, a visual block-based programming language. Encourage them to create simple animations, games, and stories. As they progress, introduce Python programming, which is a versatile and widely-used language. Engage in coding projects together, such as creating a simple game or a weather station using sensors.
Hardware Projects: Raspberry Pi allows for a wide range of hardware projects. Explore projects like building a mini-robot, setting up a home media center, or creating a smart mirror. These hands-on projects not only teach coding but also provide insights into electronics and engineering concepts.
Online Resources and Communities: Utilize online resources, tutorials, and educational websites specifically designed for Raspberry Pi learning. Encourage your child to participate in online forums and communities where they can seek advice, share projects, and collaborate with others.
Encourage Creativity: Raspberry Pi is a versatile tool that encourages creativity. Encourage your child to come up with their projects or modifications to existing ones. Whether it’s designing their own video game, building a home automation system, or exploring digital art, Raspberry Pi can be a canvas for their ideas.
Document and Share: Encourage your child to document their projects and learning experiences through photos, videos, or a simple blog. Sharing their achievements with family and friends can boost their confidence and motivation.
Parental Involvement: Stay involved in your child’s learning journey. Offer guidance, answer questions, and engage in projects together. Be patient and foster a growth mindset that embraces challenges and learning from mistakes.
Teaching children at home with Raspberry Pi can not only develop their technical skills but also promote critical thinking, problem-solving, and creativity. It’s an enjoyable and hands-on way to introduce them to the world of technology and computer science, all within the comfort of your home.
CodaKid programming courses for kids and their benefits into Code With a Raspberry Pi program
CodaKid is an educational platform that offers programming courses specifically designed for kids, and these courses can be incredibly valuable when it comes to teaching children how to code with a Raspberry Pi. CodaKid’s programming courses provide a structured and engaging learning experience that can help children develop coding skills while working on fun and interactive projects using a Raspberry Pi.
Here are some key aspects of CodaKid’s programming courses and how they can assist in teaching kids to code with a Raspberry Pi:
- Kid-Friendly Curriculum: CodaKid’s curriculum is tailored to children, making it easy for them to understand and follow along. The courses are designed with young learners in mind, using age-appropriate language and concepts.
- Interactive and Hands-On: CodaKid places a strong emphasis on hands-on learning. Students get to work on real coding projects and activities that keep them engaged and excited about coding. When paired with a Raspberry Pi, children can apply what they learn practically and tangibly.
- Raspberry Pi Integration: CodaKid’s courses can be adapted to work with Raspberry Pi, allowing kids to learn programming while exploring the capabilities of this versatile single-board computer. They can create projects that involve sensors, LEDs, motors, and more, turning their Raspberry Pi into a powerful tool for coding and electronics.
- Structured Progression: The courses offered by CodaKid are structured in a way that takes learners from the basics to more advanced coding concepts. This progression helps kids build a solid foundation in programming, which is essential when working with a Raspberry Pi.
- Support and Guidance: CodaKid provides support and guidance throughout the learning process. Kids can access resources, tutorials, and a supportive community to ask questions, seek assistance, and share their projects. This support system ensures that children feel confident as they explore coding with a Raspberry Pi.
- Fun and Engaging Projects: CodaKid’s courses feature a wide range of creative projects that can be completed using a Raspberry Pi. These projects include game development, Minecraft modding, robotics, and more. Children can see the practical applications of coding as they bring their ideas to life.
- Parent Involvement: CodaKid recognizes the importance of parent involvement in a child’s learning journey. Parents can monitor their children’s progress, receive regular updates, and stay informed about their achievements and challenges.
Incorporating CodaKid’s programming courses into your child’s learning experience with a Raspberry Pi can be an excellent way to make coding accessible, engaging, and educational. It enables children to develop valuable coding skills while exploring the capabilities of this small but powerful computer. By combining CodaKid’s structured curriculum with hands-on Raspberry Pi projects, kids can embark on a coding adventure that sparks their creativity and passion for technology.
Conclusion
You don’t need to possess coding expertise before embarking on teaching Raspberry Pi coding to children. You can learn alongside them, encourage them, embrace mistakes as part of the learning process, and allow them to progress at their own pace.
Raspberry Pi serves as an excellent platform for children to initiate their journey into coding and computational understanding. It equips them with essential computer skills and imparts knowledge about both hardware and software and their interplay.
If you aspire to nurture your children’s programming, computational, technical, robotics, and coding proficiencies, Raspberry Pi serves as an ideal starting point.
There are no excuses for delaying the teaching of coding to children. If you’re uncertain about how to commence, there are various methods available for teaching kids coding and programming. Additionally, you can explore our other resources on the Best Online Coding Learning Resources for Children, which can offer valuable guidance in teaching coding to your youngsters.
Engaging in coding communities and clubs goes beyond the selection of a programming language and project work; it enables your child to acquire vital skills like teamwork and effective communication more rapidly.
It’s advisable to motivate your children to become part of coding clubs or participate in offline forums tailored to young programmers. This not only sustains their enthusiasm but also fosters a sense of belonging within a community. In such settings, they often find opportunities for collaboration and can seek guidance from experienced professionals. These groups provide ongoing support and assist newcomers in honing their coding abilities.
Introducing your children to coding through a Raspberry Pi aligns with the original purpose of this single-board computer, which was to make computing affordable and inspire more young individuals to delve into the world of coding. If your kids are enthusiastic about coding as a means of expressing their creativity and intuition, investing in a Raspberry Pi can be an excellent way to empower them to manifest their vision.
By harnessing the resources available online, engaging with offline communities, and embarking on practical projects, this single-board computer serves as an invaluable tool for guiding your children into the realm of coding.