What is UEFN?
The Unreal Editor for Fortnite, or UEFN for short, is a small slice of the powerful Unreal game engine that has been designed solely for developing custom maps and game modes for the mega-popular game Fortnite.
UEFN is a great tool for those who want an introduction to the Unreal engine, or for those who want to build their own Fortnite maps for their friends to play and enjoy.
What are UEFN System Requirements?
UEFN requires Fortnite to be used, so you will need a computer that can at least run that.
For specific hardware requirements, you can check out this page:
https://store.epicgames.com/en-US/p/fortnite–uefn
Game Publishing Caveat
An important thing to note is that while you can build your maps with UEFN and test them yourself, you need to be at least 18 years old to publish your game to Fortnite for the public to see. If you are below age 18, you can ask your parents to publish for you.
What This Lesson Will Teach
This tutorial will show how to set up an Epic Games account and download Fortnite and UEFN. We will learn how to create our levels with props and devices, and even build our own “Parkour” platformer game.
Note: If you already have Fortnite, then you can skip down to Step 4.
Table of Contents
Step 1: Create an Epic Games Account
First thing you’ll need to do is create an Epic Games account. If you or your child is under 13 years old, then you’ll need a parent or guardian’s help for this.
Click this link to go to www.epicgames.com.
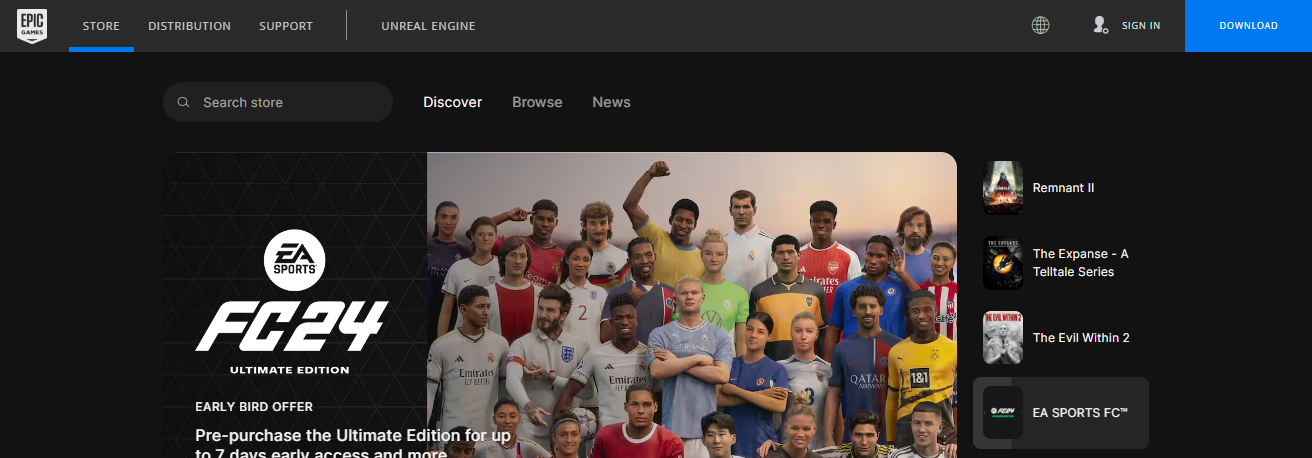
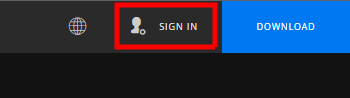
Click Sign In in the top right.
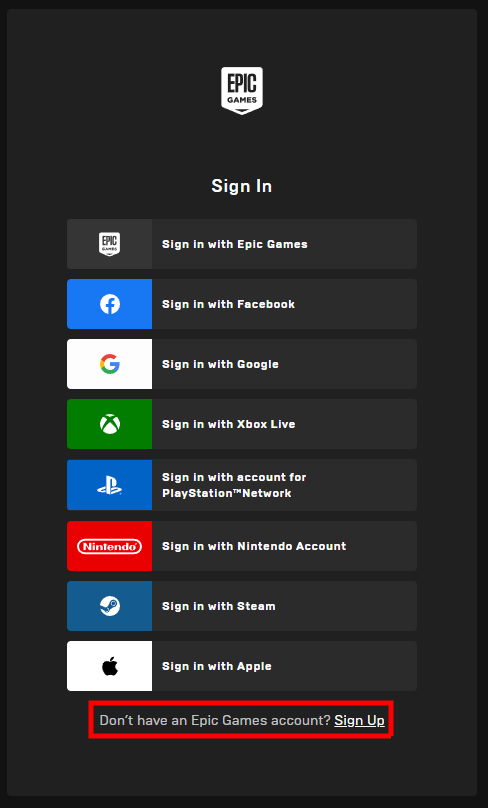
Click Sign Up at the bottom.
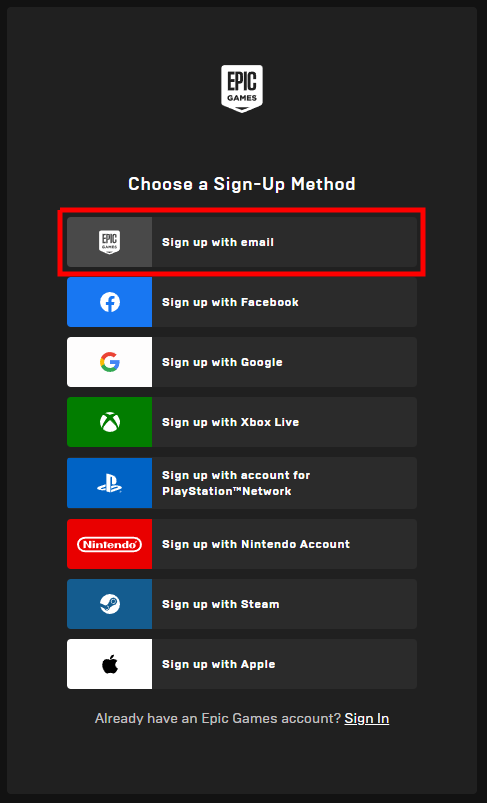
You can choose to sign up with another account if you want. If you don’t want to or you’re not sure, then click Sign up with email.
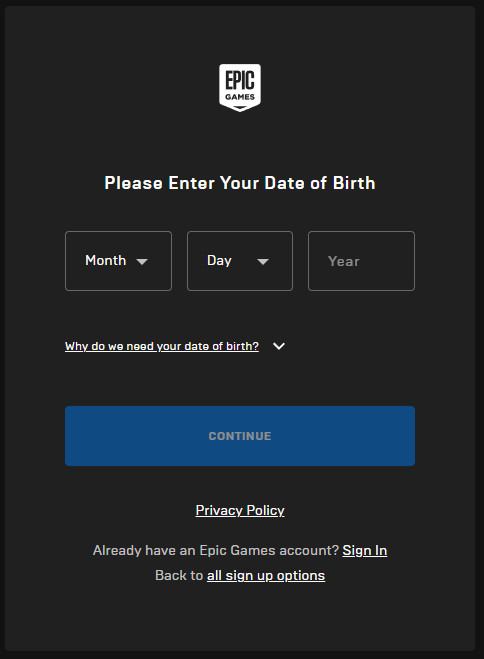
Then you will need to enter your birthday. If you or your child is under 13 years old, then this will be the parent or guardian’s birthday. Click Continue when you’re done.
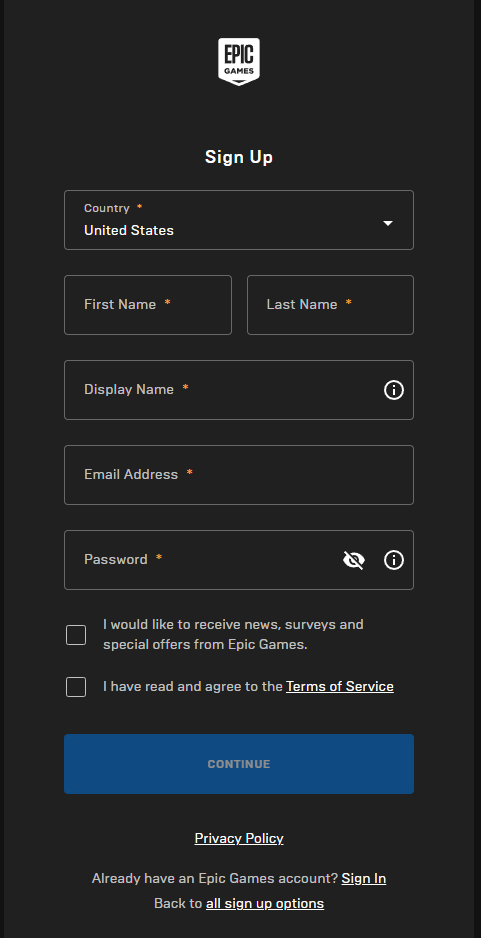
Enter your information on the next page. If you or your child is under 13, this will be the parent or guardian’s information. Click Continue when you’re done.
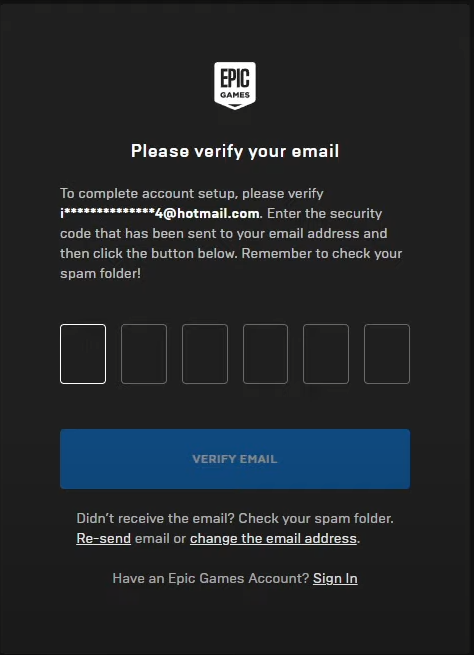
Next you’ll need to verify your email address. Check your email for a message from Epic Games. They will send you a six digit number that you have to enter here. Click Verify Email once this is done.
If you are a parent or guardian setting up an account for their child, you can also set parental controls for this account. Learn more about setting parental controls by clicking here.
Now you have your Epic Games account. The next step is to download the Epic Games Launcher.
Step 2: Download the Epic Games Launcher
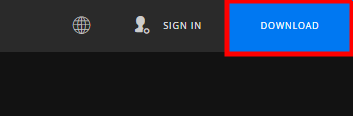
To get the Epic Games Launcher, click the Download button in the top right corner. This will download the installer.
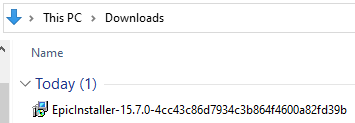
Once it’s downloaded, you can find it inside your Downloads folder. Double click the installer to run it.
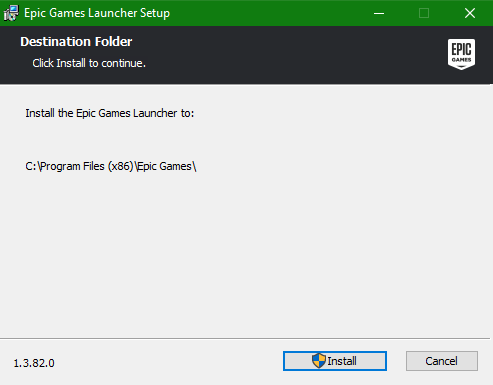
Follow the prompts for installing the launcher.
Once it has finished installing, you’ll be able to find the launcher as you would any other app on your computer.

The next step is to download the game Fortnite. Open up the Epic Games Launcher.
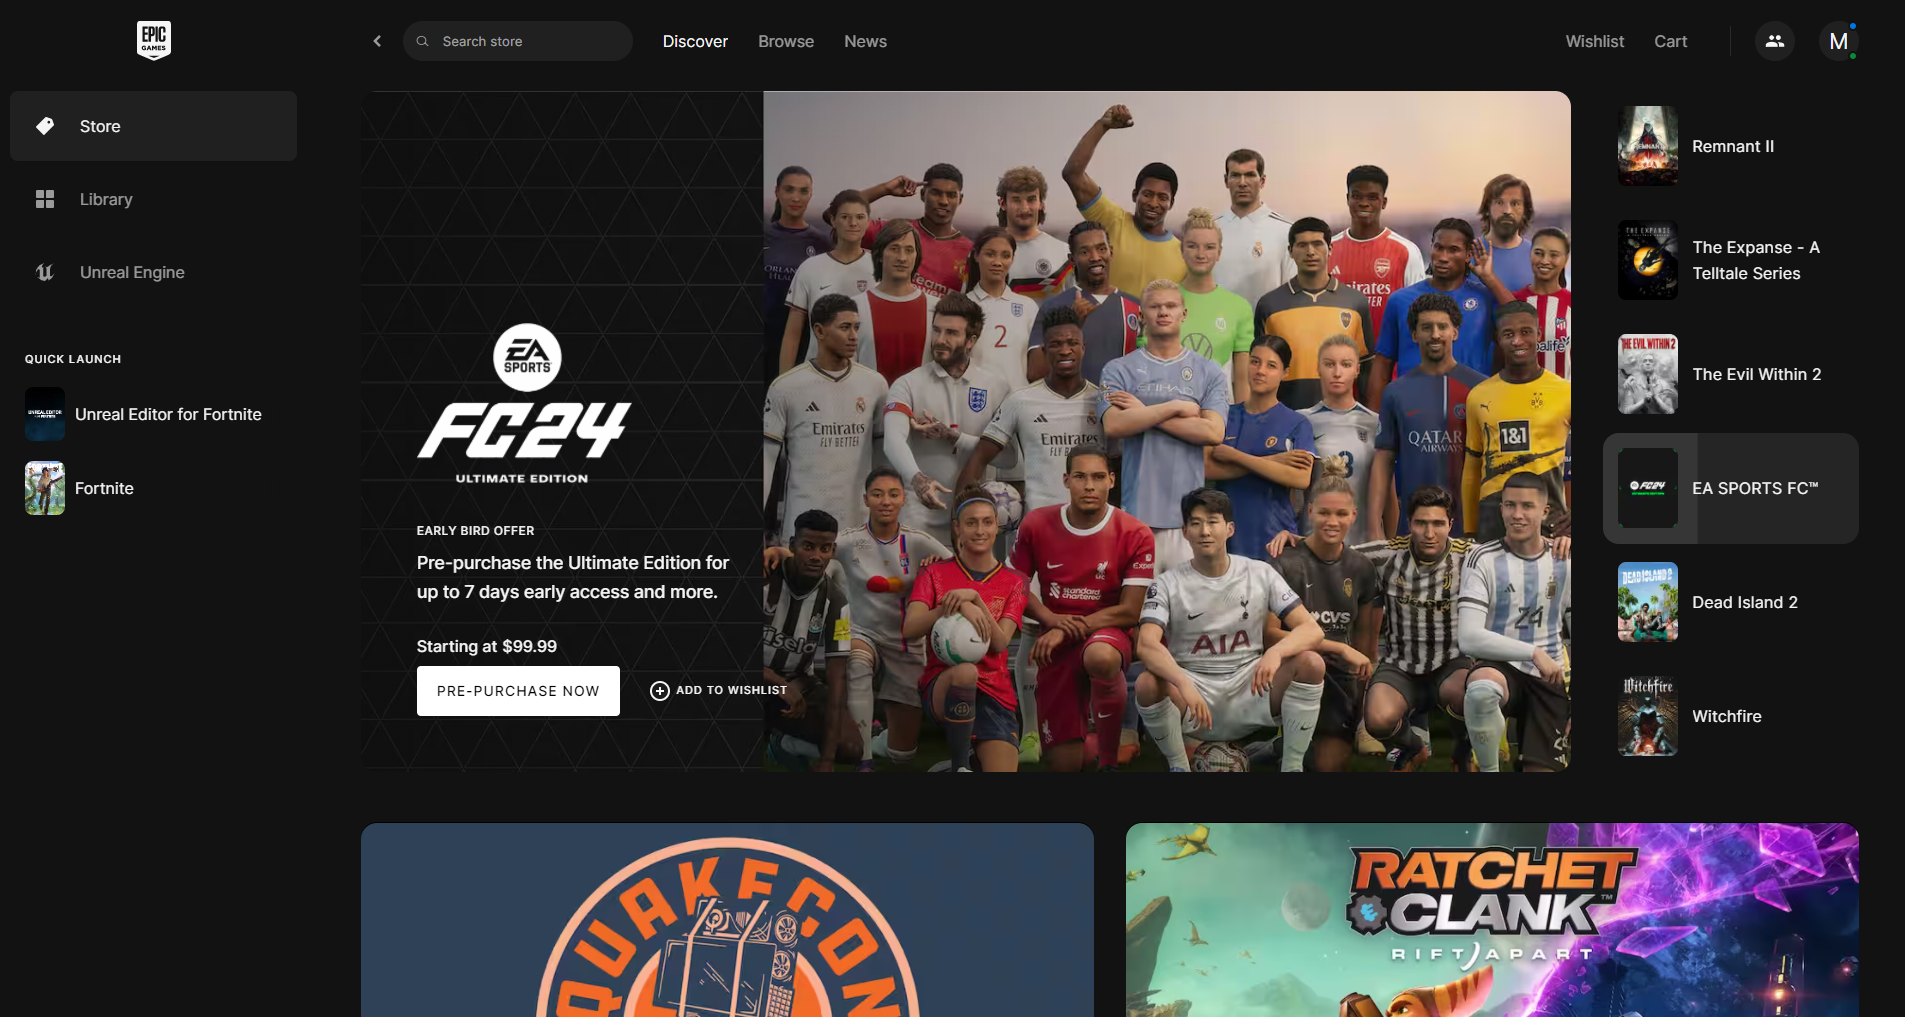
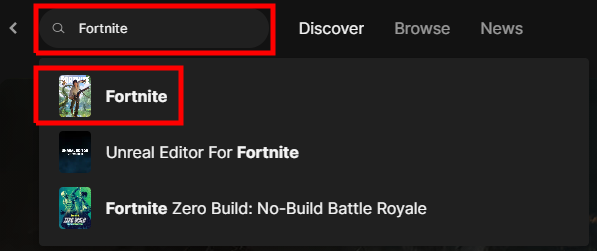
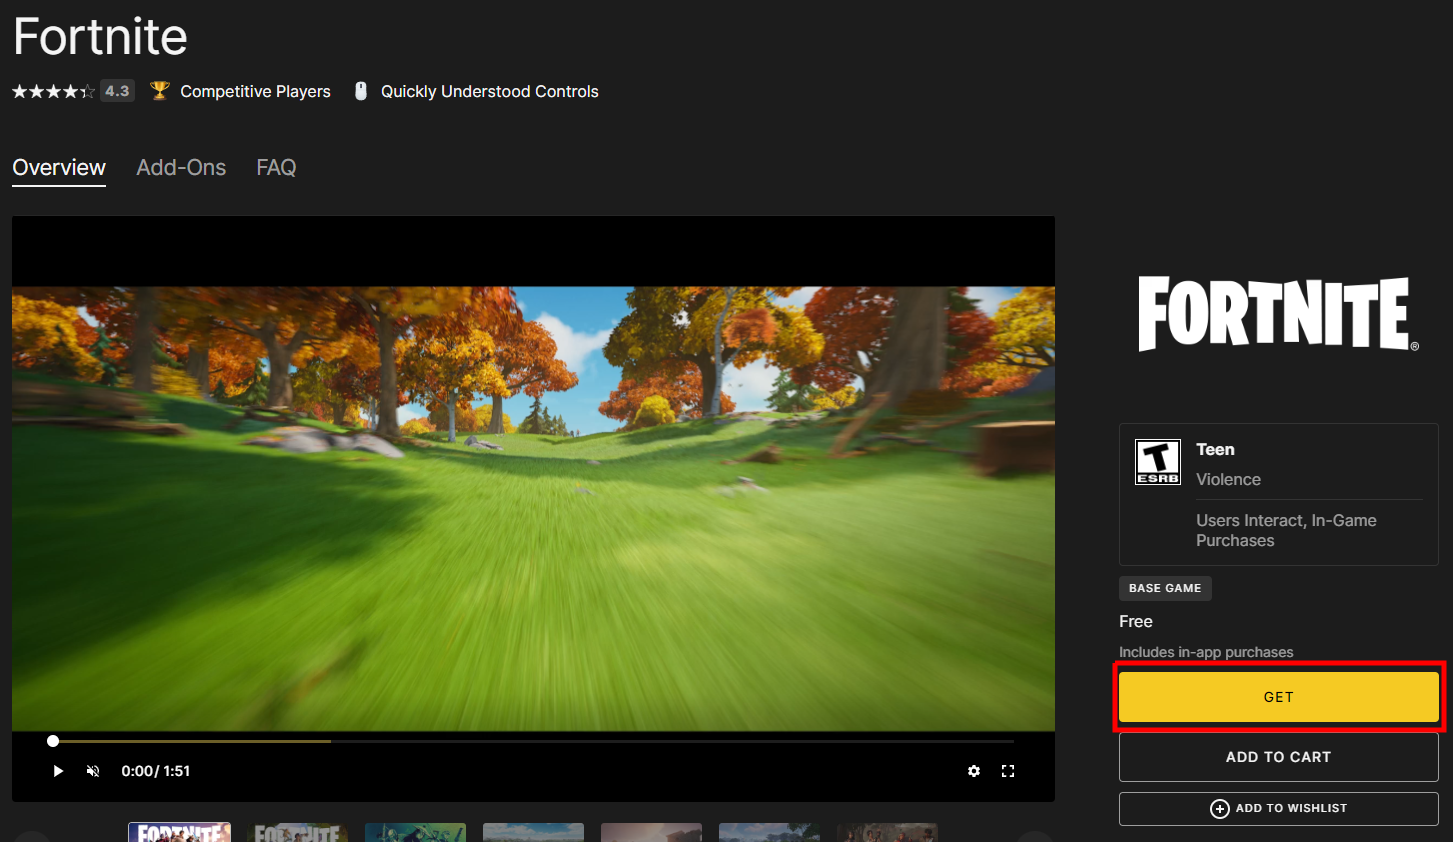
Click the search bar at the top and look up “Fortnite”. Select Fortnite when you see it.
This will take you to Fornite’s page. Click the Get button to begin the download process. Fortnite is a fairly big game, so it may take a little while for the download to complete.
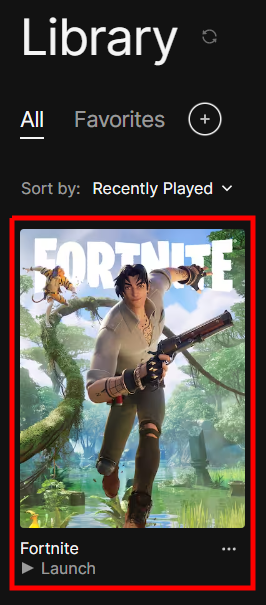
Once it’s completed, you can find it by clicking Library on the left side of the launcher.
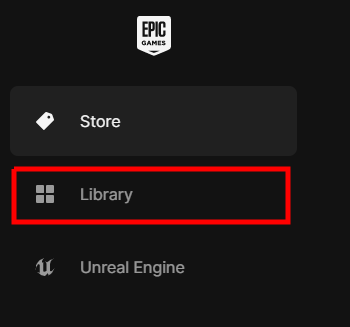
The Library lists games that you’ve purchased. You can open Fortnite from here.
Step 4: Download UEFN
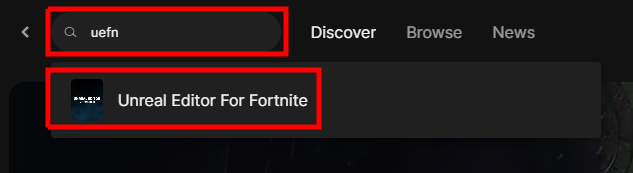
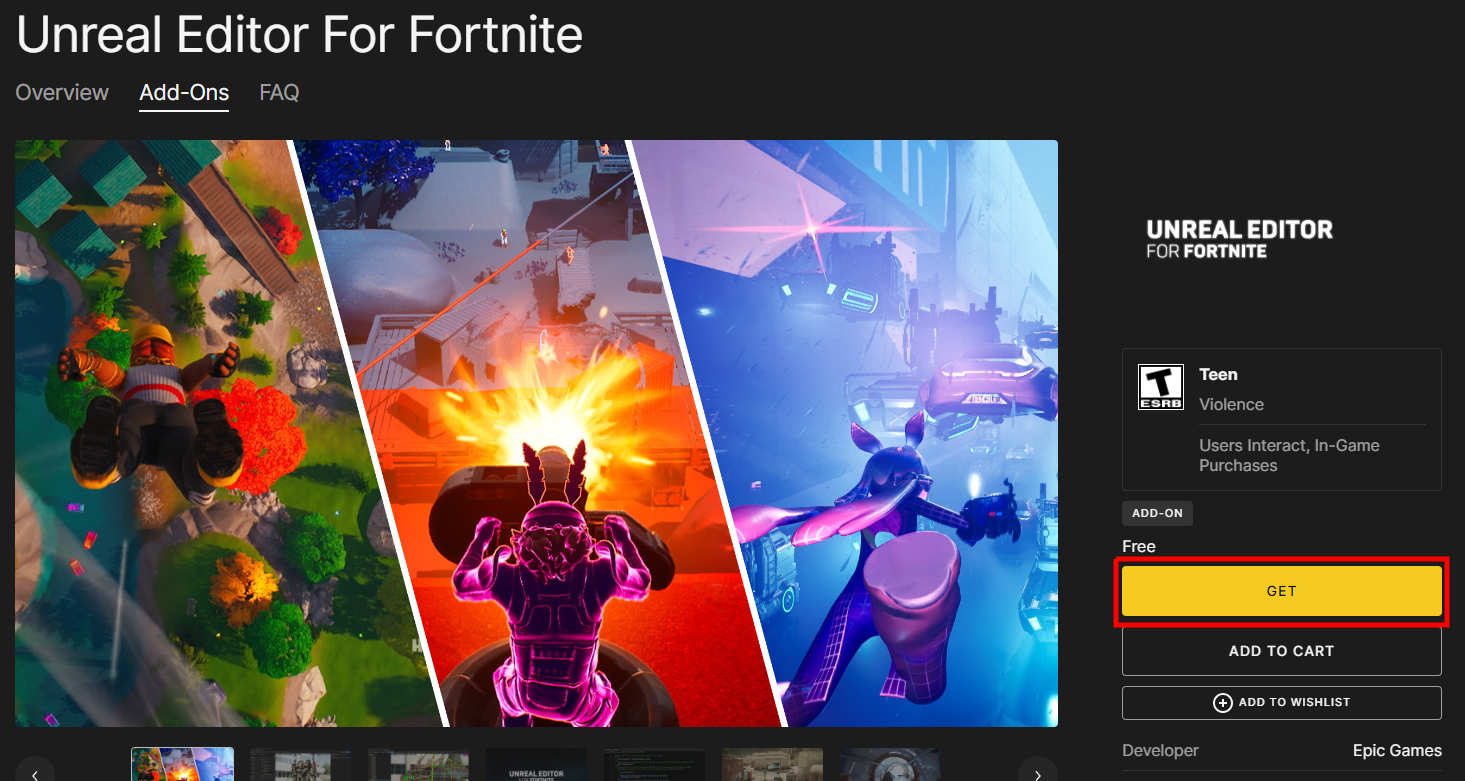
Now that we have Fortnite, the next thing we need is UEFN so we can build our own maps. In the Epic Game Launcher, search for “uefn”. Select Unreal Editor For Fortnite.
This will take you UEFN’s page. Click Get to start the download process.
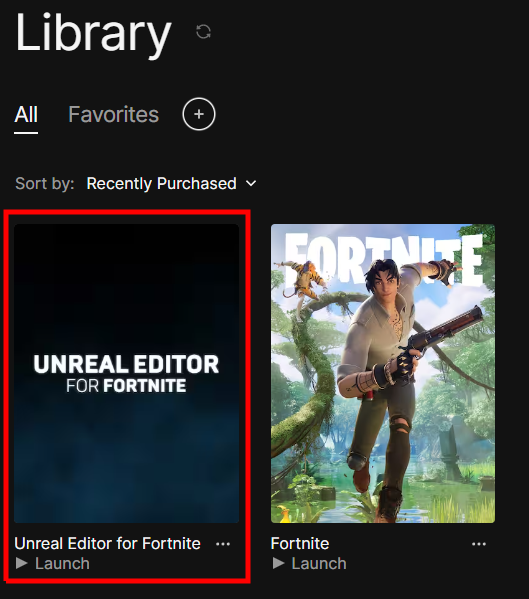
Once it’s completed, you can find it by clicking Library on the left side of the launcher.
You can open UEFN from here.
Step 5: Create Project Template
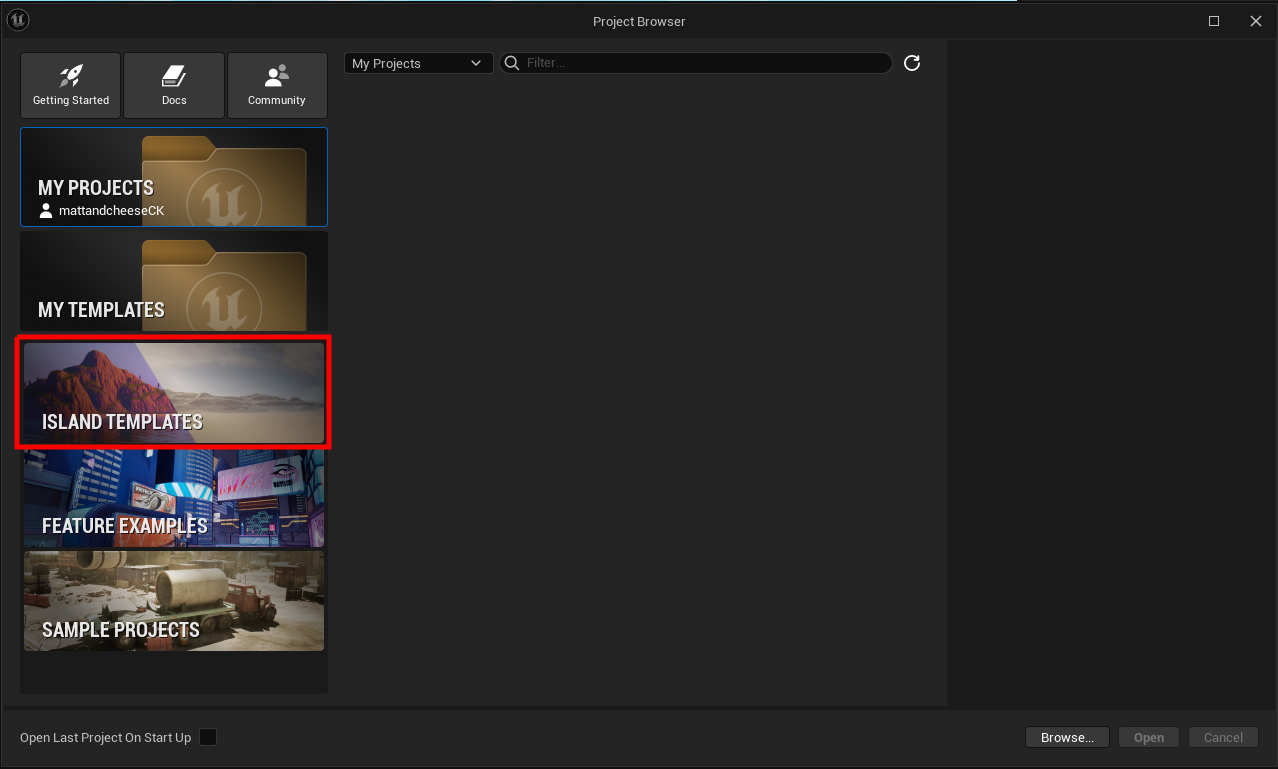
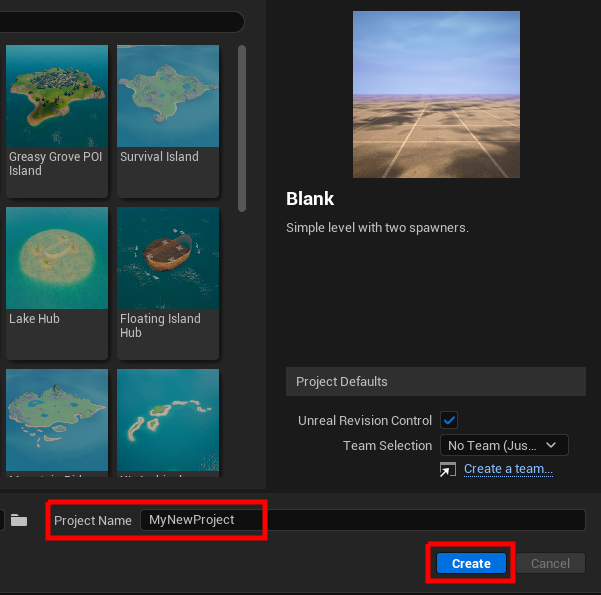
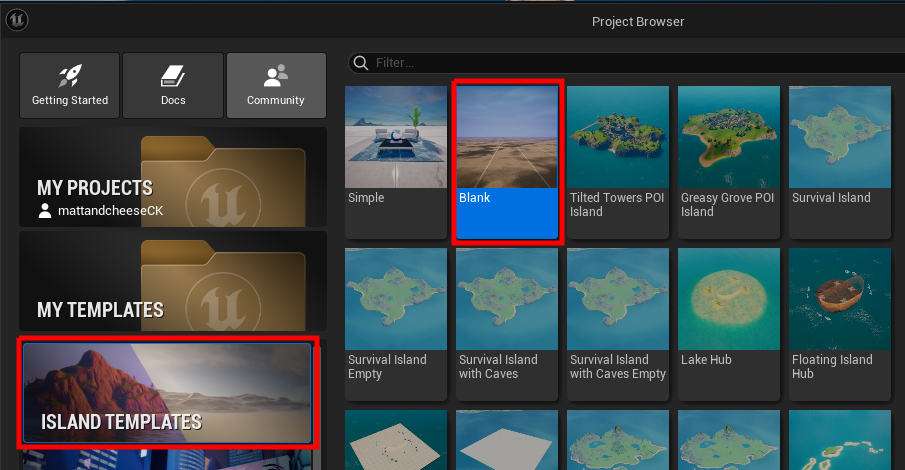
Open up UEFN from the launcher. When it opens you’ll see the Project Browser. This lists all the projects you’ve made. We don’t have any projects yet, so let’s make a new one. Click Island Templates on the left.
This will give you a selection of islands you can start with. You can pick whichever one you want to try out. This example will use the Blank template. Click on the template you want.
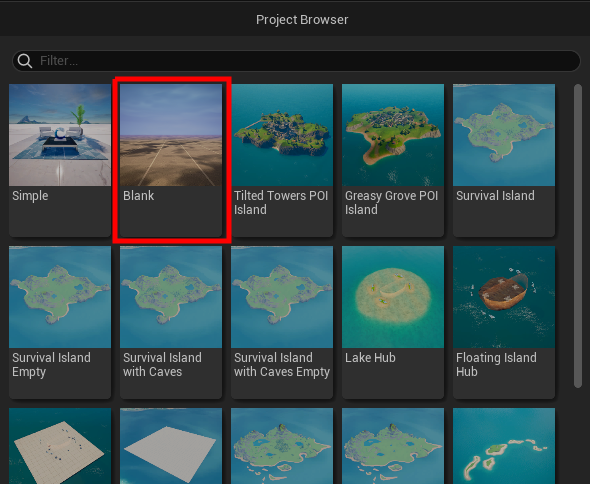
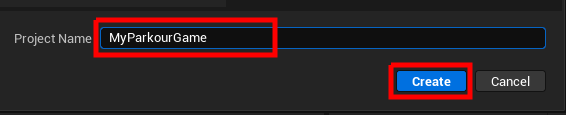
After selecting a template, give your project a name and click Create.
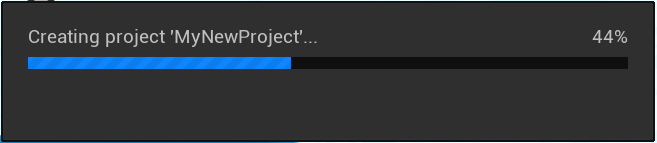
UEFN will start building your project. This may take a moment.
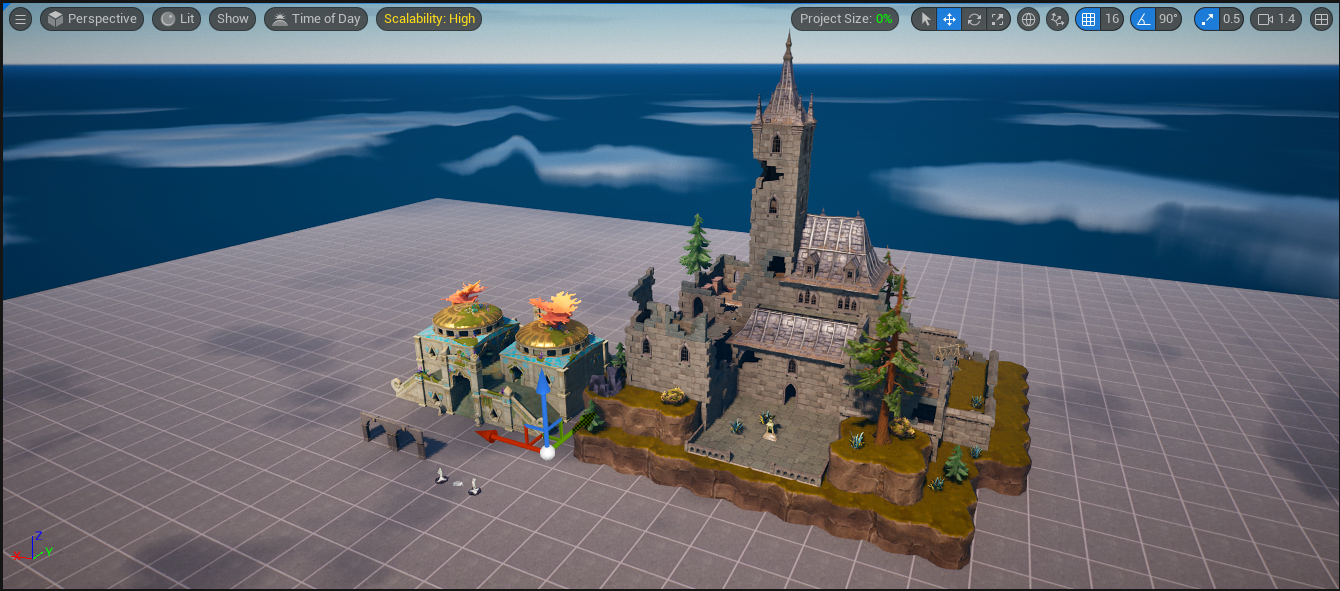
Now you have a new project and are ready to build.
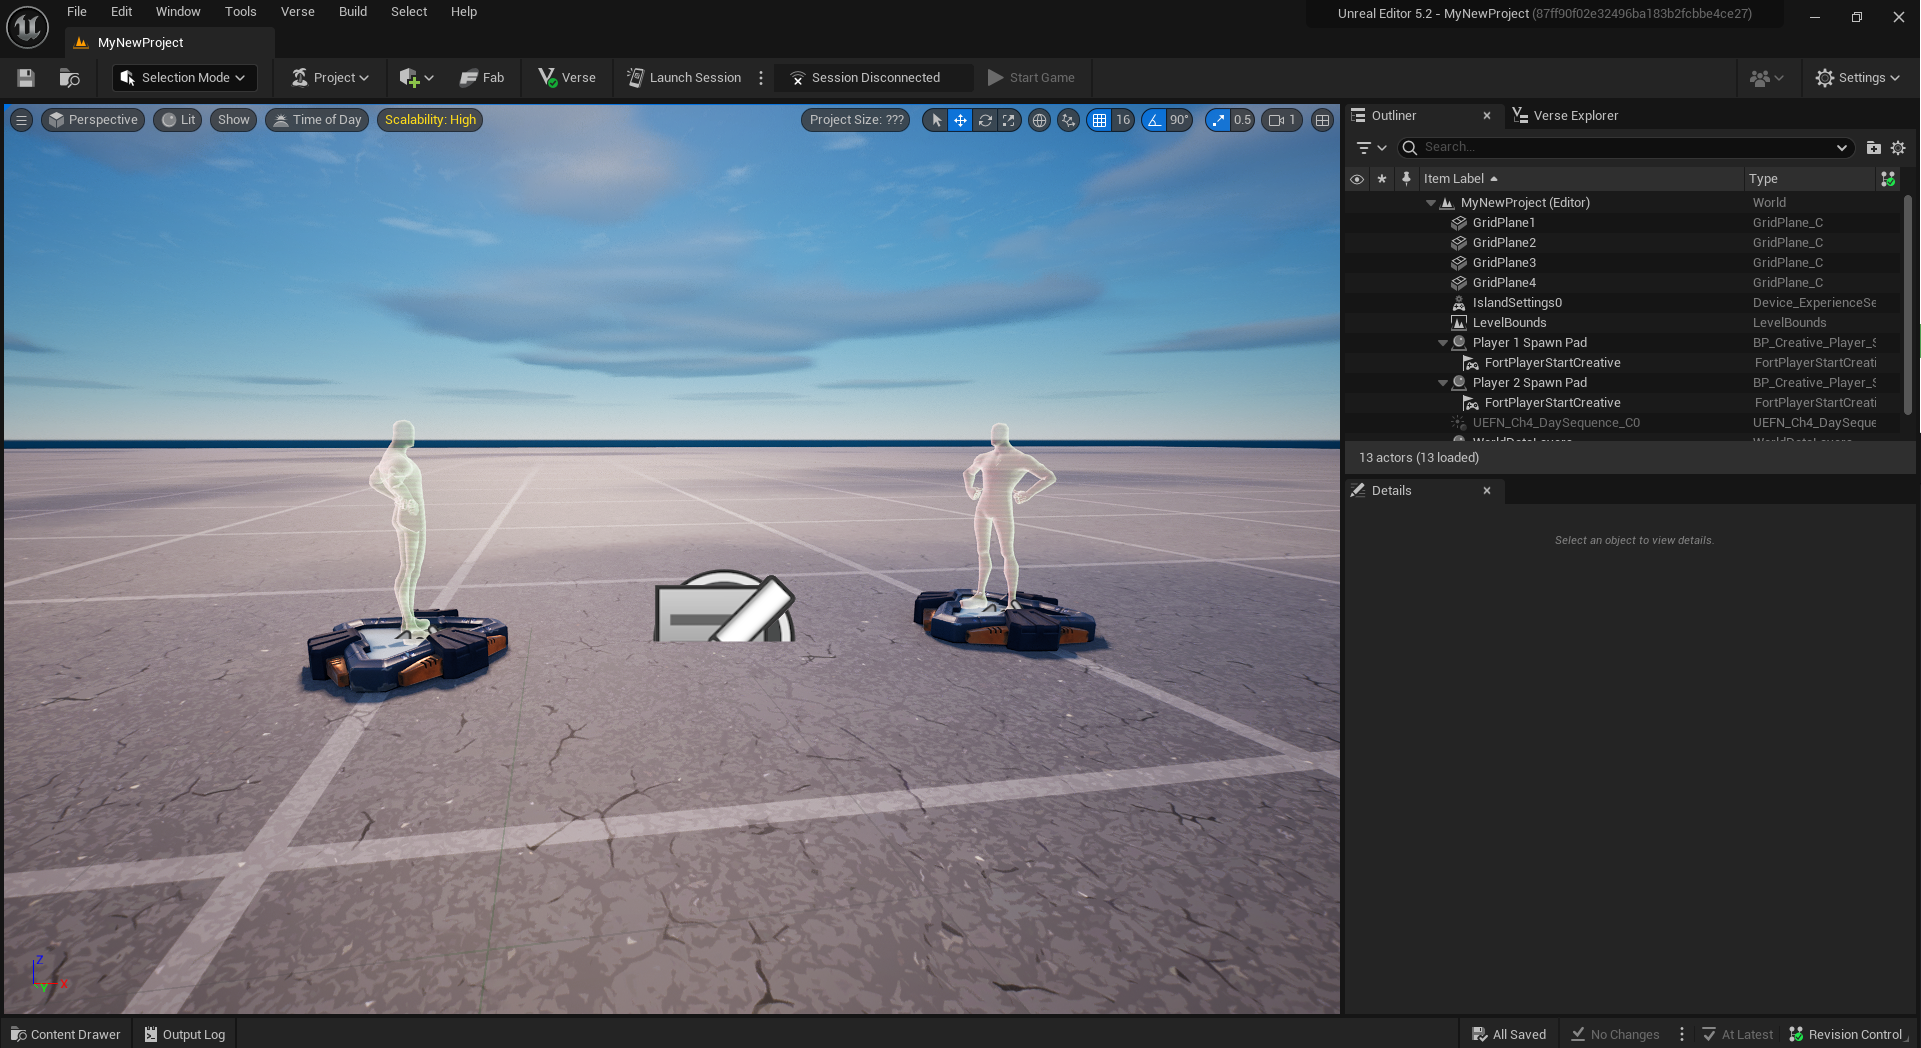
Step 6: Building Basics
To look around with the camera, hold down the right click button on your mouse and use the WASD keys on your keyboard to move. You can also use the Q and E keys to move down and up, respectively. Practice moving around with the camera for a bit to get the hang of it.
UEFN has a huge amount of pre-made assets to build your levels with. To look through them, click the Content Drawer button in the bottom left.
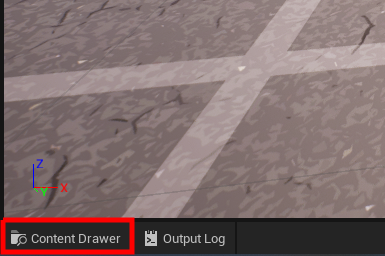
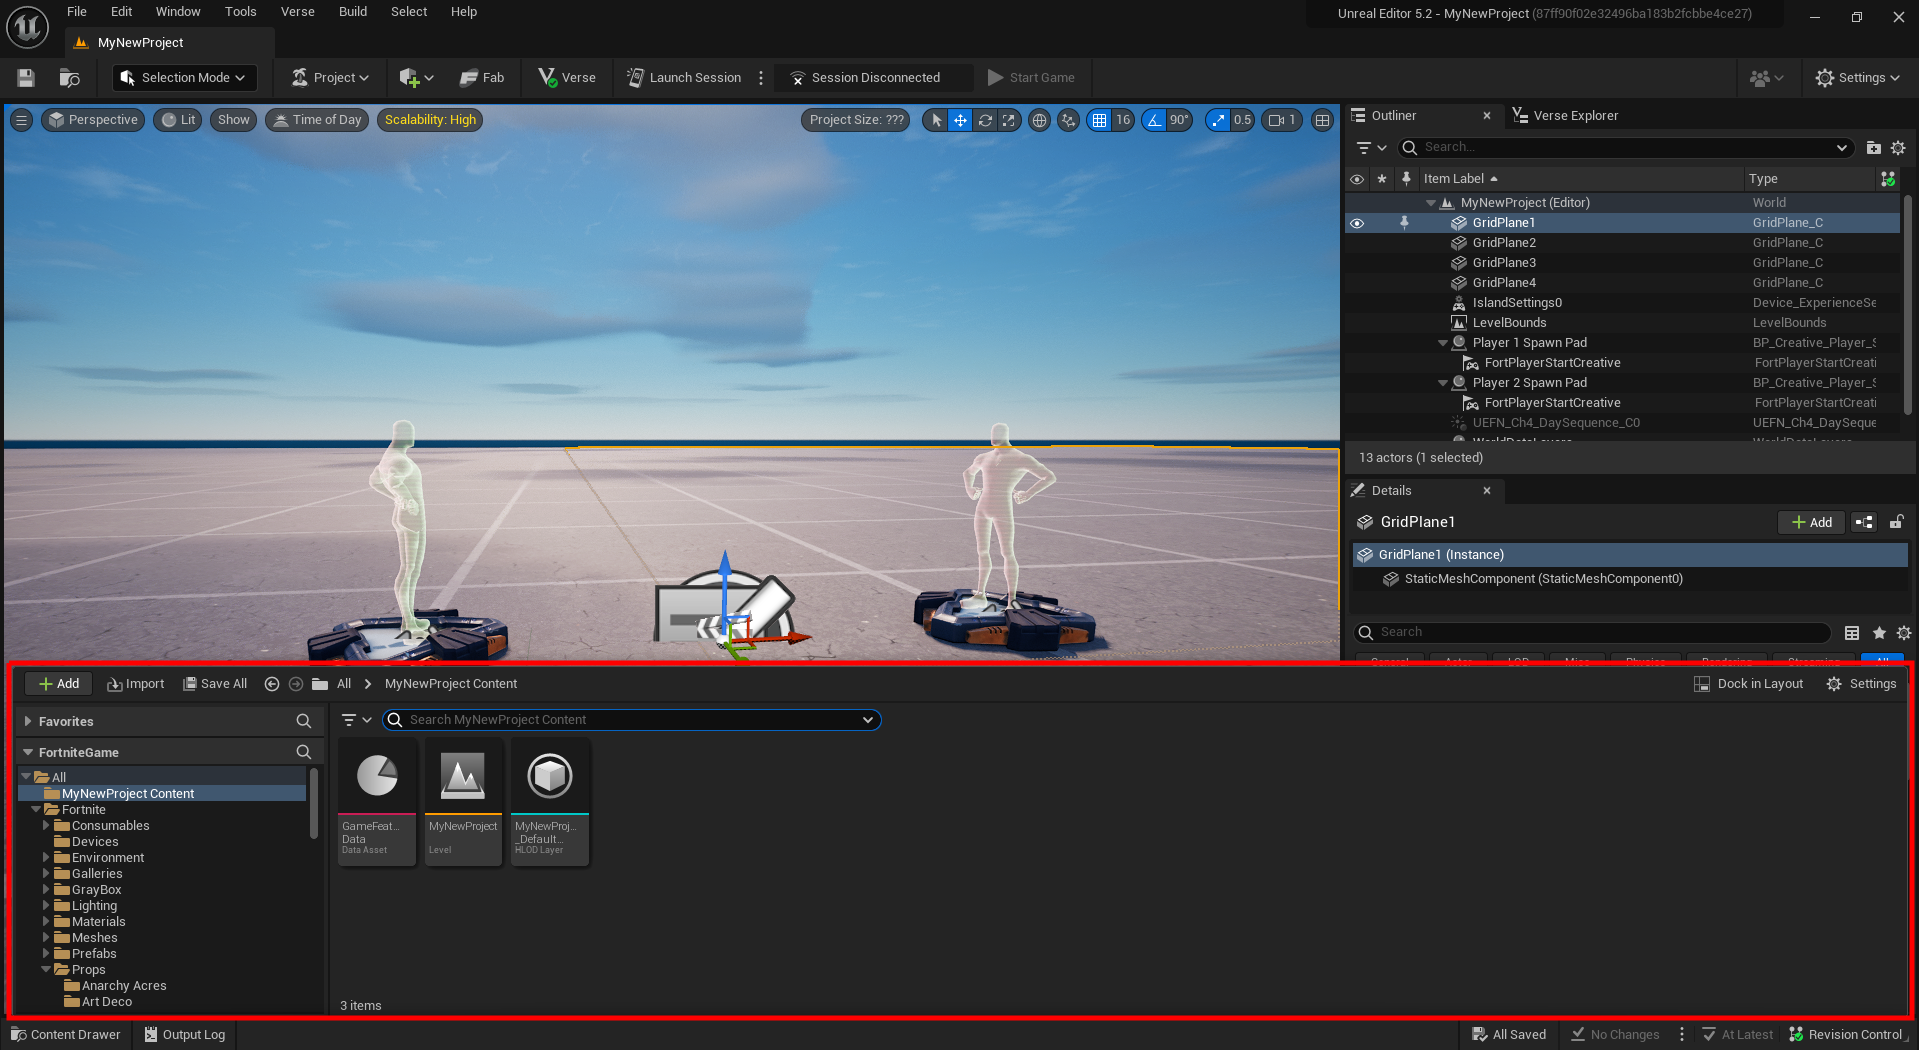
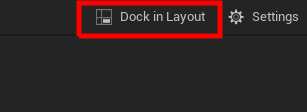
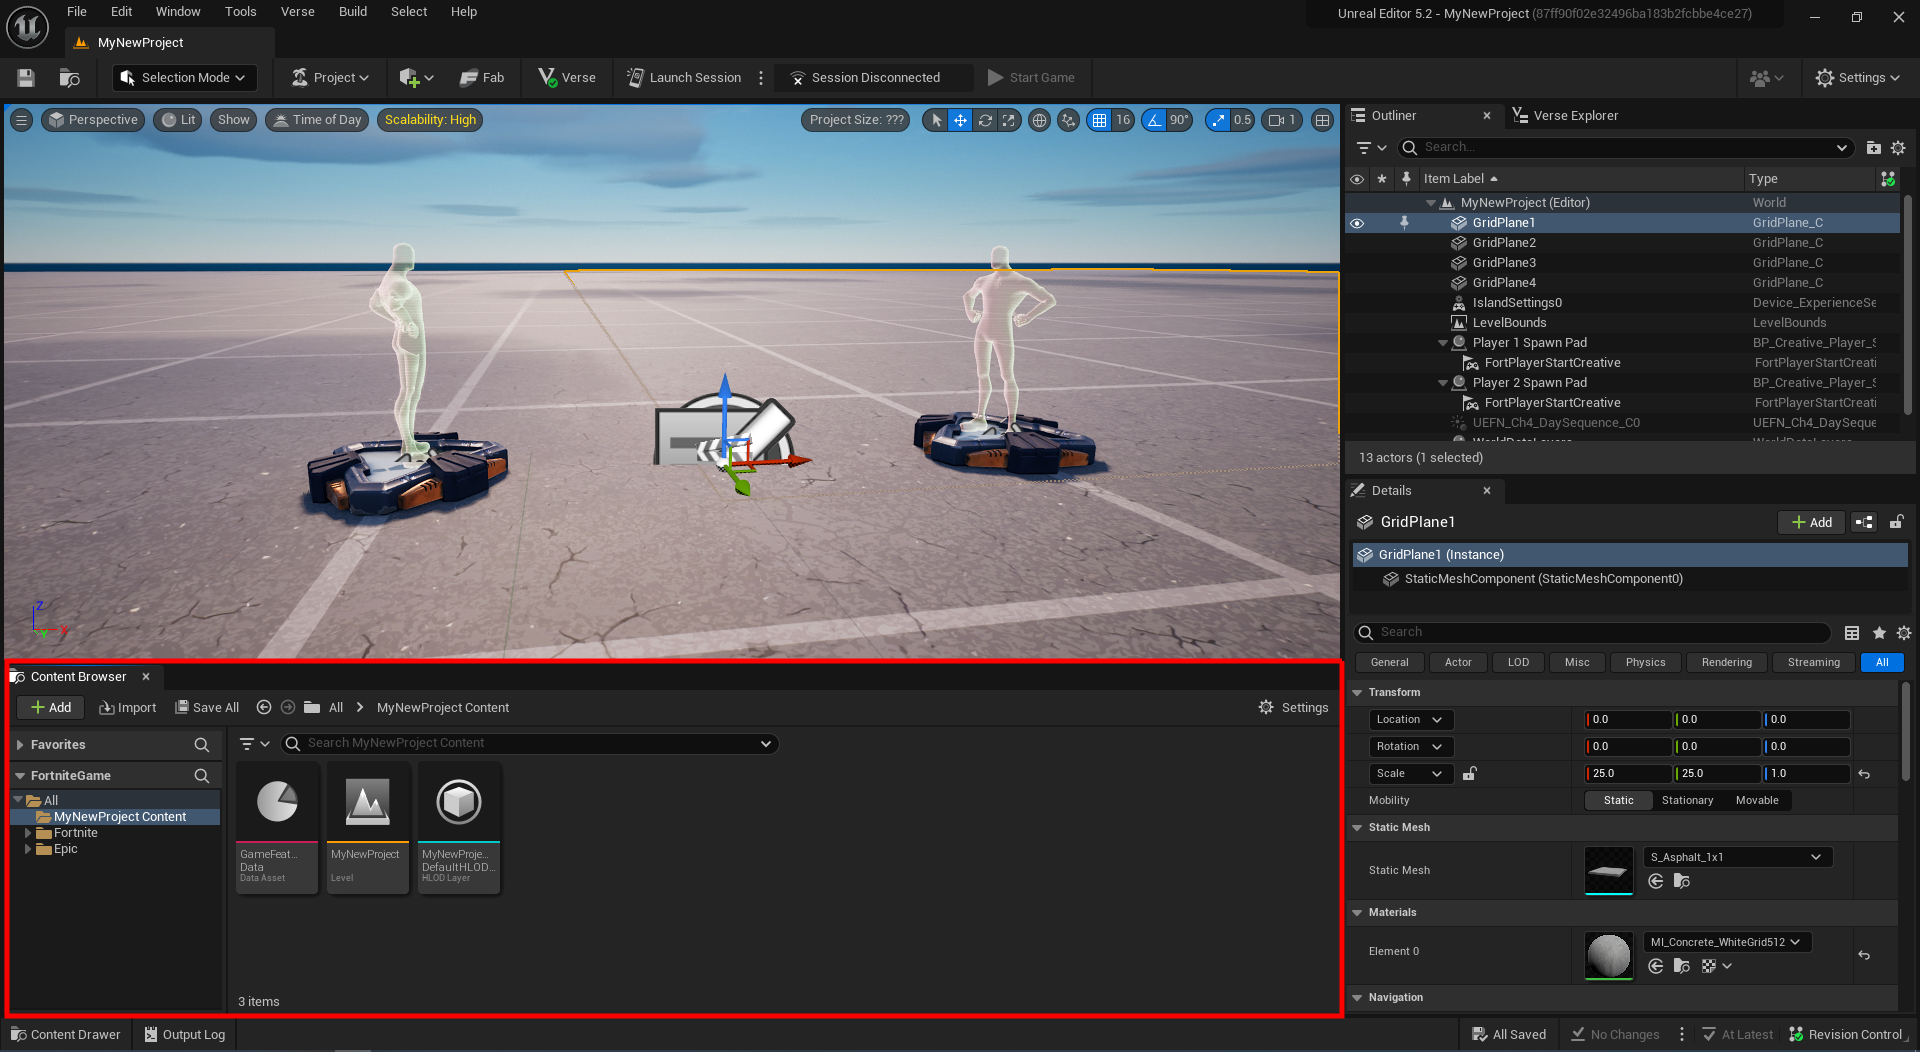
The Content Drawer will go back down when you click something else. You can make it stay by clicking the Dock in Layout button in the top right corner of the drawer.
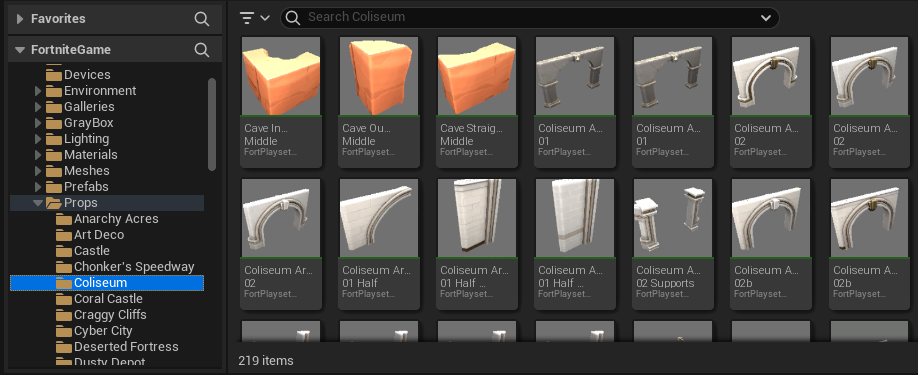
The building blocks for your levels are called props. Open Fortnite > Props.
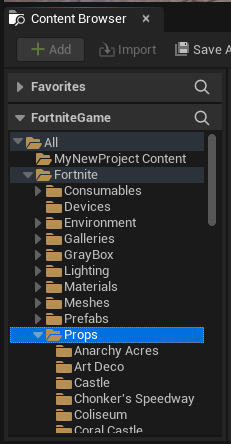
In here you’ll find folders for many different building styles. They contain walls, stairs, doorways, etc., everything you need to build your map.
Click and drag a prop into your scene view to place it.
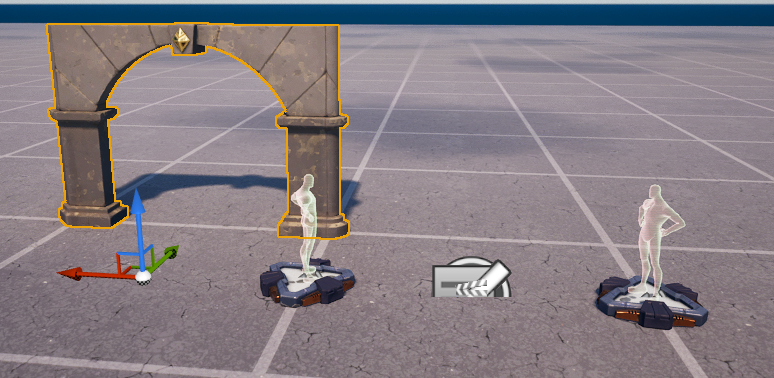
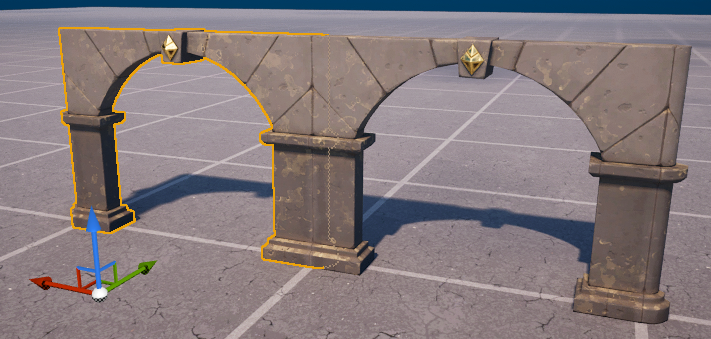
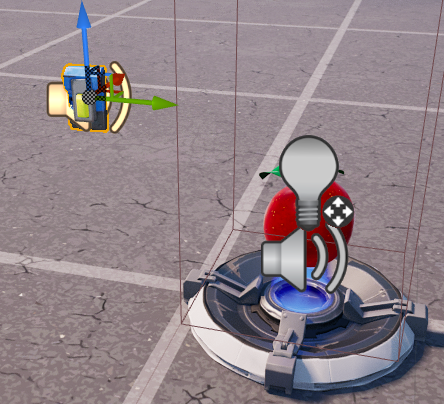
To move a prop, select the Move tool from the top.

Use the gizmo to move the prop left/right, up/down, forward/backward. Most props will snap to the grid to make building easier.
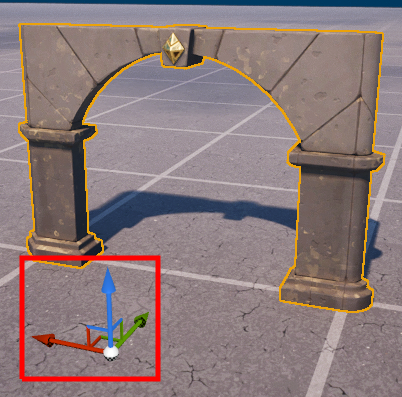
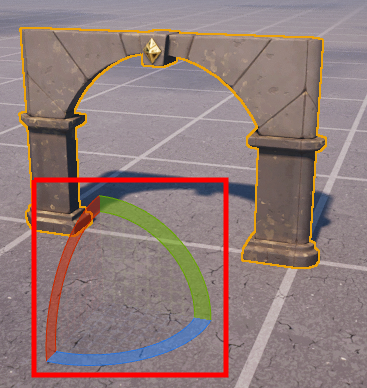
To rotate a prop, select the Rotate tool at the top.
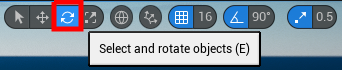
Use this gizmo to rotate the prop along each axis.
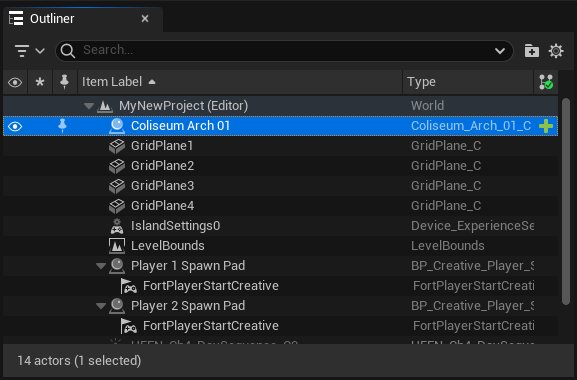
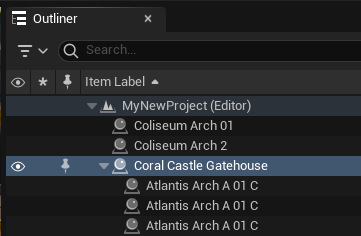
You can see a list of everything in your level in the Outliner window on the right. This can be helpful for finding things. We’ll use it more later.
You can speed up the building process by duplicating props. To duplicate something, select it, hold down the Alt key, and use the Move tool. This will create a copy of what you’ve selected. This is helpful when setting up walls or floors.
To make building even quicker, you can find pre-made buildings in the Prefabs folder. In the Content Browser, open Fortnite > Prefabs.
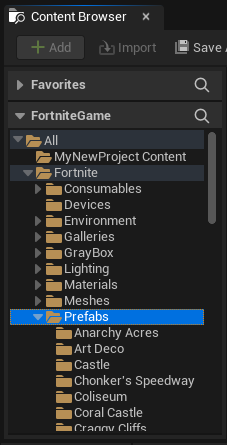
Just like the Props folder, you’ll find folders for many building styles.
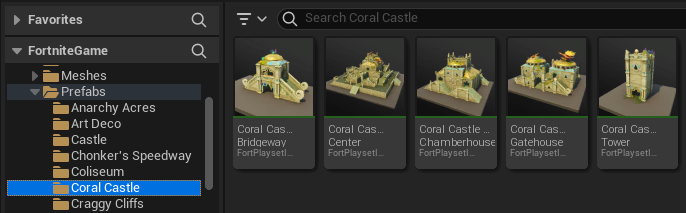
Click and drag a prefab into your scene to try it out.
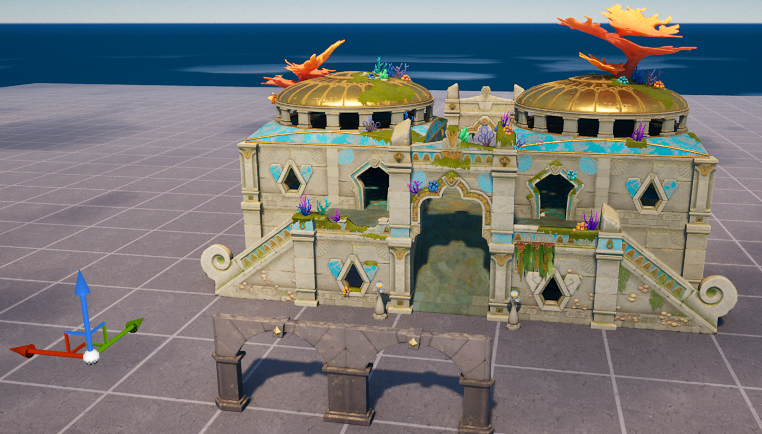
Prefabs are made up of many different props. To delete a prefab, you can select its parent object in the Outliner and press Delete.
Step 7: Testing Your Game
Now it’s time to test your map. Start by clicking the Launch Session button at the top.

This will launch Fortnite. It will take a few minutes to load, depending on your computer.
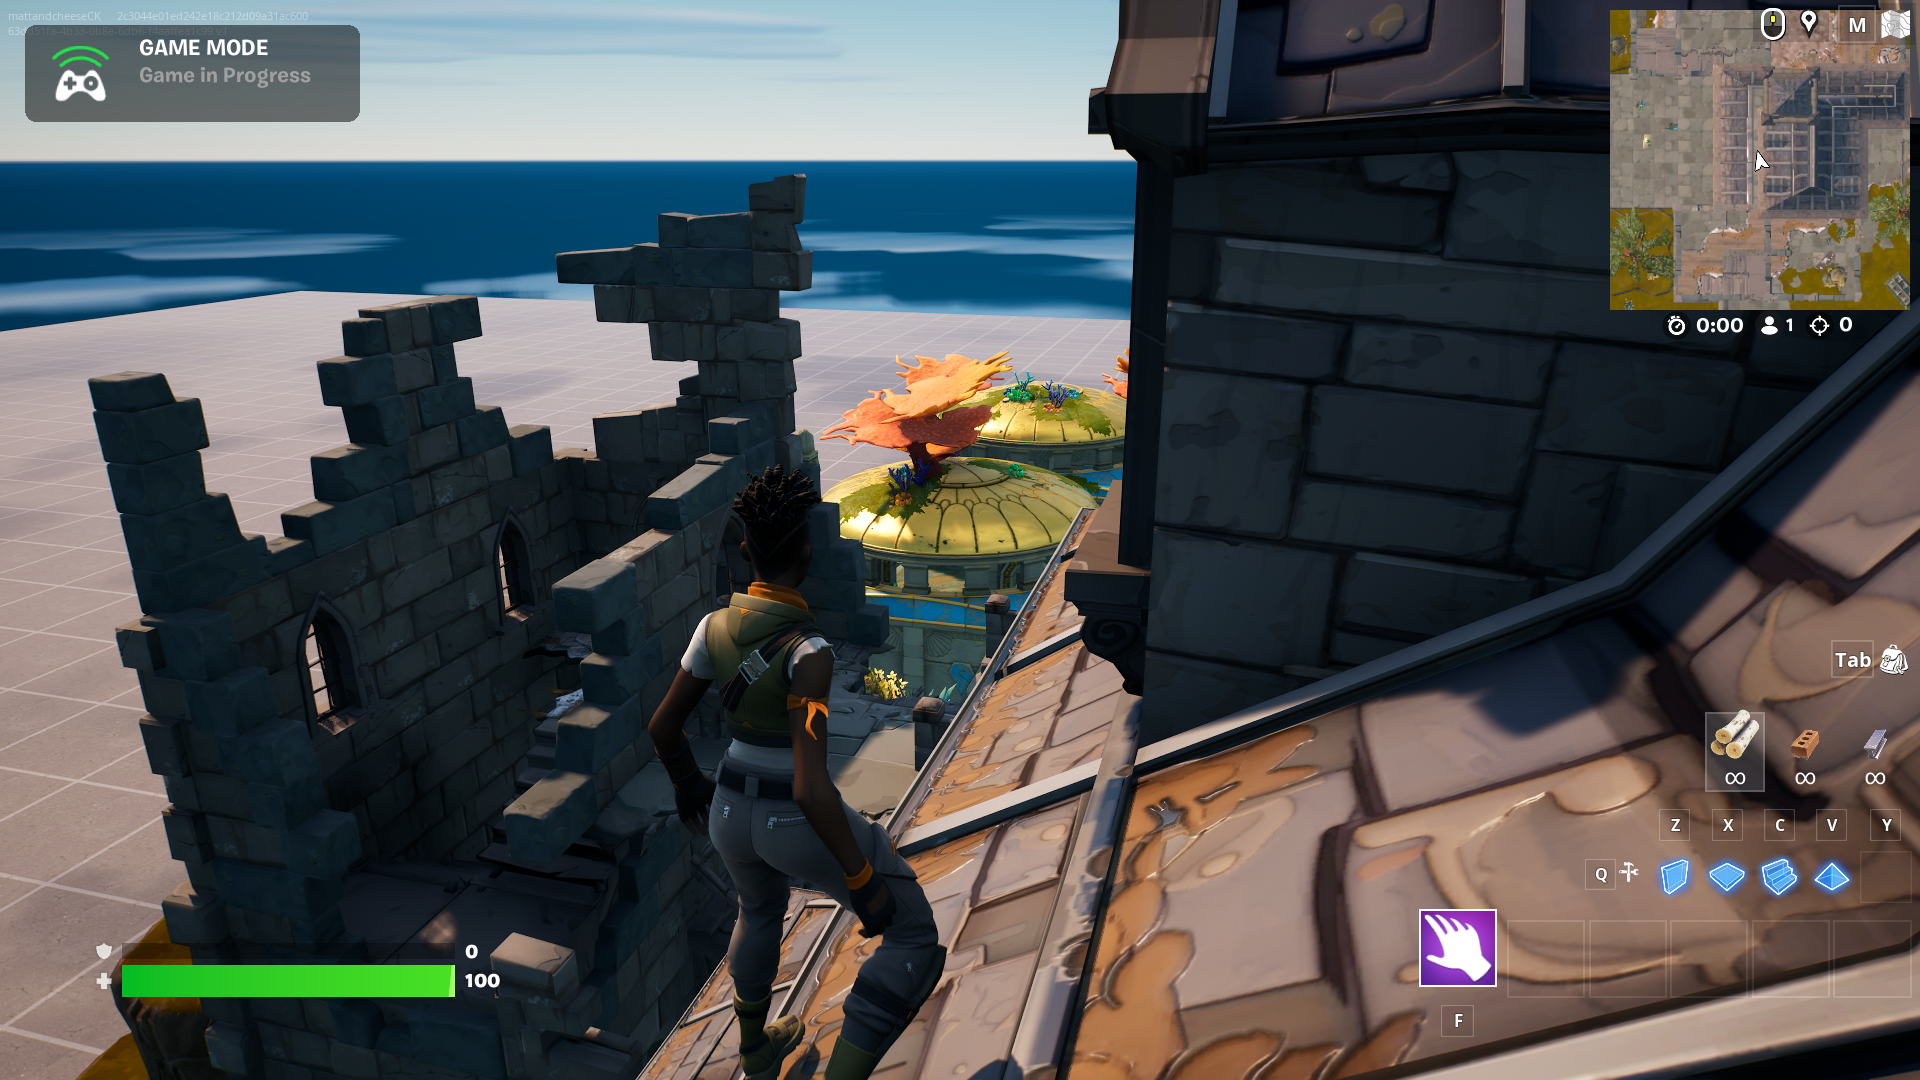
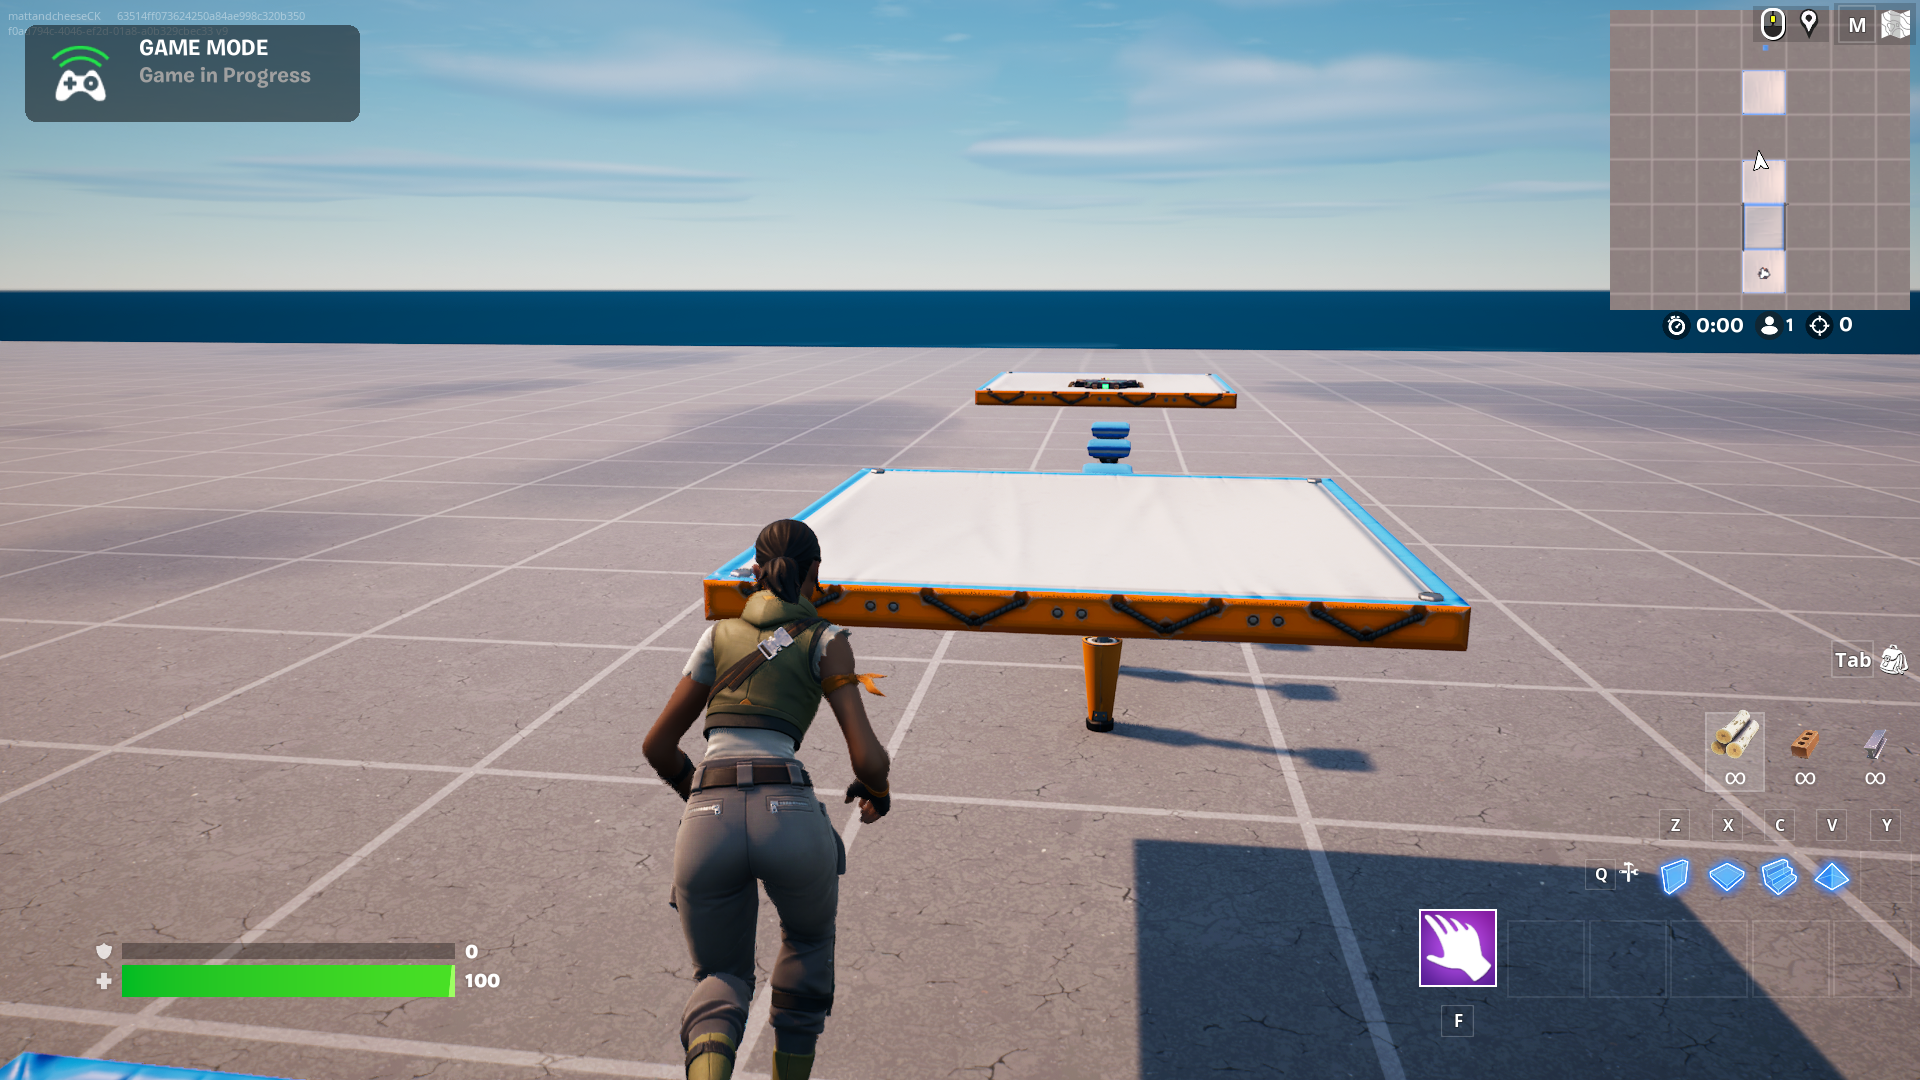
Once it finishes loading it’ll put you right into your game. You can run around and test your map as much as you want.
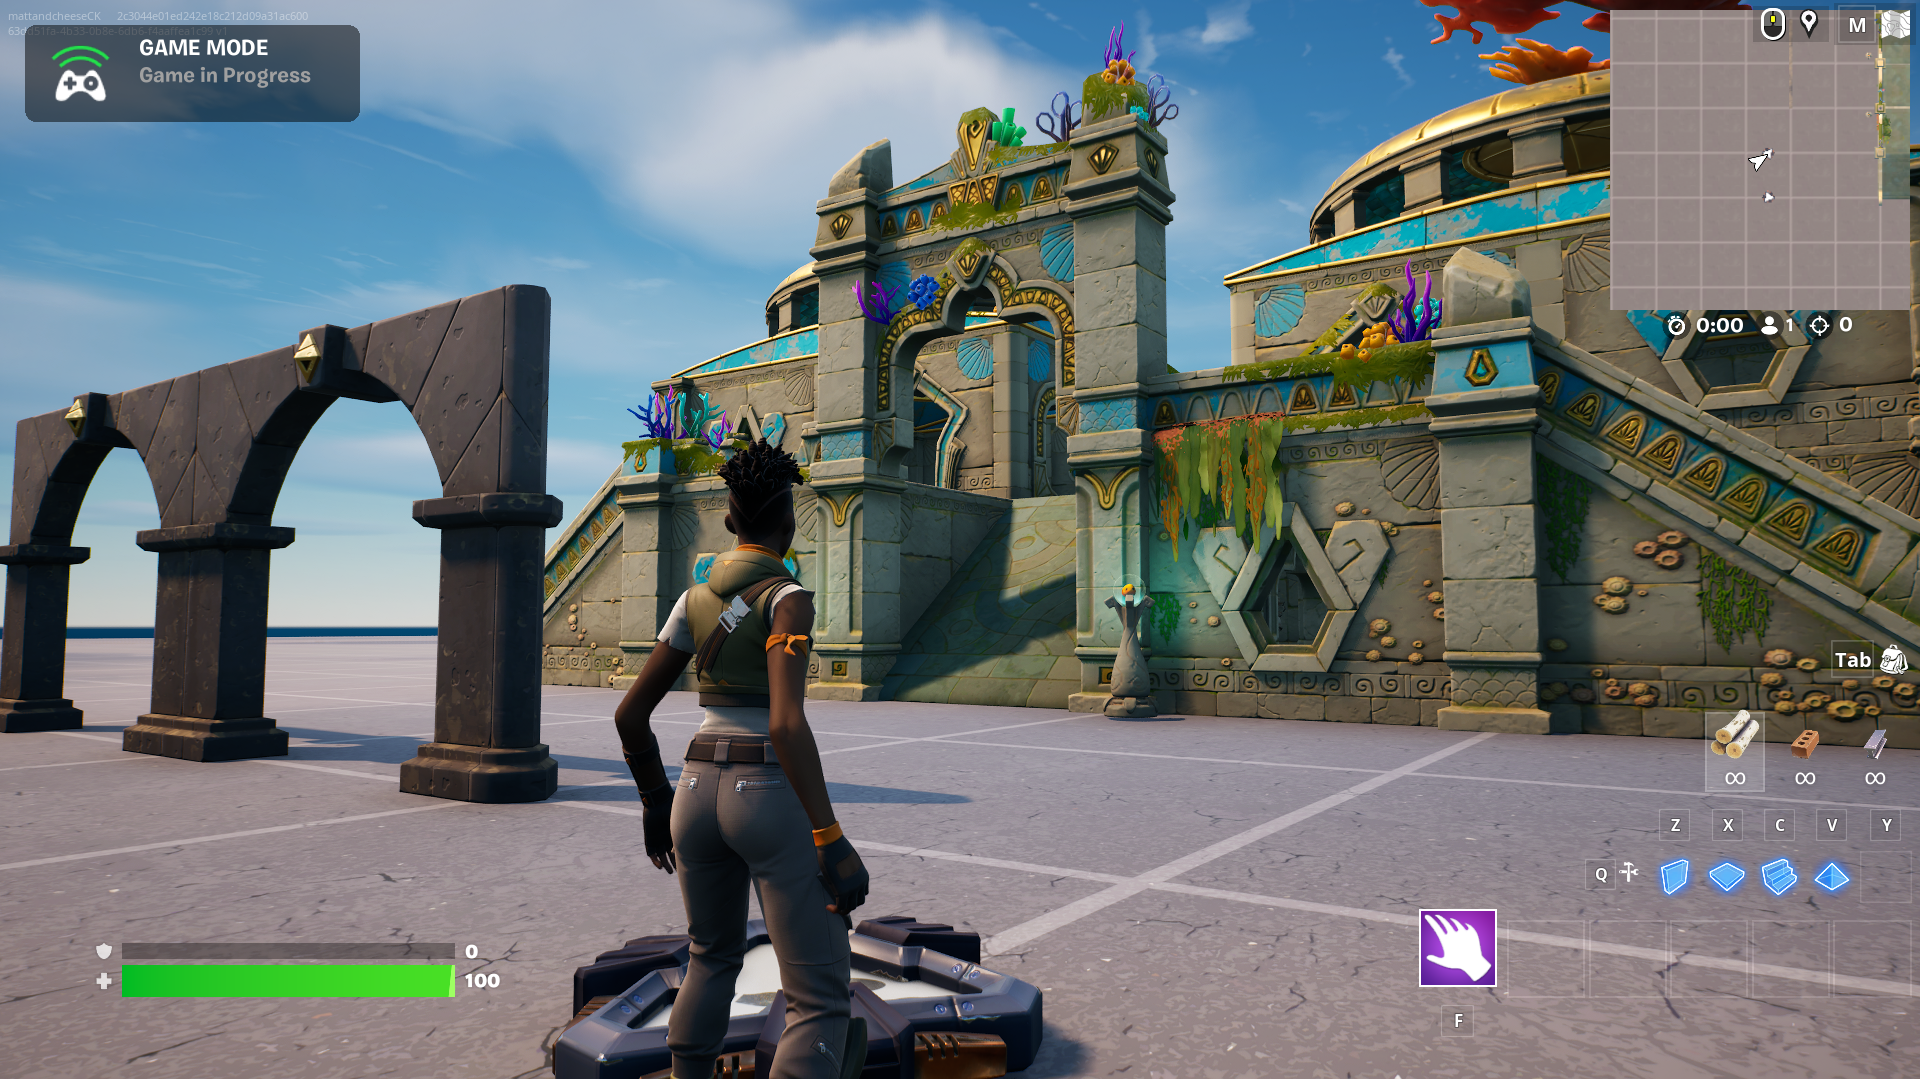
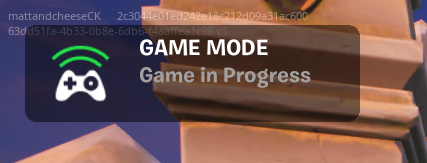
You can tell you’re in game mode by looking in the top left corner.
You’ll want to exit game mode before making any changes to your map. Press the Escape key to open the menu, then click the End Game button.
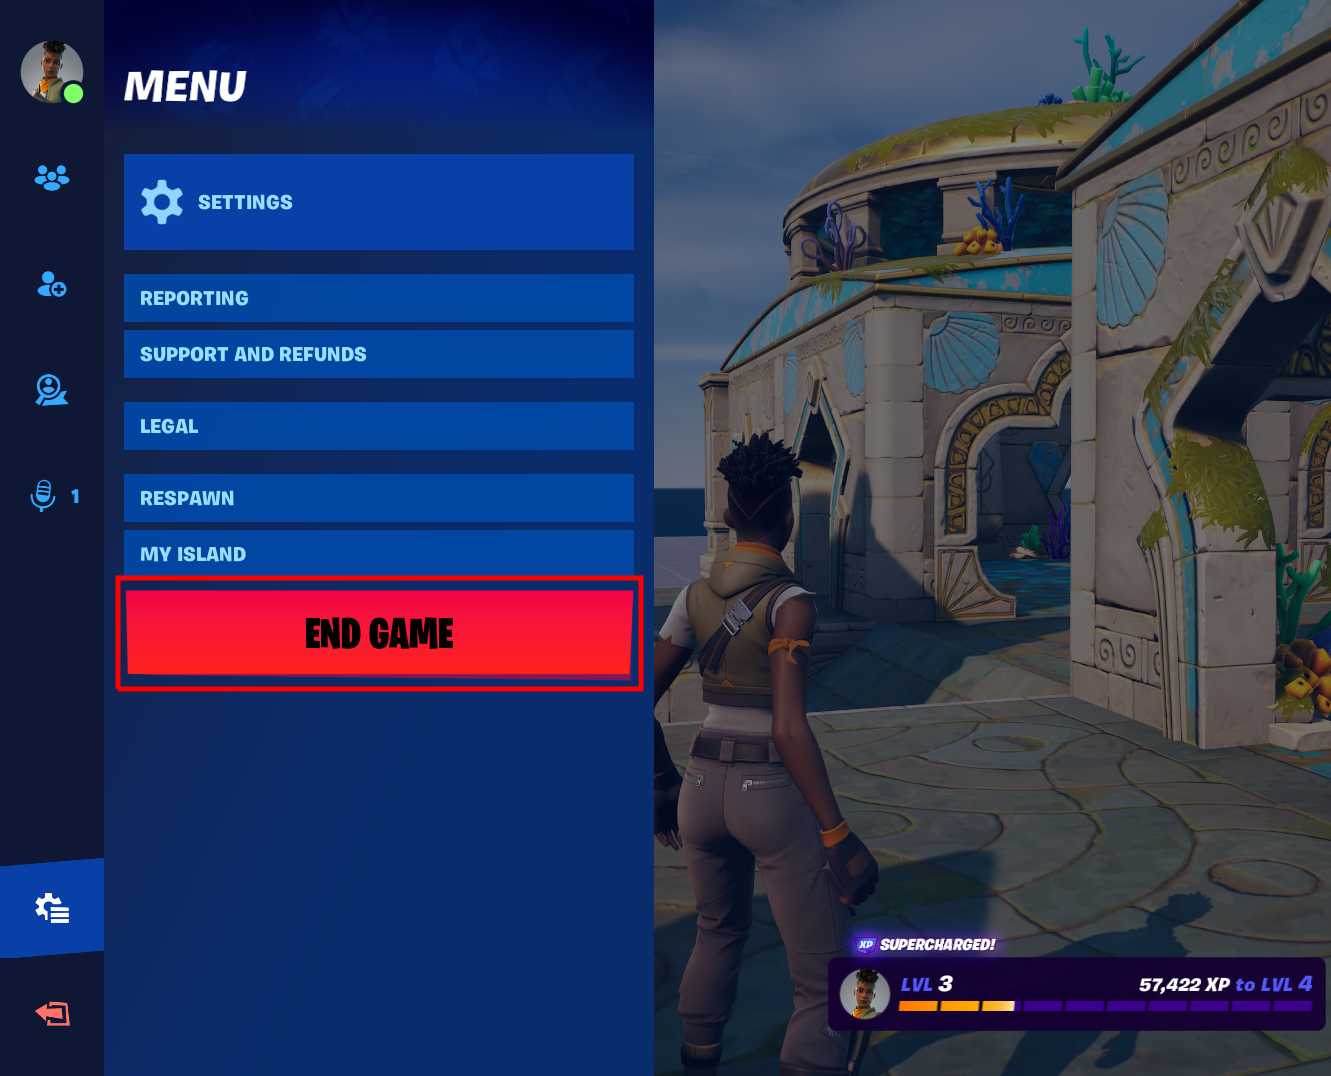
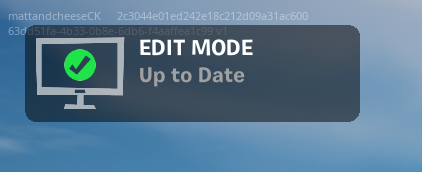
This will put you in Edit Mode.
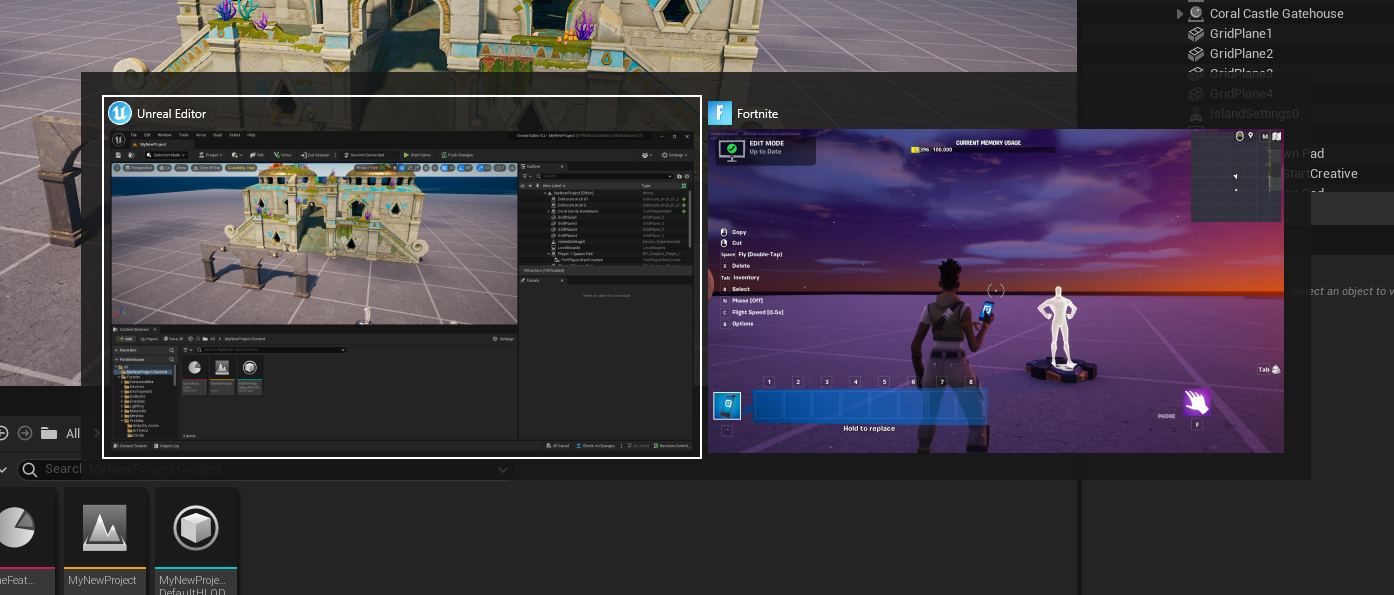
To switch back to UEFN, hold down the Alt key and press Tab. This lets you move between open apps on your computer. Use this to switch between UEFN and Fortnite.
Let’s learn about updating your map. Make some changes to your map. You can add some more props or prefabs, move some things around, etc.
Changes you make in UEFN will be seen automatically in Fortnite while you’re in Edit Mode.
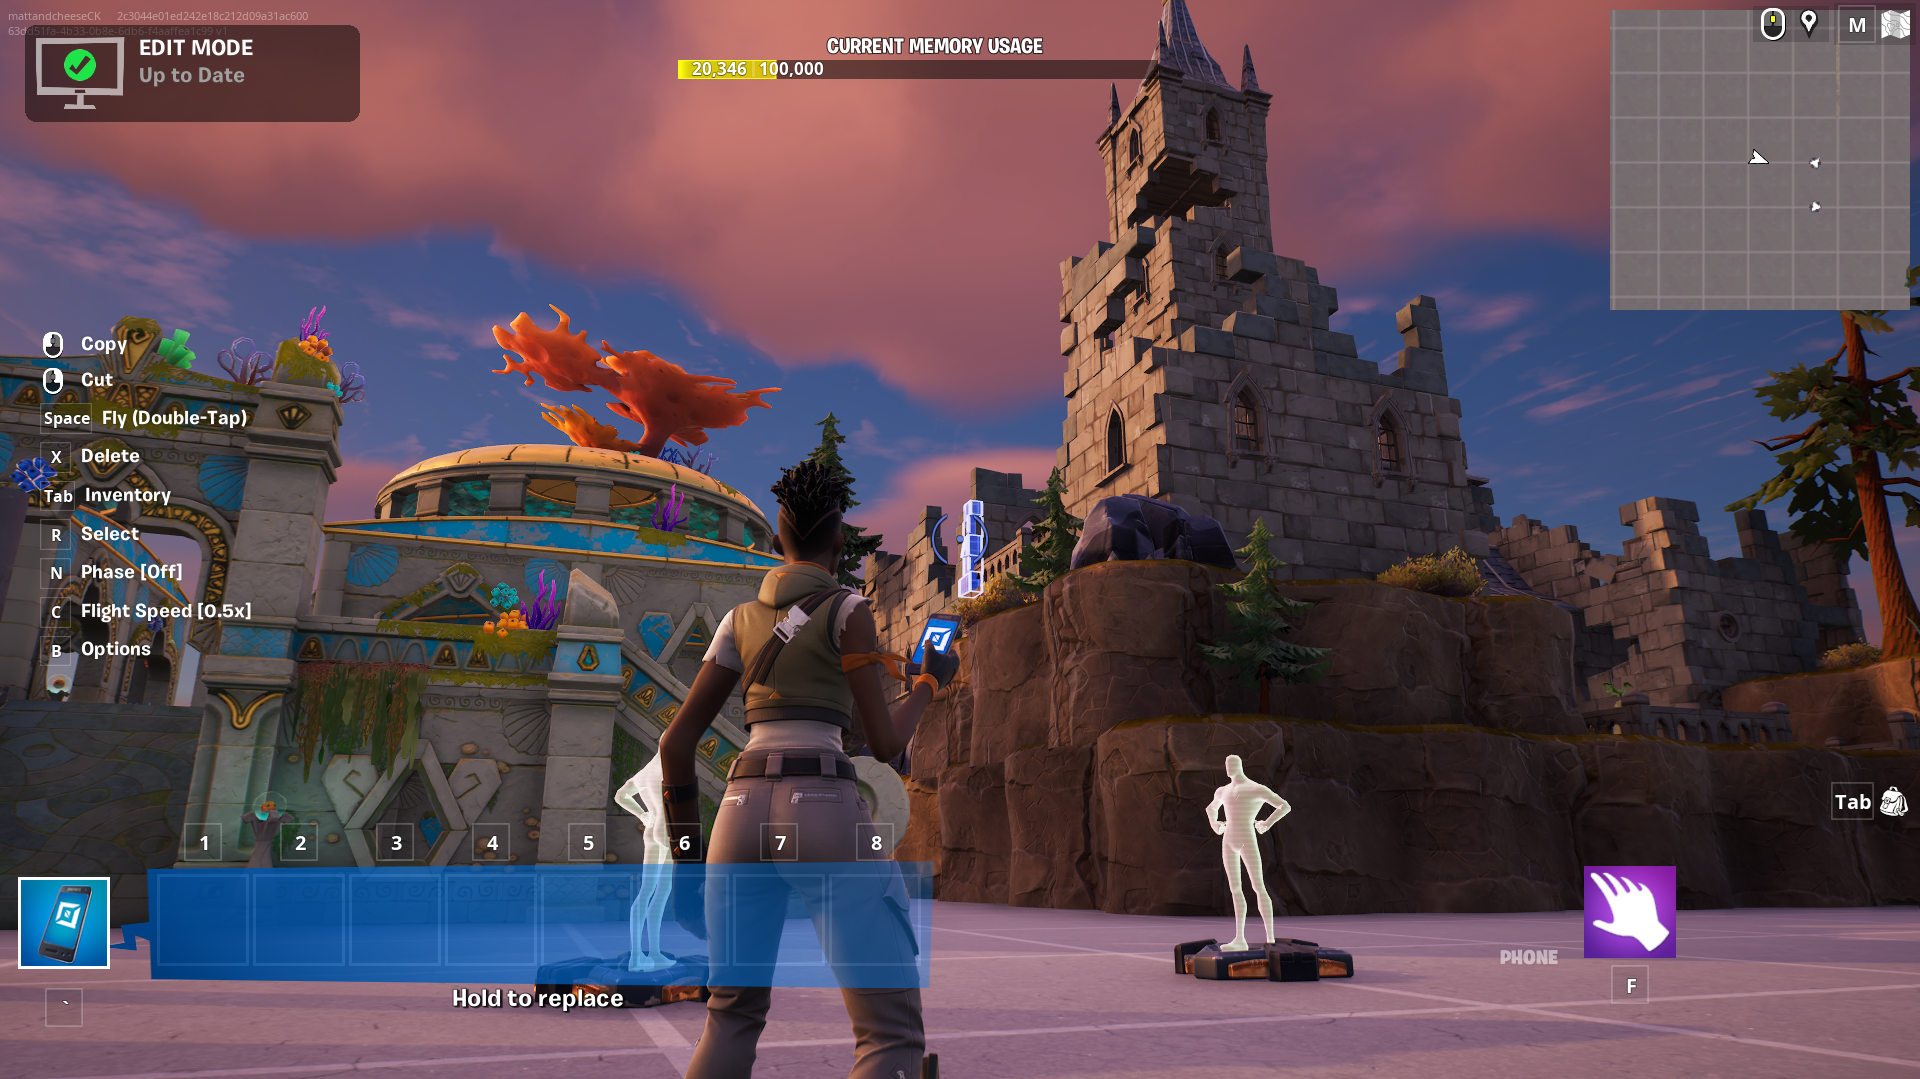
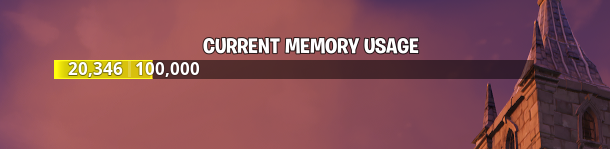
In Fortnite, keep an eye on the Current Memory Usage bar at the top. This goes up as you add more stuff to your map. If it gets too high then it could cause problems.
Before testing your game again, you’ll want to press the Push Changes button at the top. This uploads your changes to the server. Even though you can see the new objects in Fortnite, not pushing your changes can lead to issues, like collisions not working properly.

After pressing Push Changes, switch back to Fortnite. You can see in the top left that it’s uploading your changes. This process can take a few minutes.
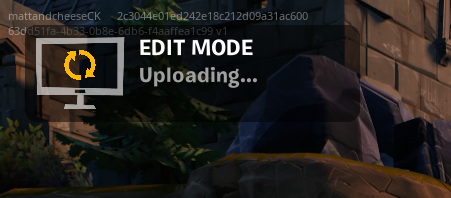
Once it finishes uploading, a new game will begin automatically and you can test it.
Step 8: Adding Devices
With our map taking shape, it’s time to start adding devices to it. Devices add gameplay mechanics to your game and bring it to life.
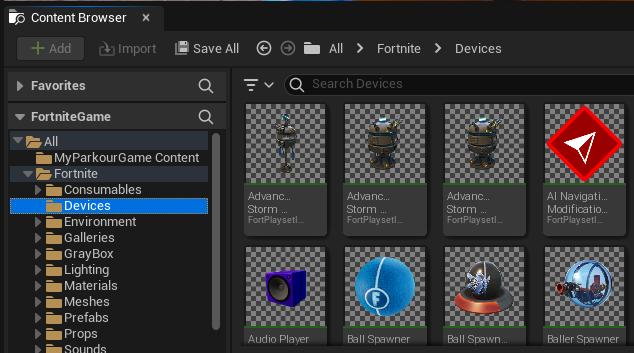
In the Content Browser, open Fortnite > Devices.

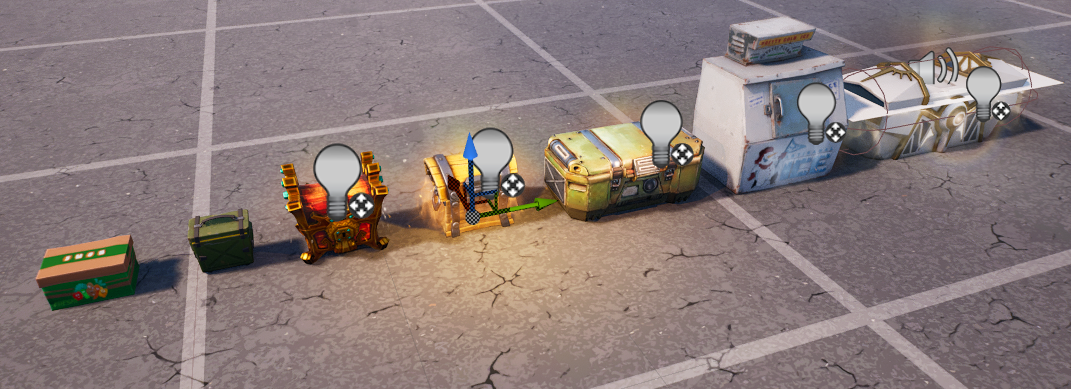
You’ll find a big collection of devices ranging from item chests to vehicle and creature spawners to buttons and timers. By combining and customizing devices you can shape your own game experience
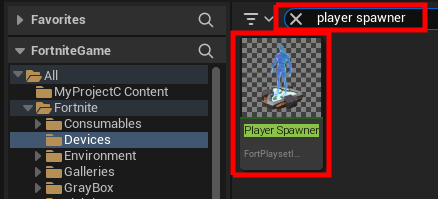
Take some time and try out some devices. You can scroll through the list or use the search bar to find something specific. Click and drag the device you want into your level. Remember to click the Push Changes button before testing your game again. Here are some basic devices:
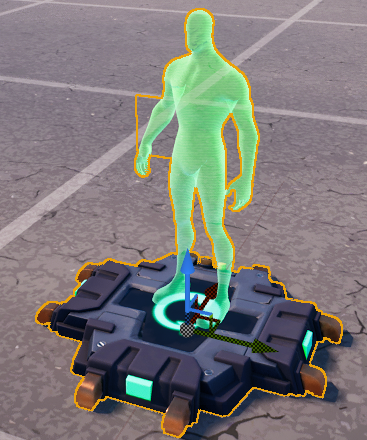
The Player Spawner is the player’s spawn point.

The Player Checkpoint will respawn the player at that location after the player stands on it. This is a useful device for parkour maps.
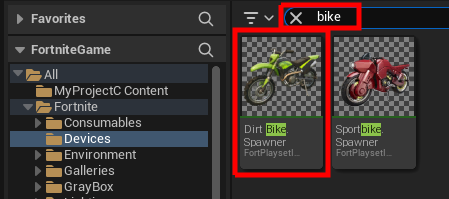
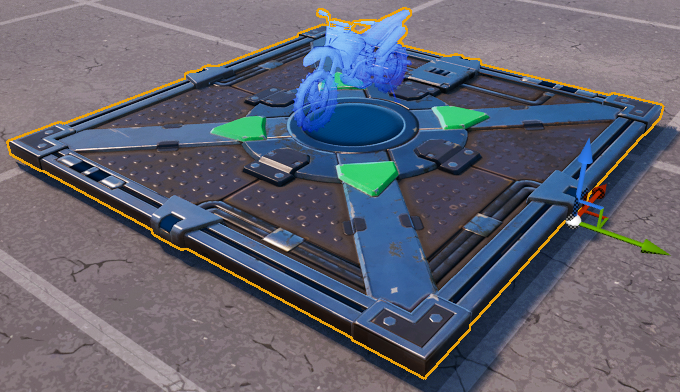
There are multiple vehicle spawners. You can search for the type you want.
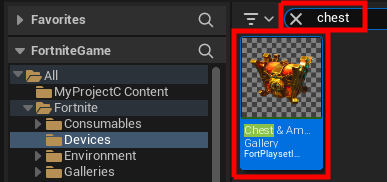
You can add chests and ammo boxes with the Chest and Ammo Gallery. This contains each type of chest. You can delete the ones you don’t want and make copies of the ones you do.
The true strength of devices is combining their functionality through functions and events. A function is an action the device knows how to do. An event is something that occurs during the game. When an event happens with one device, it can call a function from another device. We’ll start with a simple example where the player can press a button to spawn an item.
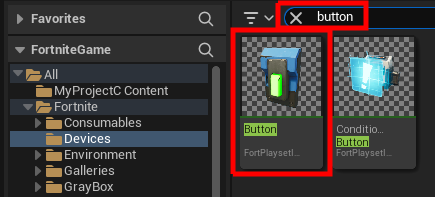
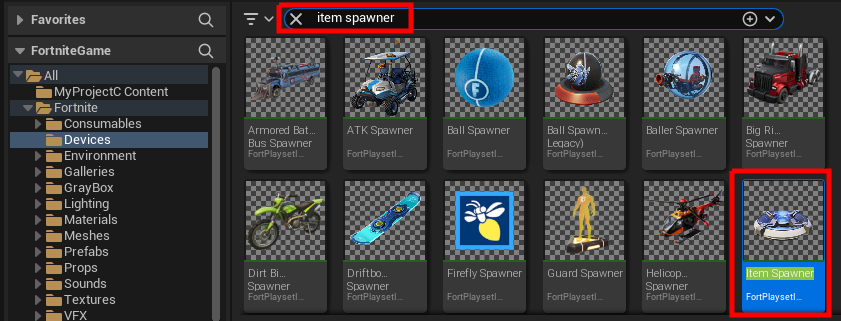
Find the Button and Item Spawner devices and put them in your level.
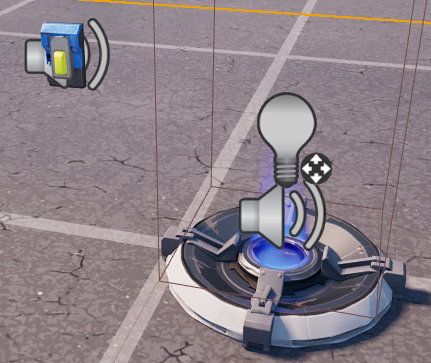
Select the Item Spawner. We can customize devices by using the Details window on the right.
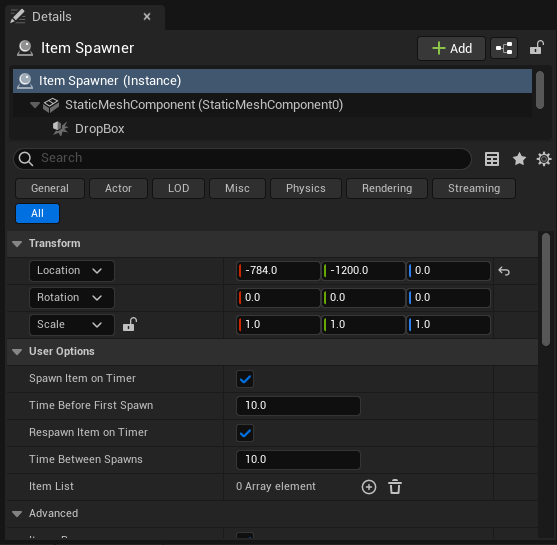
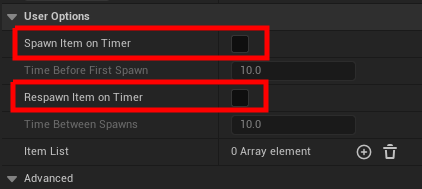
Find the Spawn Item on Timer and Respawn Item on Timer options and uncheck them. We want to spawn items when we press the button, not on a timer.
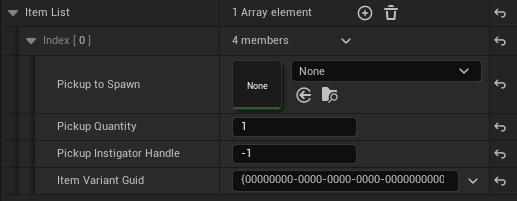
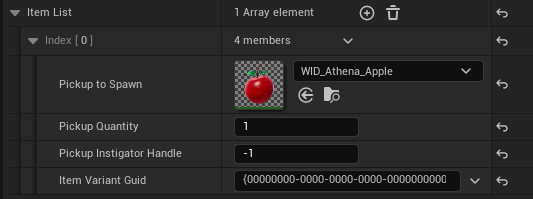
Find the Item List property. This is where we specify what items this can spawn. To add an item, click the small plus button.
![]()

Click the arrow next to Index [0].

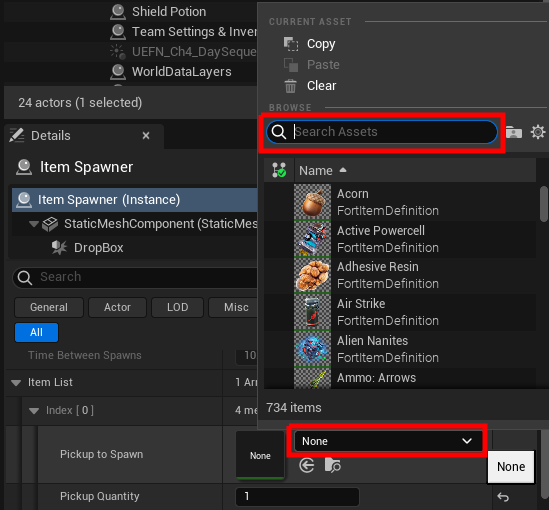
To choose an item, click the dropdown menu that says None. You’ll be able to search for any item in Fortnite. Pick any item you want.
You can open up more options for your device by opening the Advanced section.
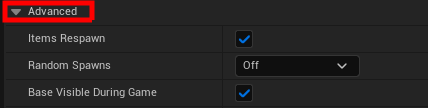
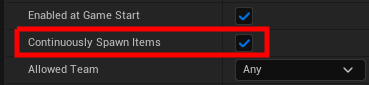
Find the Continuously Spawn Items property and turn it on. This makes it spawn more items even if they haven’t been picked up yet.
Scroll down to the bottom of the Details window. Here you’ll find the Functions and Events sections.
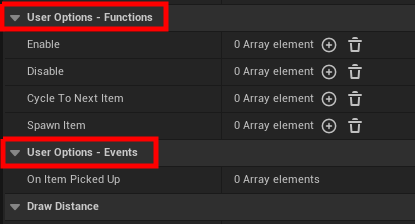
The Functions section shows actions this device can do. The Enable and Disable functions turn the device on and off. Cycle to Next Item makes it switch to the next item in its list. And Spawn Item makes it spawn its item.
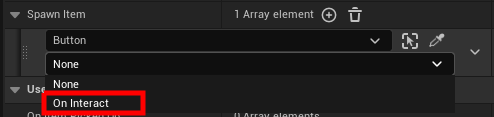
The button has functions and events too. Select the button and scroll down the Details window.
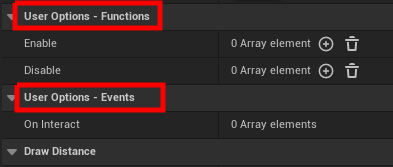
The button has an event called On Interact. This event gets triggered when the player presses the button. We want the button to call the spawner’s Spawn Item function when the event happens.
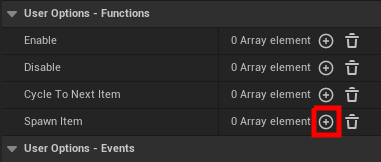
Select the Item Spawner again.

Find the Spawn Item function at the bottom. Click the plus button next to it.
Click the first dropdown menu. This lets you choose an item from your level. Search for the button and select it.

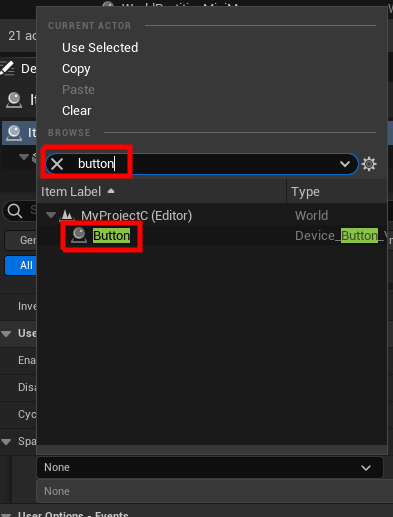

Now click the second dropdown menu. This shows a list of events the button has. Select the On Interact event.


Now we’re ready to test. Click the Push Changes button and switch to Fortnite.
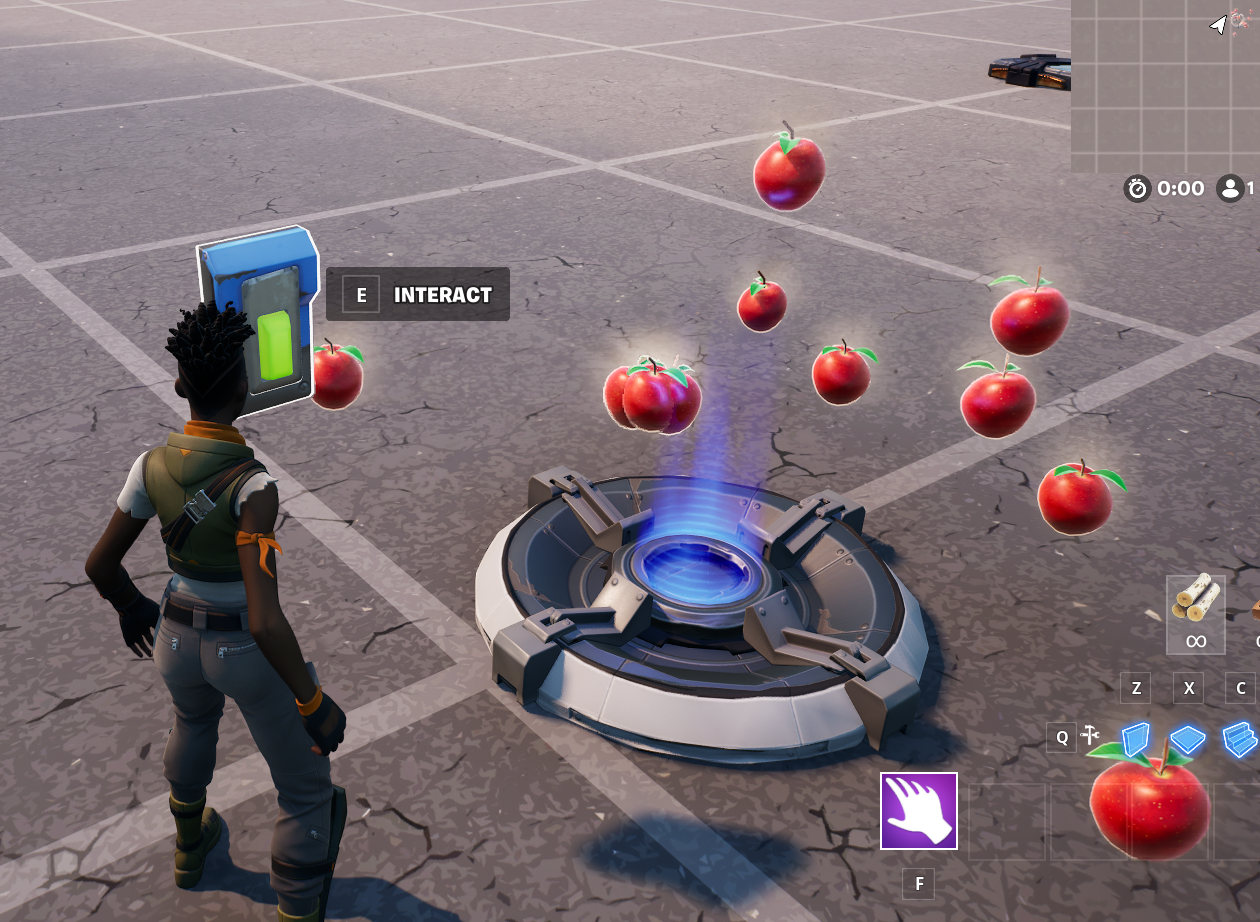
When the game starts, run over to your button and press it. Your item should appear!
Step 9: Make a Parkour Game
After all that practice, we’ll now build our own parkour level. Players will run and jump around the map collecting objects to win.
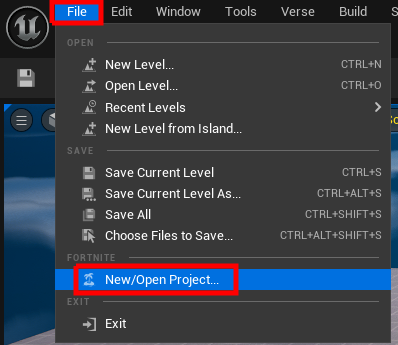
Let’s start fresh by making a new project. Click File > New/Open Project.
Select Island Templates, then select the Blank template.
Give your project a name, then click Create.
Let’s start building our level. In the Content Browser, open up Fortnite > Props.
You can use any building style you want, but a good one to try is the Parkour style. Open up the Parkour folder.
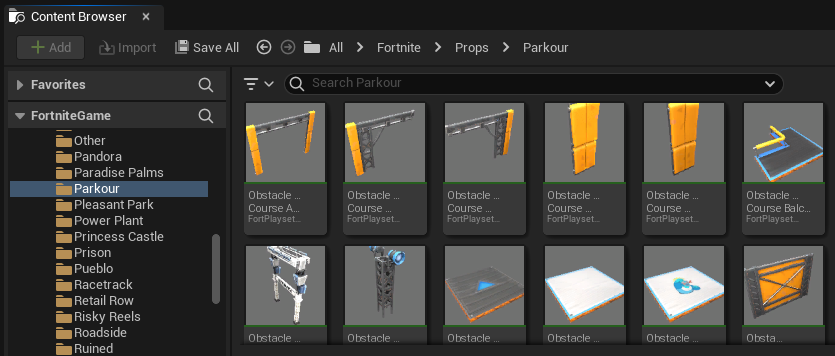
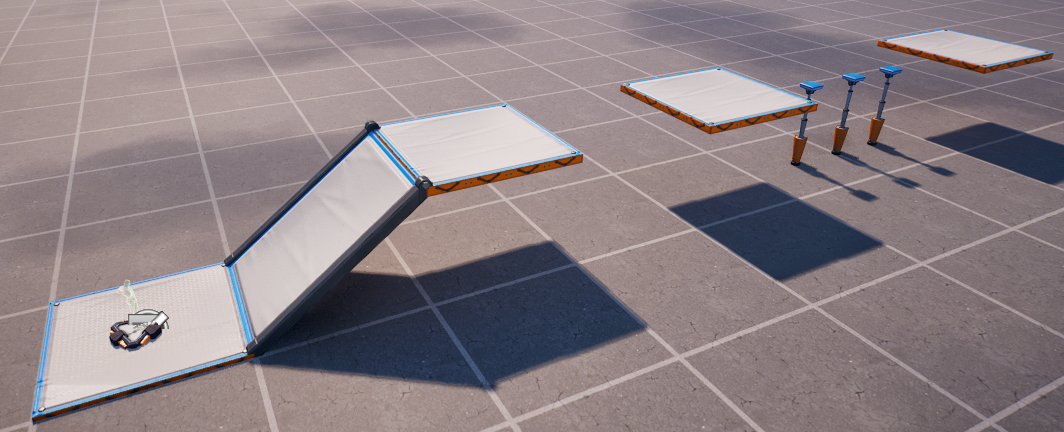
Use the props to start work on your parkour level. You can use platforms, walls, ramps, etc. Start with something simple. You can always make it more complex later. Don’t forget you can duplicate objects by holding down Alt and using the move tool.
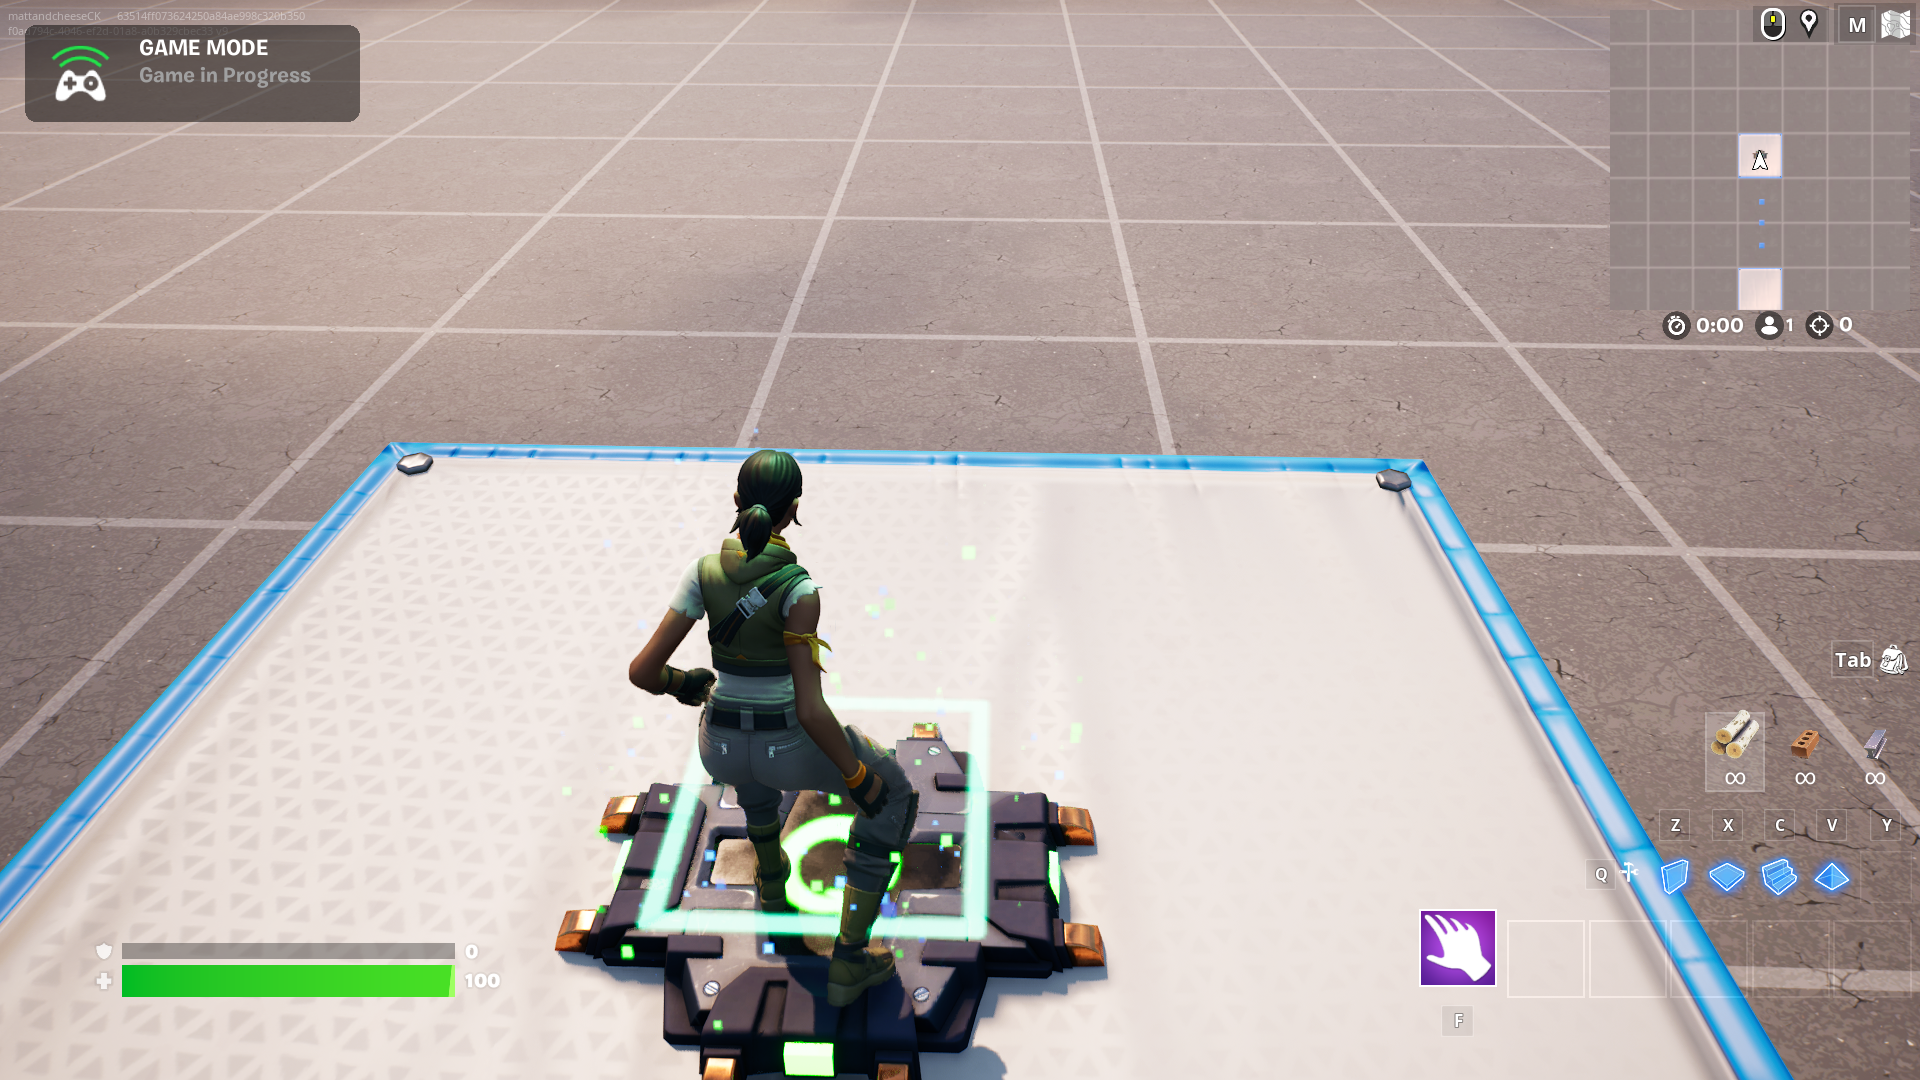
Take the Player 1 spawn pad and place it at the start. You can delete the Player 2 spawn pad if you’re not using it.
Our level is looking good so far. Let’s start building up the gameplay by adding devices. Open up the Fortnite > Devices folder.
Look up “damage” and grab the Damage Volume device.
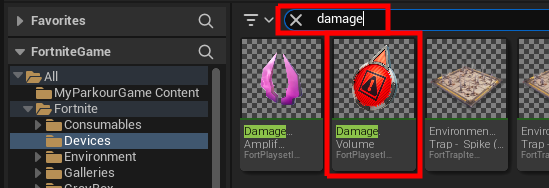
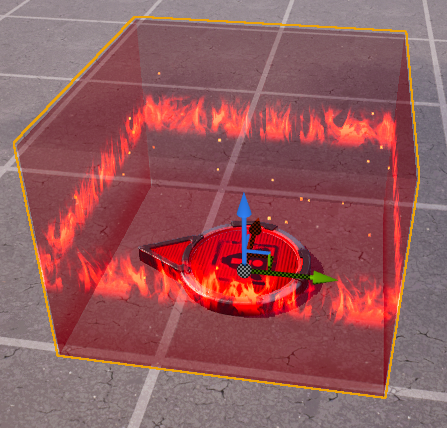
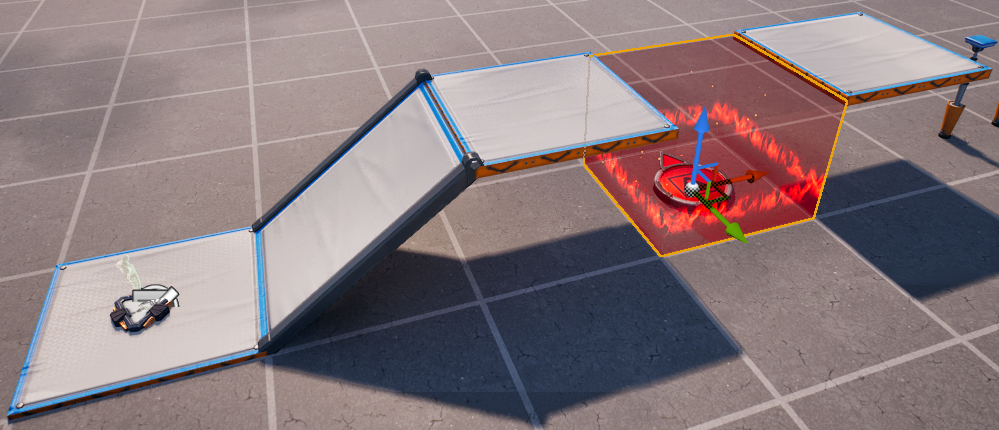
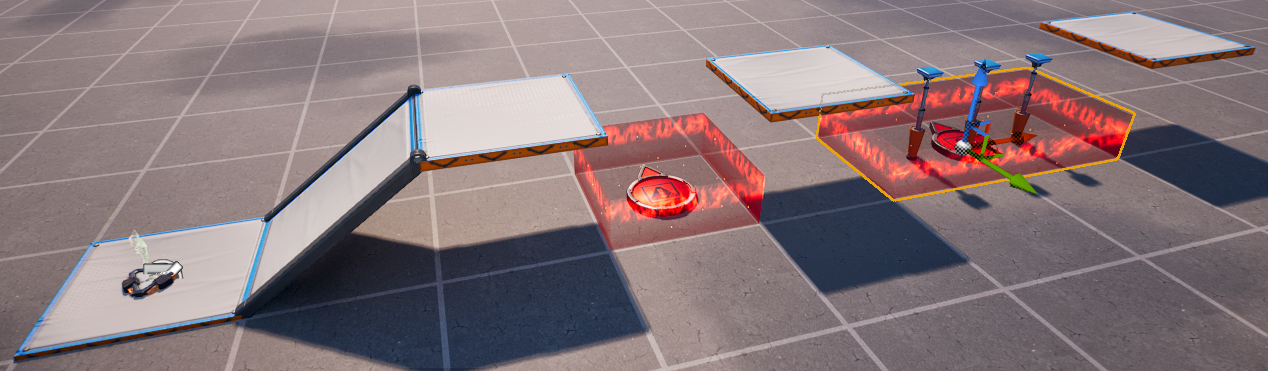
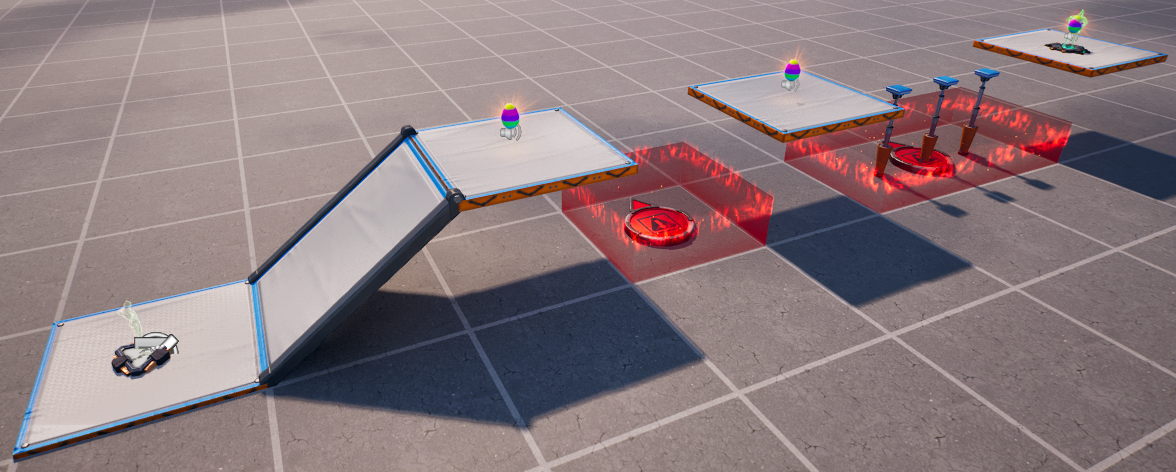
This device is a big cube, and if a player falls or stands within the cube they receive damage. Place the device in a gap where the player can fall.
We can customize devices with the Details window on the right. Make sure the device is selected and look at the window.
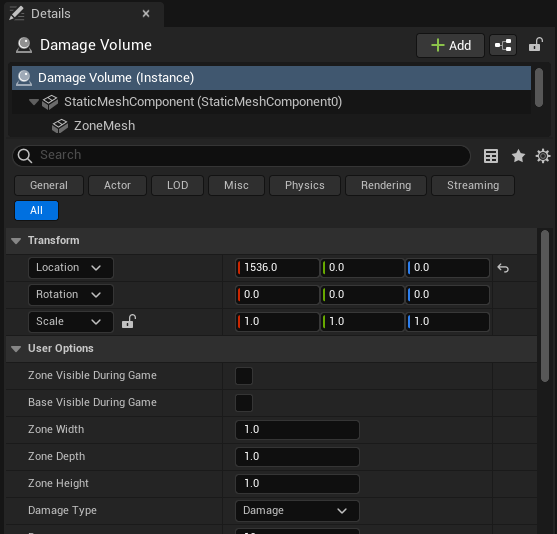
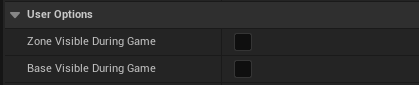
Look at the first two options. The first one is whether you want the red zone to be visible while playing the game. If you want it to be visible, you can check this box. Same with the Base Visible During Game option.
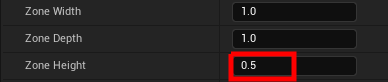
You can customize the width, depth, and height of the zone here. You can use this to match the size of the gap. Here we’ll change the height from 1.0 to 0.5.

A bit lower and you can set whether you want the zone to damage the player or just eliminate them outright. I want to eliminate the player so they respawn as quickly as possible, so let’s change Damage to Elimination.
![]()
![]()
With the settings done, you can make duplicates of the Damage Volume device and they’ll have the same settings, so you don’t have to do them again. Use Alt to make any more copies of the device that you may need at this time. You can set the size of each device to match any gap.
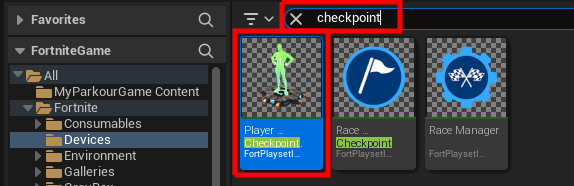
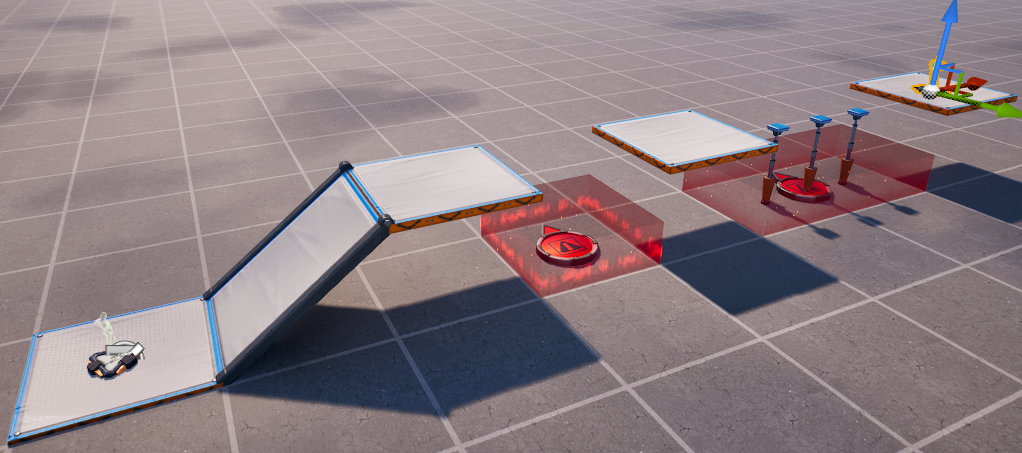
Let’s also add a checkpoint in our level. In the Devices folder, search “checkpoint” and grab a Player Checkpoint device.
Players just have to step on the checkpoint and then they’ll respond there after dying. We don’t even have to change any settings in the Details window. Place the checkpoint wherever you think is a good spot.
Now is a good time to test your game. Hit the Launch Session button, or if you already have, hit the Push Changes button to update everything.
Once Fortnite has finished opening or updating, test out your level. Make sure that the gaps are jumpable and that the damage volumes and checkpoints work. If you left the visible box unchecked for the damage volumes, they’ll be invisible but will still work. If you die after stepping on the checkpoint, then you should respawn at the checkpoint.
We’ve started our own basic parkour course. You can use what we’ve learned to keep adding as much as you want to it. Next we’ll learn how to add collectibles.
Now we’ll learn how to add collectible items to our level. When you collect all the items, then you’ll win.
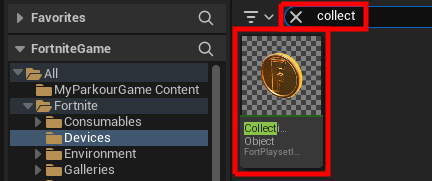
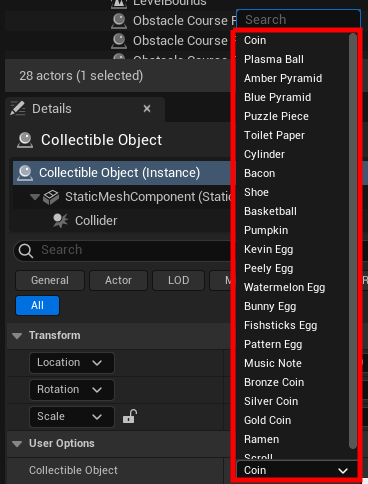
In the Devices folder, search “collect” and get a Collectible Object device.
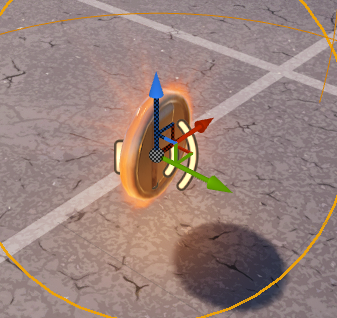
This is an object players can grab just by running into it. Select it and look at the Details window. Notice the Score field. This is how many points you get for collecting this. We’ll keep it at 1. This will be important later.

You can also change what kind of object it is. The default is coin, but you can change it to whatever you want. When you make duplicates of this, you can even make each object different if you want.
Place as many collectibles in your level as you like.
Now we want to make it so the player wins if they collect all of them. To do this, look in the Outliner, and search for “island”, and select something called IslandSettings0.
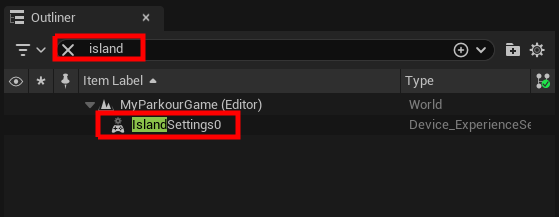
Look in the Details, and you’ll see that IslandSettings0 is a huge list of settings for how the game is run. There’s a lot you can change from here, but for now we’re only interested in a couple of things.
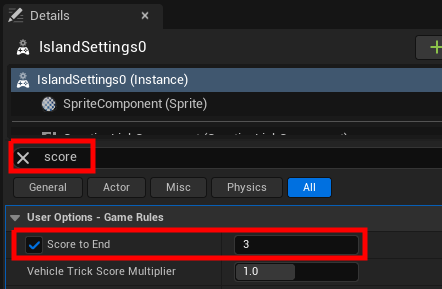
Search the word “score”. Find the field called Score to End. This is whether or not the game will end when someone hits a certain score. Check this box. Then in the field, change the number to the number of collectibles you have.
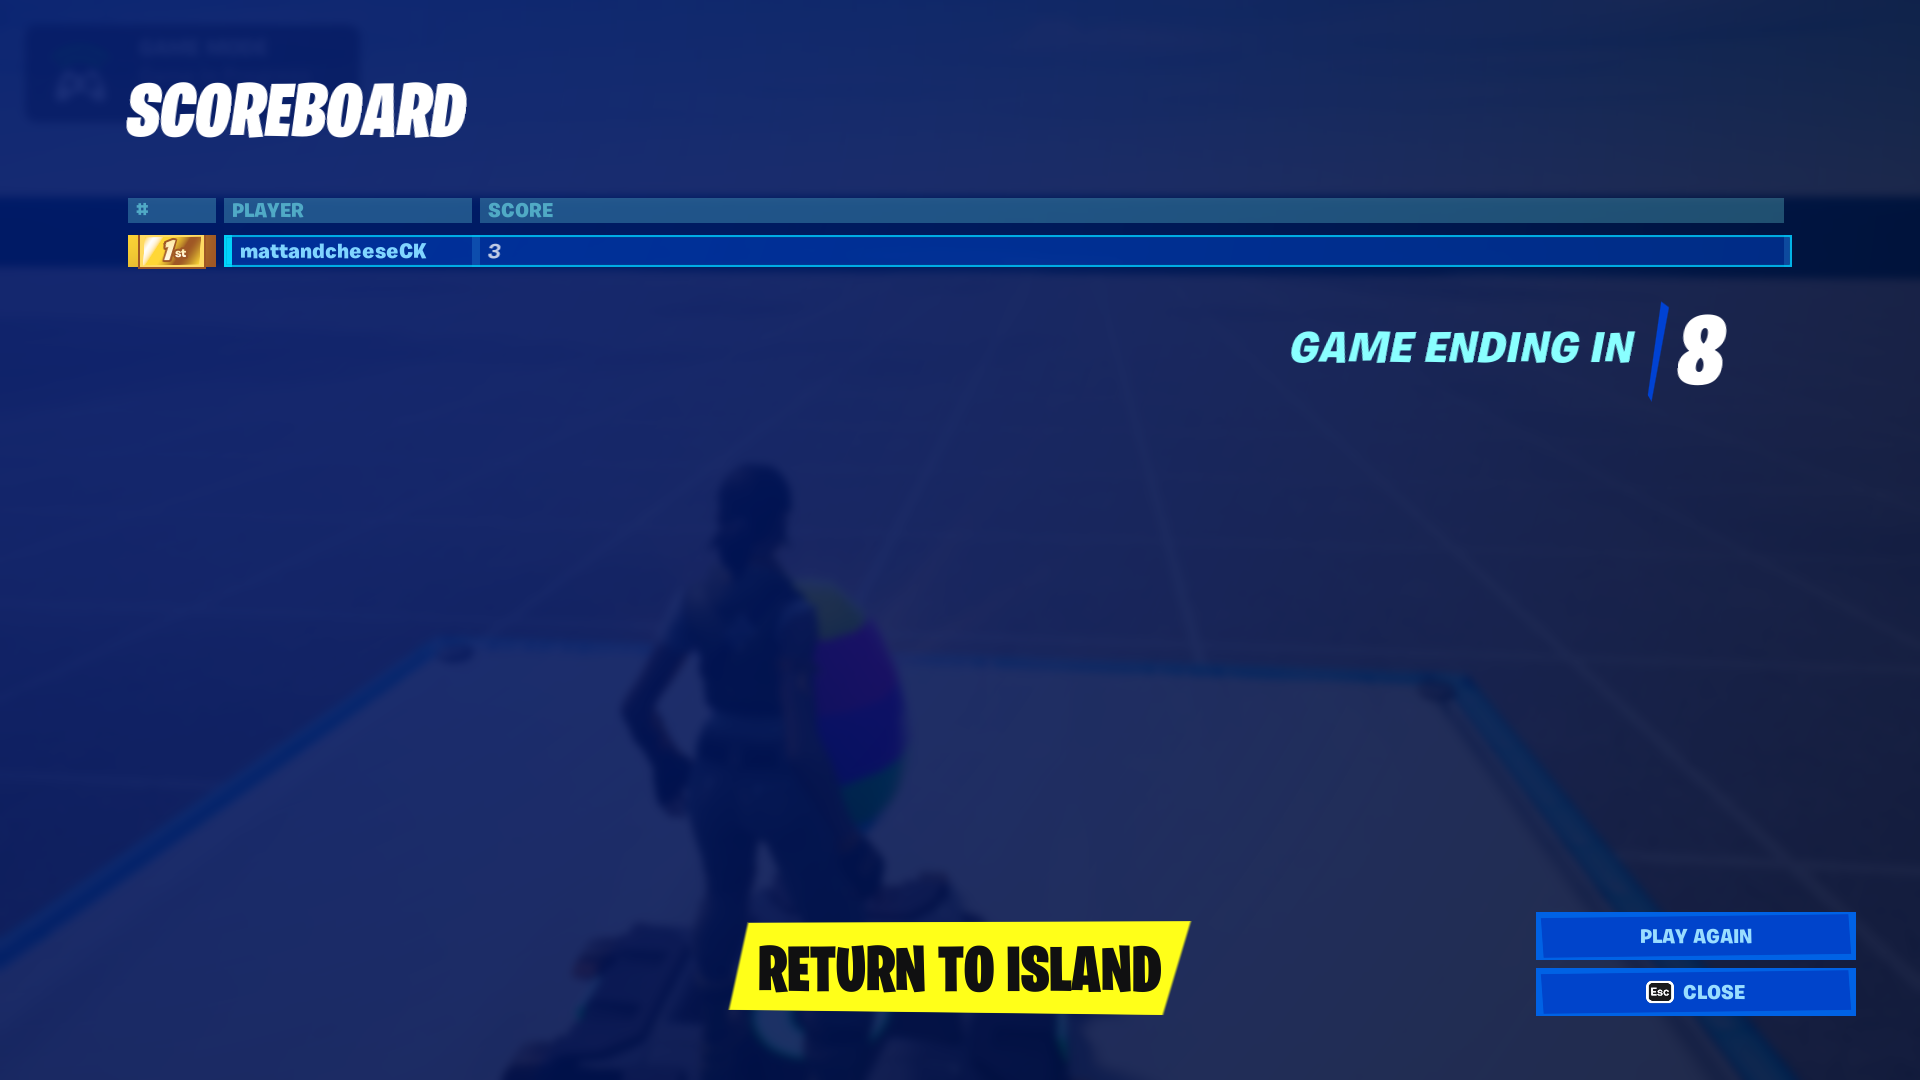
We want to show the scoreboard at the end of the game, but first we have to put it together. Scroll down a bit and you’ll see options for the scoreboard columns. You can have these display various stats for each player. Check the First Scoreboard Column box. Then click the dropdown. You can pick several different stats, but we want to select Score.

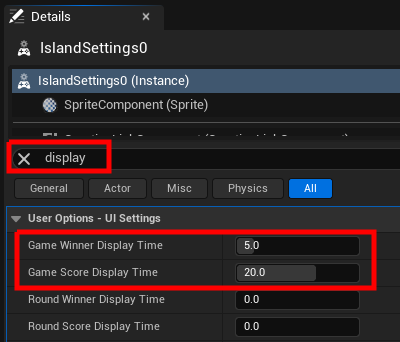
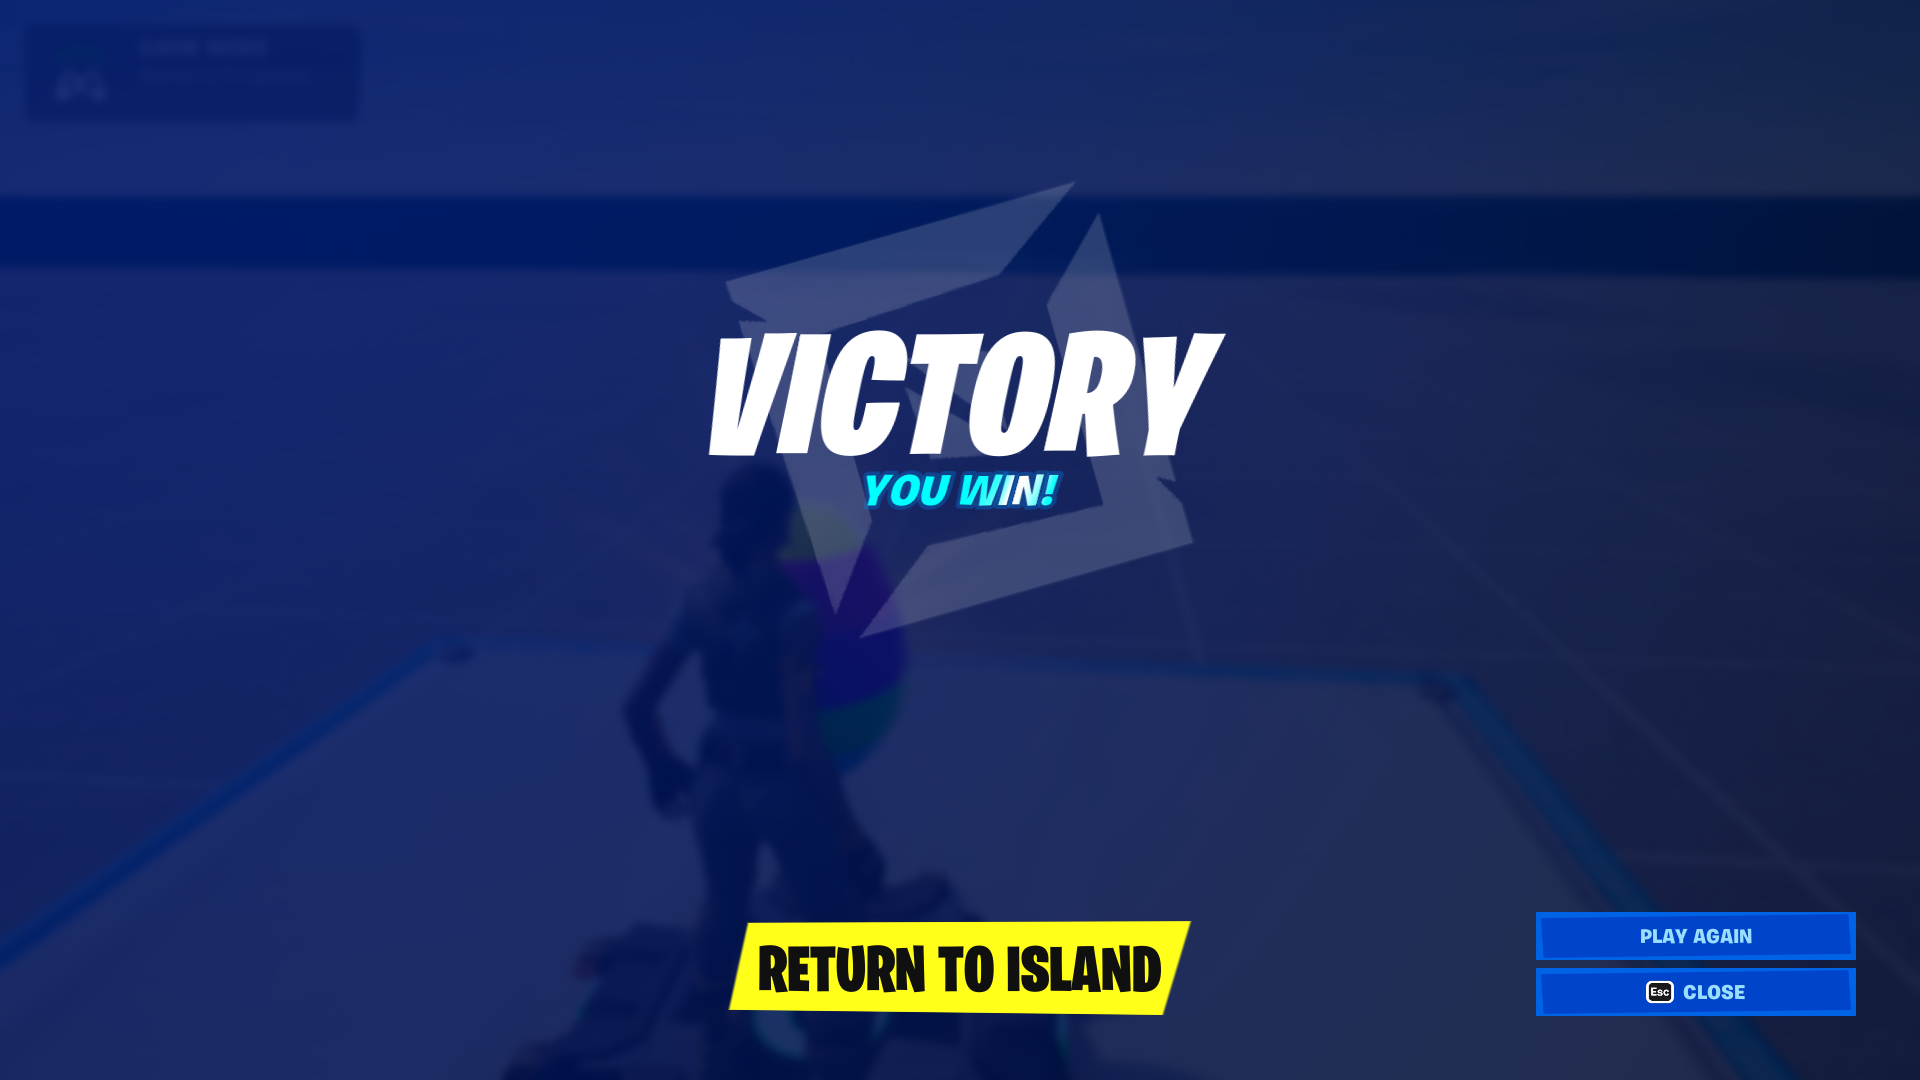
We’ve put together the scoreboard, but we have to tell the game to actually display it for a certain amount of time. Search for the word “display”. In the Game Winner Display Time field, let’s write a 5, so it will say “You win!” for 5 seconds. Then in the Game Score Display Time, let’s write 20, so it will display the scoreboard for 20 seconds after the game.
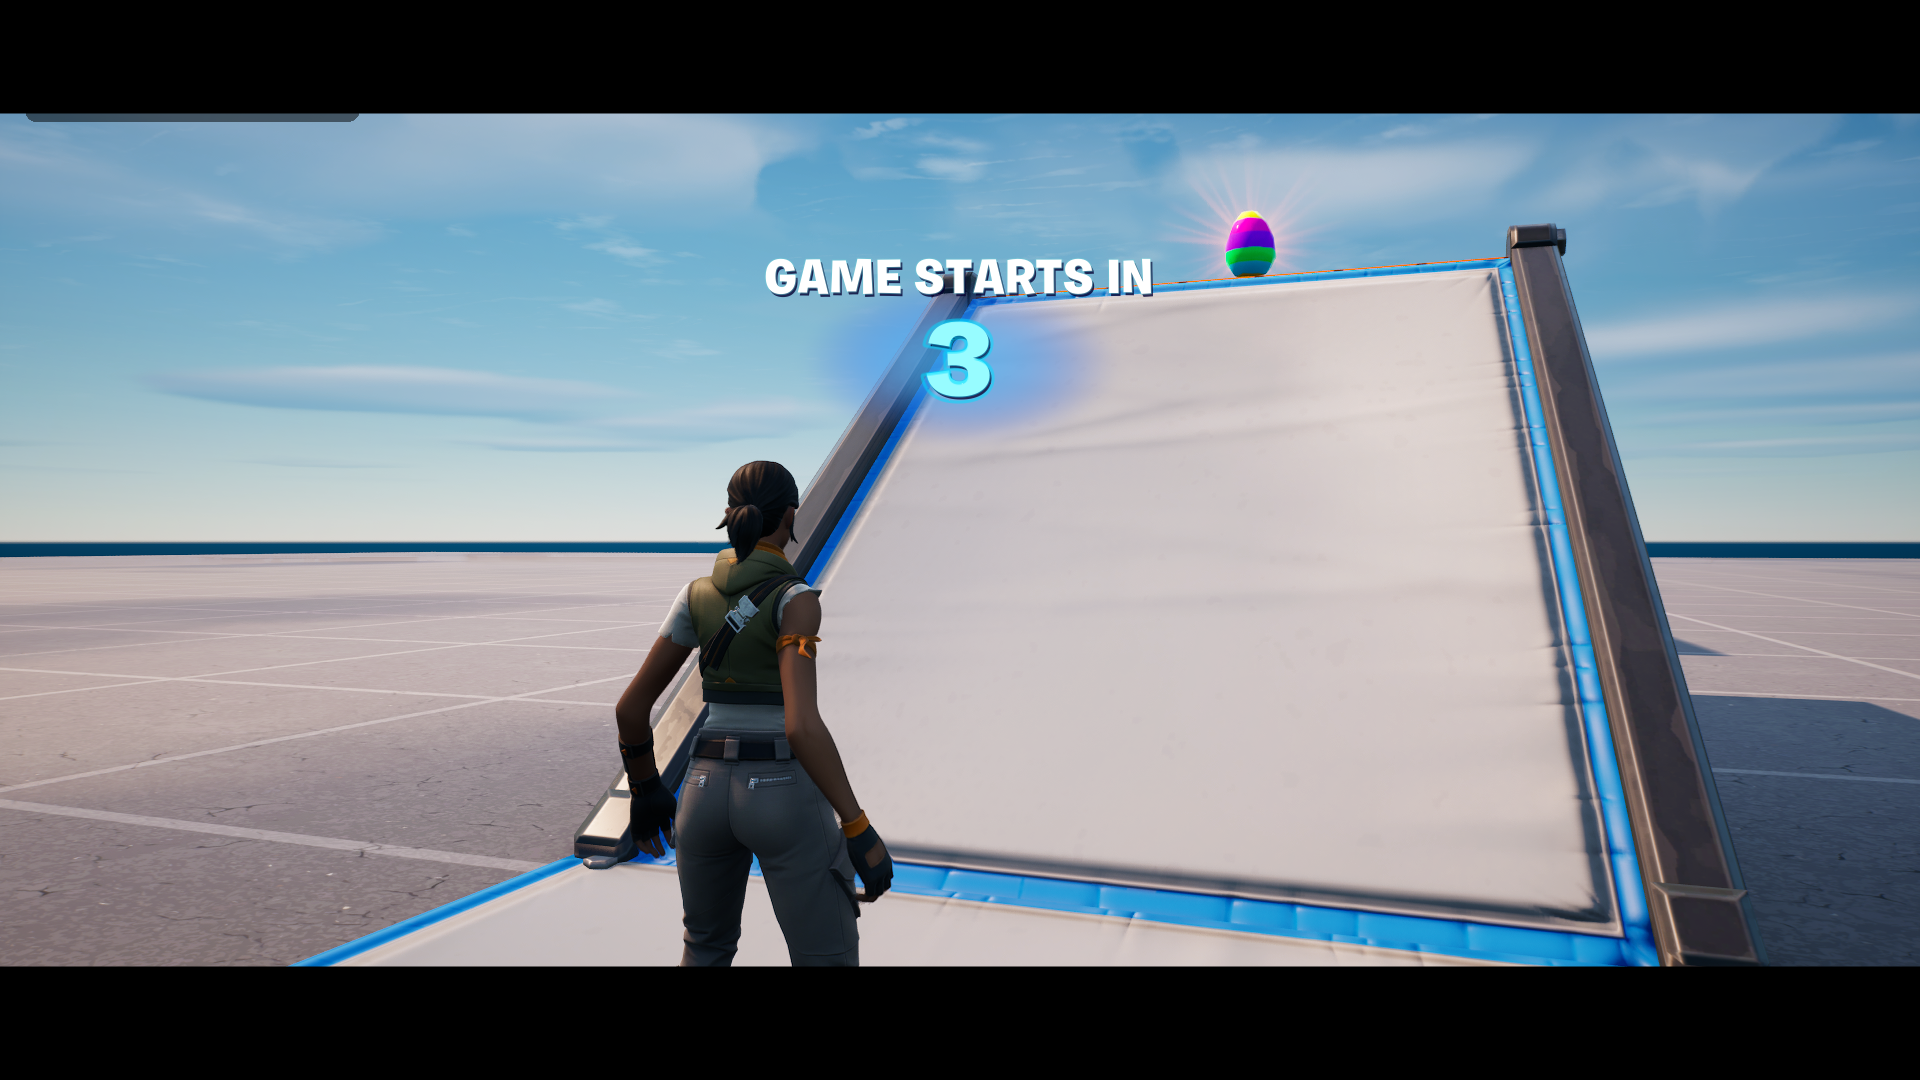
While we’re at it, let’s also add a start countdown timer. Search for “countdown”. In the Game Start Countdown field, let’s put a 3. This means the game will countdown from 3 before starting.

Let’s test! Click Push Changes and wait for the game to update. Remember that each time you make changes to IslandSettings, you’ll have to push the changes for them to happen in your game.
When the game starts, you should see the countdown timer.
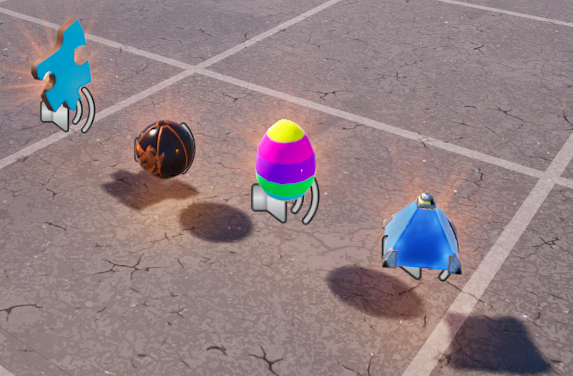
Once you grab the last collectible, everything goes all slow-mo and the game ends. You should see the scoreboard too.
Congratulations! You’ve made your first parkour game. You can keep building it out as much as you want!
What’s Next?
We have only scratched the surface of what you can do in UEFN.
Along with using all the premade devices to build gameplay, UEFN has its own programming language called Verse, which lets you code your own devices and take your game to the next level.
If you would like to learn more about building games in UEFN and how to use Verse, CodaKid offers private 1 on 1 tutoring courses. [talk about 1:1, add links and stuff]
FAQ
What types of projects can you make with UEFN?
UEFN’s prebuilt devices and settings support a wide variety of experiences, with more to come as Epic Games expands it in the future. You can build your own battle royale, race track, escape room, and more!
How is UEFN different from Fortnite Creative?
UEFN is similar to the Unreal Editor, which lets you move freely in 3D space and makes building and managing your maps and devices easier than in Fortnite Creative. It also gives you access to a programming language called Verse, which lets you code your own devices.
How is UEFN different from Unreal Engine 5?
UEFN is specifically designed for building games for Fortnite. It gives you access to Fortnite’s creative devices as well as the Verse programming language to streamline the process of getting your game made and published.
Would you like to work with a CodaKid online tutor to learn UEFN level design and Verse scripting? Visit us at https://codakid.com/private-online-coding-classes/ to learn more.