Minecraft, the immensely popular sandbox game developed by Mojang Studios, comes in two main editions: Bedrock Edition and Java Edition. Each edition has its own unique features and quirks, making them appealing to different types of players. In this guide Converting a Minecraft Bedrock World to Java Edition we will show you how to perform this task quickly and easily.
Whether it’s to take advantage of Java-exclusive mods and features or simply to switch platforms, this process can seem daunting. In this comprehensive guide, we will walk you through the steps to successfully convert a Bedrock world to Java Edition, ensuring that your beloved creations are preserved and ready for a new adventure.
Useful article: The Ultimate Guide to Minecraft Modding with Java
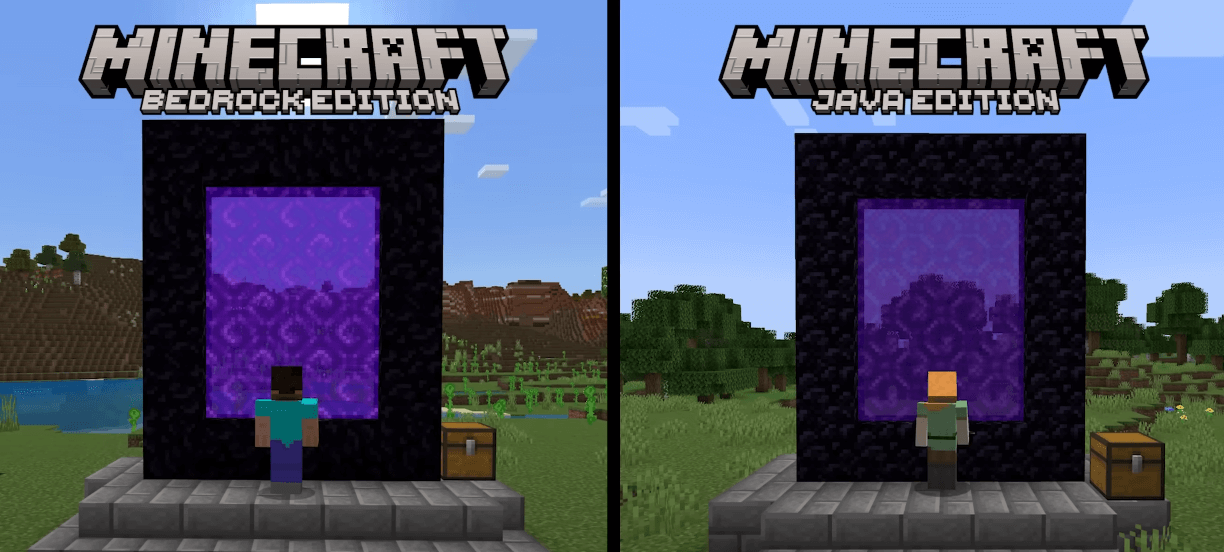
Table of Contents
Introduction: Bedrock vs. Java Edition
Before diving into the conversion process, it’s crucial to understand the differences between Bedrock Edition and Java Edition. These distinctions will help you make an informed decision on whether the conversion is right for you.
Bedrock Edition:
- Available on multiple platforms, including Windows 10, Xbox, PlayStation, and mobile devices.
- Cross-platform play allows you to enjoy multiplayer with friends on different devices.
- Offers a marketplace for purchasing skins, texture packs, and worlds.
- Generally smoother performance and better optimization for lower-end hardware.
- Limited to using addons for modding, which are often less robust than Java Edition mods.
Java Edition:
- Exclusively available on PC.
- Supports extensive modding and customizability with a vibrant modding community.
- Frequent updates, snapshots, and experimental features.
- Access to dedicated multiplayer servers with a wide variety of minigames and custom game modes.
- A dedicated community and vast libraries of skins, resource packs, and mods.
Converting your Bedrock world to Java Edition opens up a whole new world of possibilities, but it’s essential to weigh these advantages against the limitations of the Java Edition platform.
Preparation: Backup Your Bedrock World
Before you begin the conversion process, it’s essential to create a backup of your Bedrock world. This precaution ensures that your progress is safe in case anything goes wrong during the conversion. Follow these steps to create a backup:
- Open Minecraft Bedrock Edition.
- Select the world you want to convert.
- Click on “Edit” to access the world settings.
- Scroll down and choose “Make a Copy.”
- Name your copy and confirm the creation of the backup.
Store this backup in a secure location on your device or cloud storage.
Step 1: Locate Your Bedrock World Files
To convert your Bedrock world to Java Edition, you’ll need to locate the files associated with the world. These files are typically stored on your device. Here’s how to find them:
Windows 10:
- Open the File Explorer.
- In the address bar, enter %localappdata%PackagesMicrosoft.MinecraftUWP_8wekyb3d8bbweLocalStategamescom.mojangminecraftWorlds.
- You’ll find folders corresponding to your Bedrock worlds. Copy the folder of the world you want to convert.
iOS/Android:
- Use a file manager app to navigate to the Minecraft directory, often located in the internal storage.
- Look for the “games/com.mojang/minecraftWorlds/” folder, which contains your world folders.
Xbox/PlayStation:
- If you’re using a console, you may need to access your world files through the console’s file management system.
Once you’ve located the world folder, copy it to a location where you can easily access it for the conversion process.
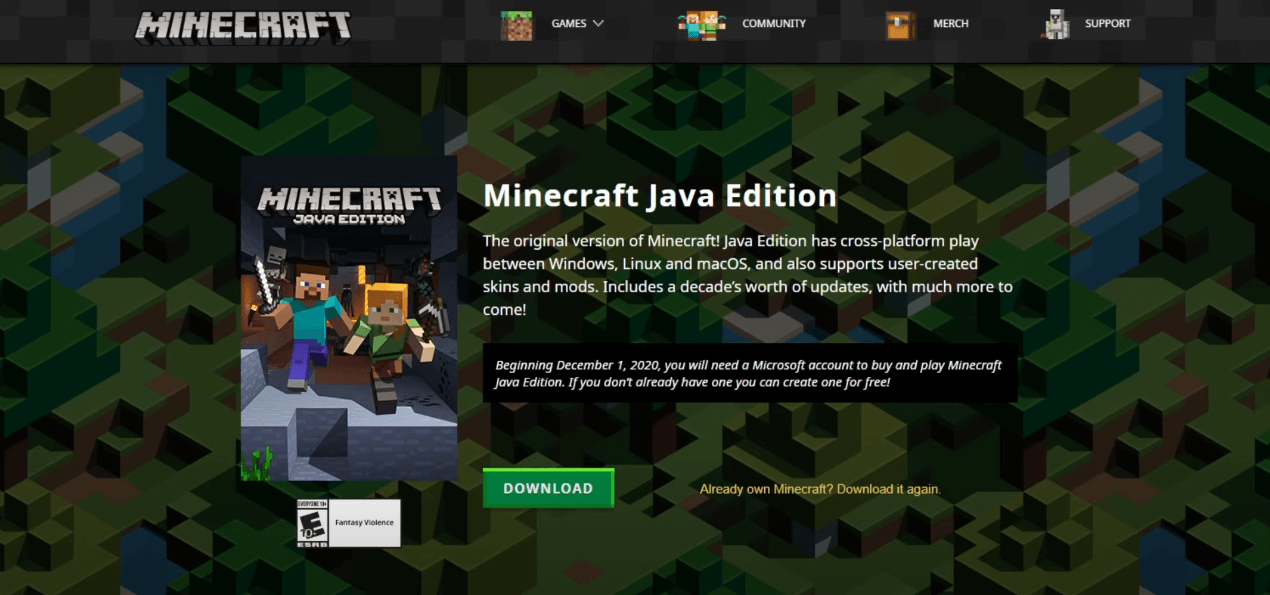
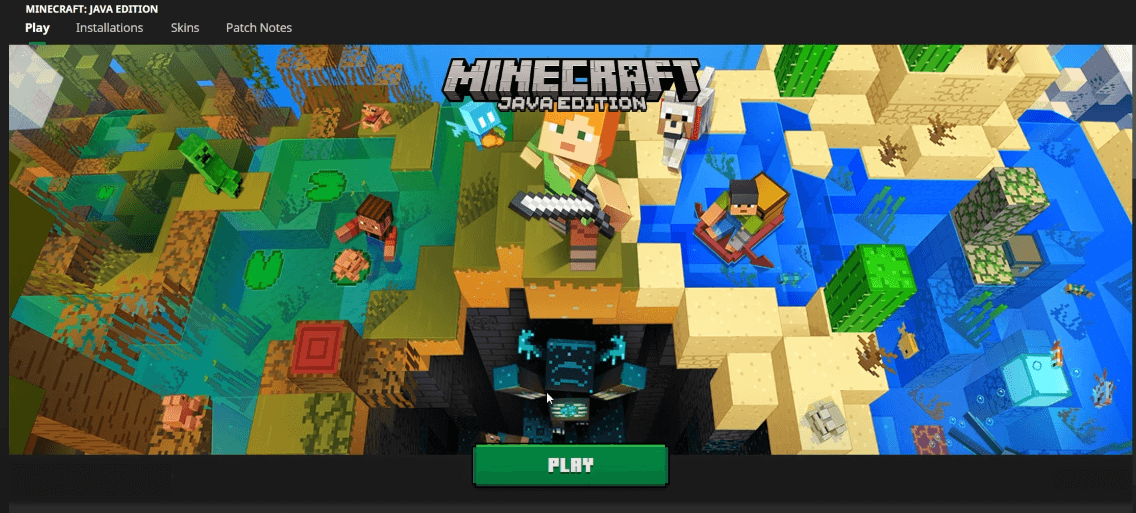
Step 2: Install Minecraft Java Edition
To proceed with the conversion, you need to have Minecraft Java Edition installed on your PC. If you haven’t already, you can purchase and download it from the official Minecraft website.
- Visit the Minecraft website.
- Purchase and download Minecraft Java Edition for your operating system (Windows, macOS, or Linux).
- Install the game by following the provided instructions.
Make sure you’re running the latest version of Java Edition for the smoothest experience.
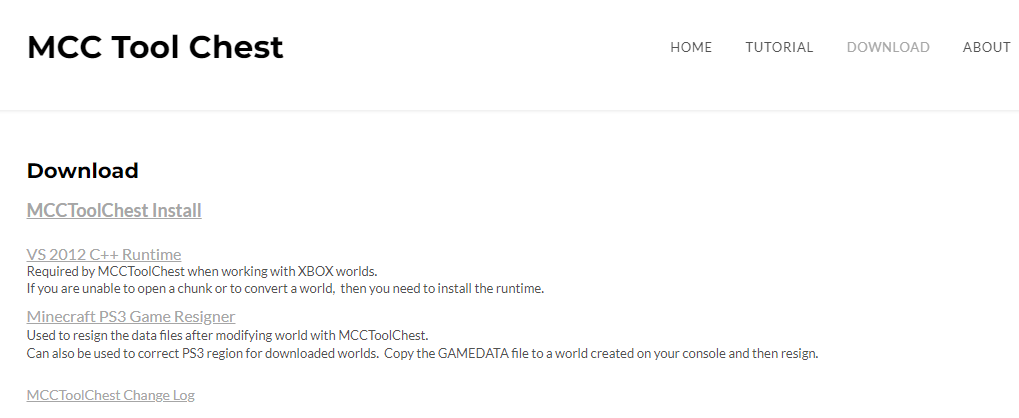
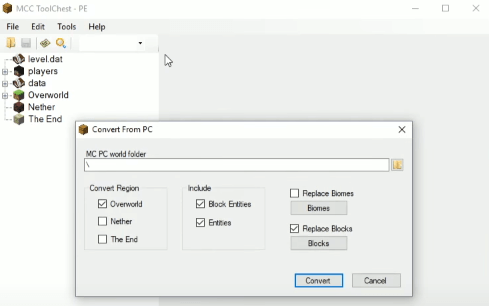
Step 3: Use a Conversion Tool (Mcctoolchest)
Converting a Bedrock world to Java Edition is made possible by third-party tools. One such tool is Mcctoolchest (formerly known as Universal Minecraft Converter). Here’s how to use it:
1. Download Mcctoolchest:
- Visit the official Mcctoolchest website or find a trusted source to download the tool.
2. Launch Mcctoolchest:
Open the Mcctoolchest application on your computer.
3. Select Your Bedrock World:
- Click “Open World” or a similar option in Mcctoolchest to locate and select the Bedrock world folder you want to convert.
4. Choose Java Edition as the Target:
- In Mcctoolchest, find an option that allows you to select the target edition or version. Choose “Java Edition” from the available options.
5. Convert Your World:
- Initiate the conversion process by clicking a “Convert” or “Start” button within Mcctoolchest. The tool will work its magic and convert your world.
Step 4: Convert and Import Your World
After Mcctoolchest has successfully converted your Bedrock World to Java Edition, it’s time to import it into your Java Edition game. Follow these steps:
1. Locate the Converted World:
- Mcctoolchest typically creates a new folder for the converted world. Find this folder in the location specified by the tool.
2. Copy the Converted World:
- Copy the entire folder containing your converted world.
3. Navigate to Your Java Edition Worlds Folder:
- Open your Minecraft Java Edition game.
- In the Minecraft main menu, click “Singleplayer.”
- Click “Create New World” or select an existing world where you want to import the converted world.
4. Import Your World:
- While configuring your new or existing world, click the “More World Options…” button.
- Click the “Open World Folder” button to open the world’s directory.
- Paste the folder containing your converted world into this directory.
5. Load the World:
- Close the Minecraft Java Edition game if it’s open.
- Reopen Minecraft Java Edition and select the world you just imported.
Congratulations! You’ve successfully converted and imported your Bedrock world into Minecraft Java Edition.
Step 5: Test and Troubleshoot
After the conversion and import process, it’s essential to thoroughly test your world to ensure everything is functioning as expected. Here are some tips for troubleshooting common issues:
- Check for Missing Blocks or Items: Sometimes, certain blocks or items may not convert correctly. Make sure to explore your world and verify that everything is in place.
- Compatibility with Mods: If you were using mods in your Bedrock world, be aware that these mods may not be compatible with Java Edition. You may need to find Java Edition equivalents or make adjustments.
- Terrain and World Generation: Bedrock Edition and Java Edition have differences in terrain generation. Your world may look slightly different after the conversion. This is normal.
- Redstone and Command Blocks: Redstone contraptions and command blocks may require adjustments due to differences in game mechanics between editions.
If you encounter any issues, consult the Minecraft community and forums for guidance. Remember that patience and experimentation are often key to resolving conversion-related problems.
Useful article: How to Install Minecraft Forge
Frequently Asked Questions (FAQ)
Q1: Can I convert a Java Edition world to Bedrock Edition using the same process?
A1: Unfortunately, the process outlined in this guide is specifically for converting a Bedrock World to Java Edition. Converting a Java Edition world to Bedrock Edition is a more complex task and may not yield the desired results.
Q2: Will all my Redstone contraptions work in Java Edition after the conversion?
A2: Redstone mechanics differ slightly between Bedrock Edition and Java Edition. While most redstone contraptions should work, some may require adjustments or tweaking to function correctly.
Q3: Are there any tools other than Mcctoolchest for world conversion?
A3: Yes, there are other tools and methods available for world conversion, such as third-party software and custom scripts. Mcctoolchest is one of the most user-friendly options, but you can explore alternatives based on your preferences.
Q4: What happens to my custom skins and texture packs after the conversion?
A4: Custom skins and texture packs used in your Bedrock world will not automatically transfer to Java Edition. You may need to find equivalent packs or recreate your customizations in Java Edition.
Q5: Can I continue playing my Bedrock world after converting it to Java Edition?
A5: Yes, your Bedrock world remains intact even after conversion. You can still access and play it in Bedrock Edition, but any changes or progress made in Java Edition will not reflect in the Bedrock version.
Q6: Are there any limitations in Java Edition that I should be aware of?
A6: Java Edition offers extensive modding capabilities, but it may require more system resources than Bedrock Edition. Additionally, it’s only available on PC, limiting cross-platform play.
In conclusion, converting a Bedrock world to Java Edition opens up exciting possibilities for Minecraft players seeking a different experience and access to Java-exclusive features. By following the steps outlined in this guide and being prepared for potential troubleshooting, you can successfully bring your Bedrock creations into the world of Java Edition.
Enjoy your new adventures in Minecraft! Minecraft coding courses have emerged as a unique and exciting way to introduce kids and enthusiasts to the world of programming. Leveraging the immense popularity of Minecraft, these courses teach participants how to modify the game, create custom content, and even develop their own mini-games using coding languages like Java.
By blending the beloved sandbox world of Minecraft with coding concepts, these courses make learning to code both enjoyable and practical. Students get to see their code come to life within the Minecraft universe, which not only fosters a deeper understanding of programming but also fuels creativity and problem-solving skills. Minecraft coding courses represent an innovative approach to education, where the boundary between gaming and learning is beautifully blurred, providing a fun and engaging path to coding proficiency.