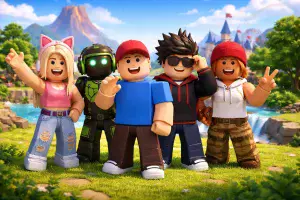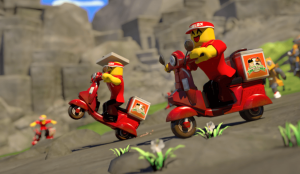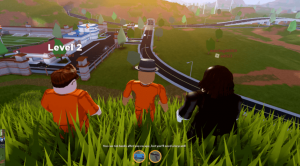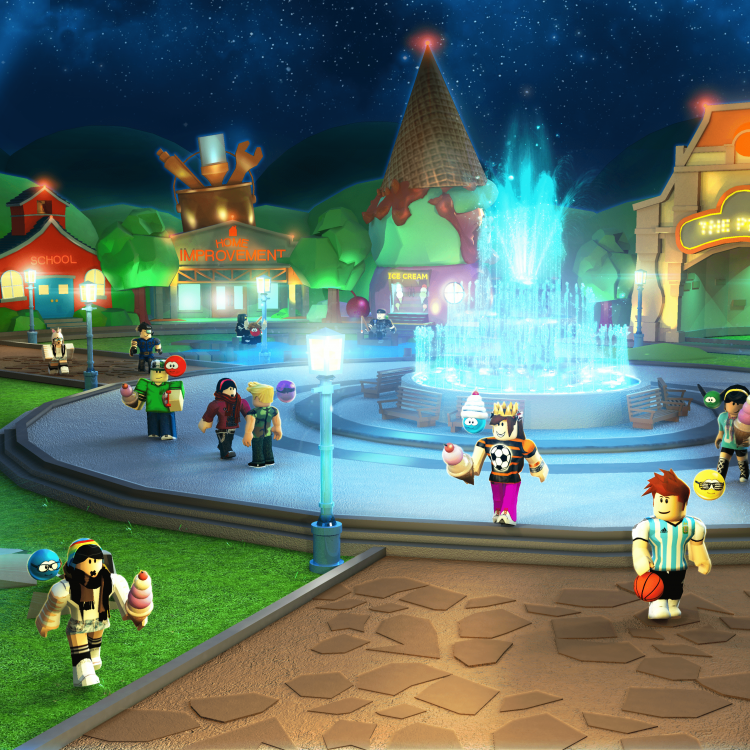
You’ve probably heard of Roblox by now with how rapidly the platform has grown. As one of the largest online gaming servers, Roblox’s community is widespread. Current players number in the millions, with tens of thousands of new users joining every week.
What’s more, Roblox specifically encourages social interaction. One of its best selling points is that Roblox games are made by players, for players. Users can develop their own games using the company’s game engine (for free!) and subsequently publish them for their fellow Roblox players to enjoy.
This game engine is a platform known as Roblox Studio, and there are very few programs – if any – that can match its power, versatility, and ease of use.
In this blog, we are going to cover everything you’ll need to know on how to make a game in Roblox Studio. We’ll start by going over the basics of installation and towards the end, we’ll take a deep dive into an in-depth free tutorial by one of CodaKid’s expert engineers.
Related Reading:
Table of Contents
What is Roblox Studio?
Roblox Studio is a free development application from Roblox that gives creators the tools to build, script, test, and publish games on the Roblox platform. It includes tools for creating 3D environments, adding game mechanics, writing scripts, and testing how a game works before sharing it with players.
Roblox Studio is available for Windows and Mac computers. It uses Luau, Roblox’s scripting language, to add interactive features and game mechanics to Roblox games.
For beginners, Roblox Studio provides a starting point for learning both game design and programming. You can begin by building with objects and Studio’s visual tools, then use Luau scripts to create more interactive gameplay as you develop your skills.
How To Get Roblox Studio
You can get Roblox Studio for free from their official website. The download and installation process is quick and easy, too.
Roblox Studio Requirements
Roblox Studio is a free desktop application available for Windows and Mac. Before downloading Roblox Studio, make sure your computer meets the minimum system requirements:
- Windows: Windows 10 or newer
- Mac: macOS 10.14 or newer
- RAM: At least 3 GB
- Screen resolution: 1600 × 900 or higher
For the best experience, Roblox currently recommends Windows 11 or macOS 14+, along with 8 GB of RAM.
How to Install Roblox Studio
Once you’ve confirmed that your computer meets the requirements, follow these steps:
- Download Roblox Studio from the official Roblox Creator Hub.
- Click Download Studio when prompted.
- Find the Roblox Studio installer in your browser’s download history and open it.
- On Windows, the installer is called RobloxStudio.exe.
- On Mac, the installer is called RobloxStudio.dmg.
- Follow the on-screen instructions to complete the installation.
- Launch Roblox Studio and sign in with your Roblox account.
Once Studio is installed, you’re ready to open a new project and start building your first Roblox game.
You don’t need advanced coding experience to start making a Roblox game in Roblox Studio. You can begin by learning the basic building tools and gradually add Luau scripts as your game becomes more complex.
What Programming Language Does Roblox Studio Use?
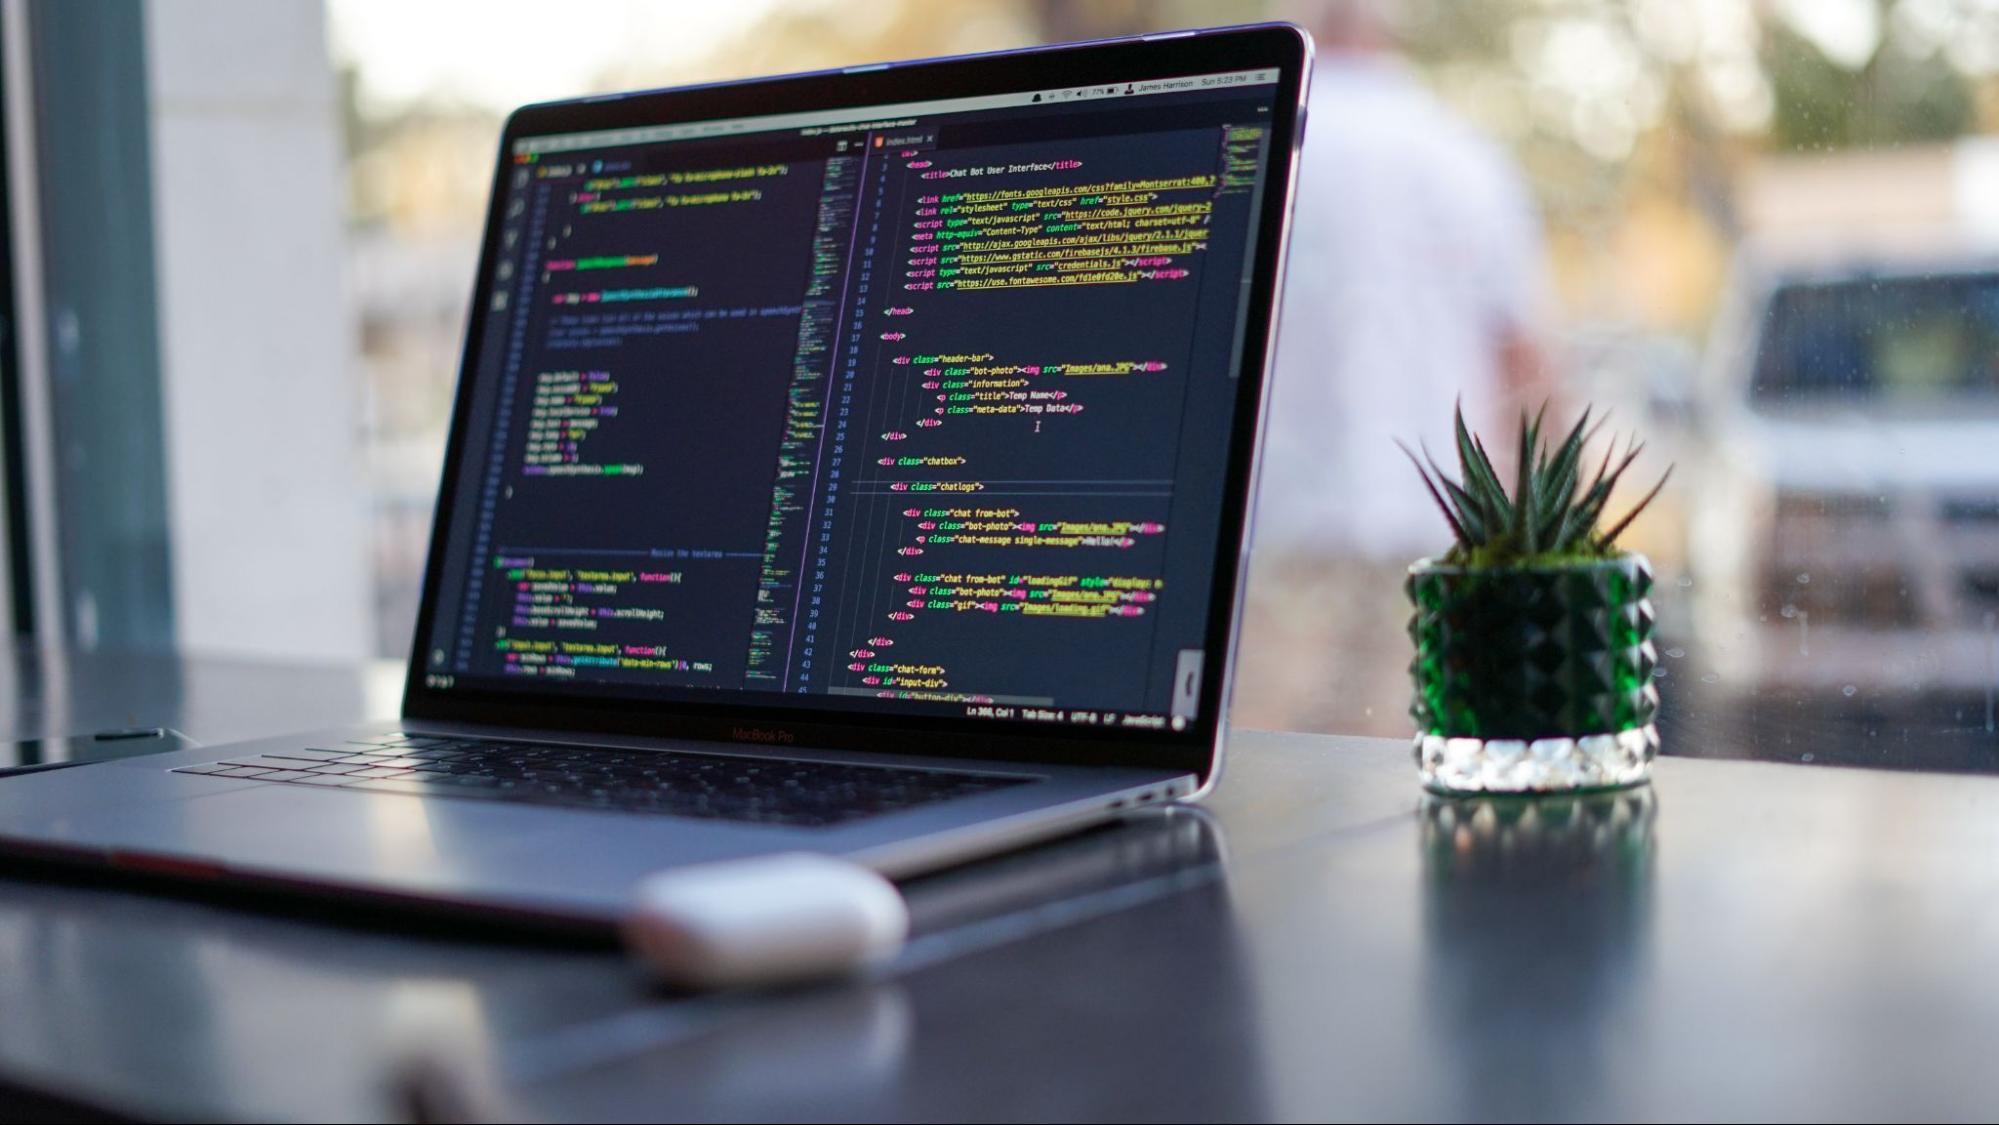
Roblox games use Luau, the scripting language used in Roblox Studio. Luau is derived from Lua 5.1 and is designed to add interactive behavior and gameplay features to Roblox experiences.
You can use Luau scripts to make your Roblox game respond to player actions, create interactive objects, control characters and NPCs, build game mechanics, and trigger events. Roblox Studio also includes a Script Editor with features such as autocomplete, syntax highlighting, script analysis, and documentation support.
Is Luau the Same as Lua?
Luau is based on Lua 5.1, so many Lua concepts and resources are still useful when learning Roblox scripting. However, Luau has additional features and differences, so Roblox developers should use current Luau documentation when writing scripts for Roblox Studio.
If you’re new to programming, you don’t need to learn everything about Luau before making your first Roblox game. Start with fundamental concepts such as variables, functions, events, conditionals, and loops, then gradually use those concepts to add gameplay features to your projects.
Want to learn more about Roblox scripting? Check out our Roblox Lua Scripting Basics for Beginners guide for a deeper introduction to Luau.
Related Reading:
What Can You Do With Roblox Studio?
Roblox Studio gives creators the tools to build 3D environments, add interactive gameplay, write scripts, test their games, and publish their creations to Roblox. You can start with a blank project or use a template as a foundation for your first game. (create.roblox.com)
Build 3D Game Environments
Studio lets you add and customize objects called parts to create platforms, obstacles, buildings, and other elements of your game world. You can move, scale, rotate, and customize objects to create the environment you want.
Add Gameplay With Luau
Once you’ve built your environment, you can use Luau scripts to make objects interactive and create gameplay mechanics. Scripts can respond to player actions, control objects, and add rules and behaviors to your game. (create.roblox.com)

Test Your Game
Roblox Studio includes playtesting tools that let you try your game before sharing it with other players. You can test how your game works, check whether obstacles are possible to complete, and identify problems that need to be fixed. (create.roblox.com)
Publish and Share Your Game
When you’re ready, you can publish your game directly from Roblox Studio. New games are private by default, giving you an opportunity to test and make changes before making the game available to other players. (create.roblox.com)
For beginners, these features make Roblox Studio a useful starting point for learning game design, programming, and Roblox game development.
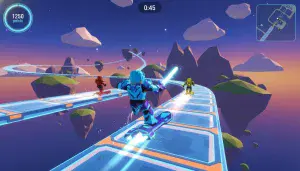
Here is a quick trailer of CodaKid’s free Obby tutorial that is presented in the series of instructional videos below. The videos are designed as a fun and effective way to teach coding for kids within the Roblox universe. You can find the rest of these video tutorials in the next section. We hope that you enjoy them!
Related Reading:
- 5 Awesome Roblox Games You Can Make at Home
- Roblox Scripting: How to Make a Game Like the Pros on Roblox Studio
Roblox Studio Interface Basics
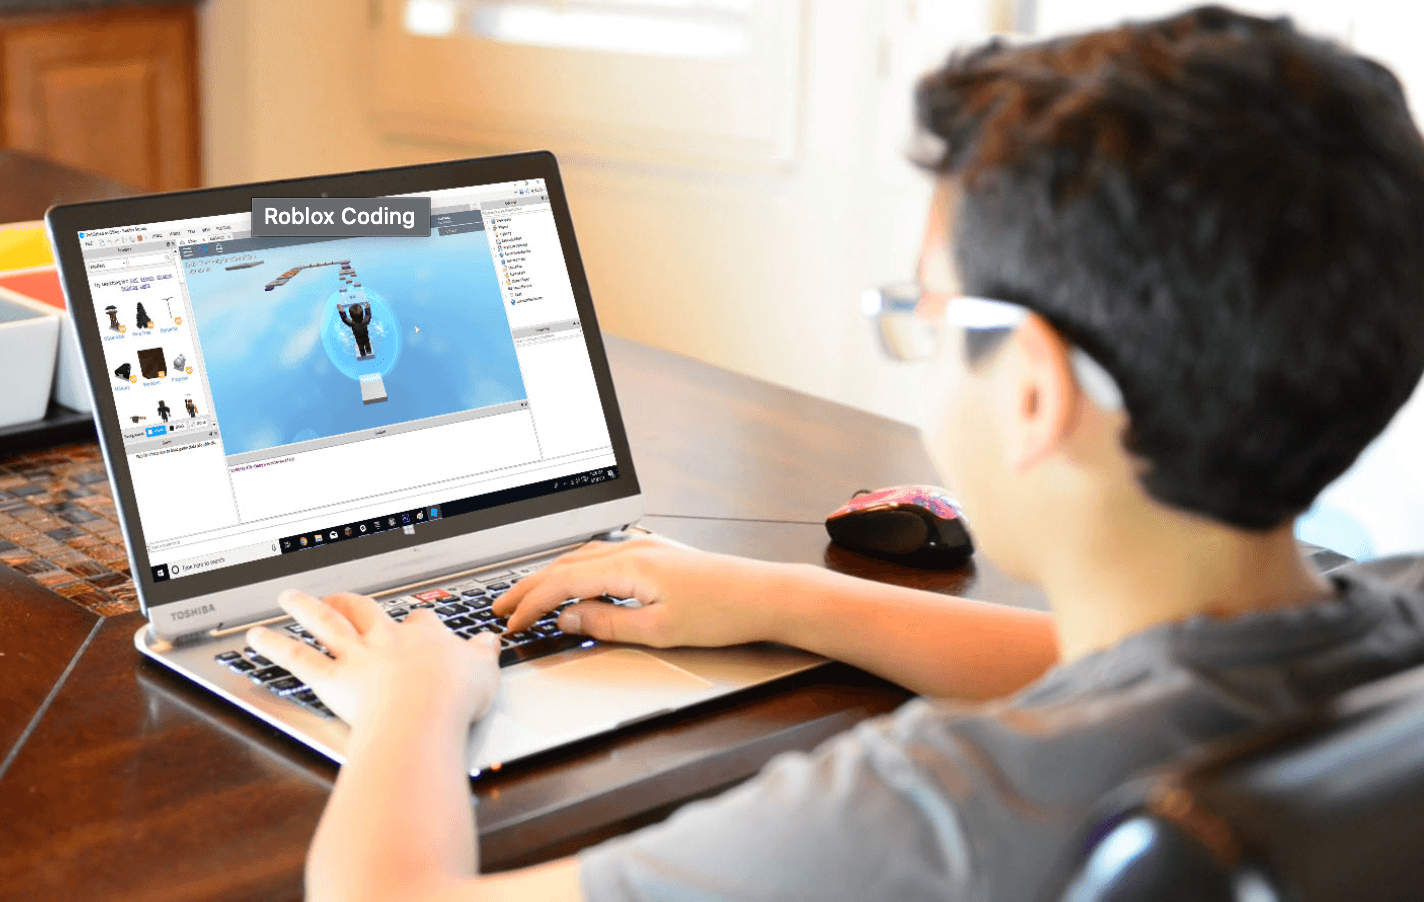
Before you start building your first Roblox game, it helps to understand the main parts of the Roblox Studio interface. You don’t need to learn every tool at once. Start with the features you’ll use most often when building, editing, and testing a game.
3D Viewport
The 3D viewport is the main area where you build and view your Roblox game. You can move the camera around the environment, select objects, and use building tools to move, resize, and rotate parts. You can also playtest your game from the viewport without leaving Roblox Studio.
Explorer
The Explorer window shows the objects and services that make up your Roblox game in a hierarchical list. It helps you find parts, models, scripts, and other elements in your experience.
Properties
The Properties window lets you change the settings of a selected object. For example, you can change an object’s appearance, color, material, transparency, and other properties.
Toolbox
The Toolbox provides access to models, images, meshes, audio, plugins, and other assets that can be used in your projects. When using assets from the Toolbox, review them carefully before adding them to your game, especially if you’re a beginner.
Output
The Output window displays messages and errors generated while your game is running. It can be especially useful when you’re learning Luau because it can help you identify problems with your scripts.
How to Make Your First Roblox Game
In this beginner Roblox Studio tutorial, you’ll build a simple obstacle course, or Obby, from the ground up. Along the way, you’ll learn how to choose a template, build and customize parts, organize objects with Explorer and Properties, add a SpawnLocation, use basic Luau scripting, and test your game.
You don’t need advanced programming experience to follow this tutorial. The goal is to learn the basic tools and concepts you can use to start making your own Roblox games.
For those Roblox entrepreneurs who would like to learn how to make Tycoon games, Simulator games, Dodgeball games, Racing games, and Battle Royale games, check out CodaKid’s award-winning online courses with a free trial here.
Custom Obby Game
Our hope is that you’ll create a custom Obby game that you’ll be proud to show friends and family, and that you’ll continue your Roblox Game Development journey (and perhaps even make some Robux along the way)! Again, if you are interested in further Roblox coding and game development instruction, you can check out CodaKid’s online courses which teach you how to make dozens of Roblox games, including custom Tycoon games, Dodgeball games, Racing courses, Among Us games, Adventure Maps, Speed Simulators, Battle Royale games, and more.
CodaKid has affordable monthly subscriptions with a free trial that also teach students how create Minecraft mods, mobile game apps, 3D games using Unreal 4 Engine, and custom websites.
And just a heads up (as if it isn’t apparent by our name): CodaKid is an online kids coding academy and the content we are posting are designed for kids and teens. But even if you are an adult learner you should still find the videos quite useful.
Step 1: Choose a Roblox Studio Template
When you create a new experience in Roblox Studio, you can start with a Baseplate or use a pre-built template. For your first game, either option works depending on how much you want to build yourself.
- Baseplate: Starts with a simple blank environment, giving you more control over your game’s design.
- Obby Template: Provides a basic obstacle-course setup that you can customize with your own platforms, obstacles, and challenges.
If you’re completely new to Roblox Studio, starting with a Baseplate can help you learn how the building tools work. If you want to create an obstacle course more quickly, the Obby Template gives you a useful starting point.
Once you’ve selected a template, you’ll be ready to explore the Roblox Studio editor and start building your game.
Step 2: Learn the Roblox Studio Building Tools
Roblox Studio Editor provides game designers with a number of powerful tools. But before we are able to create our very own blockbuster course, it is important to that we become pros at the basic functionality.
In this Roblox Studio tutorial, we will go over how to shape objects and parts to create visually dynamic environments. You will learn functions such as Move, Scale, Rotate, and the basics of getting around the Roblox Editor.
We highly suggest that you take your time familiarizing yourself with Roblox Studio’s many navigation buttons and menus. While I think our video does an excellent job going over the basics, you can check out the Roblox Wiki if you’d like to dig even deeper.
Step 3: Customize Your Game Environment
In this Roblox tutorial, we will go over how to make your world colorful and unique. You will learn how to create different shaped parts and apply different materials and properties to your world.
You will also learn how to make parts transparent and how to lock obstacles in place so that your Obby can take shape.
The skills that you’ll learn here can be applied to an almost unlimited number of other games that you can make with the Roblox editor.
We highly recommend that you get really good at the basic here, as this will save you a ton of time as you build future games on Roblox.
Step 4: Add a SpawnLocation
Before you start scripting your game, make sure players have a clear place to begin.
In Roblox Studio, you can add a SpawnLocation to determine where players appear when they enter your game.
To add one:
- Open the Model tab in Roblox Studio.
- Select Spawn to add a SpawnLocation to your game.
- Use the Move and Scale tools to position and size it where you want players to start.
- Make sure the SpawnLocation is placed on a safe, accessible part of your game environment.
Adding a SpawnLocation early makes it easier to test your game and ensures players know where their experience begins.
Step 5: Use Explorer and Properties
Two of the most important windows in the Roblox Studio Editor are the Explorer and Properties windows. These windows are the key to organizing your game and making complex changes to the different parts you place.
In this video, we’ll learn how to read the information in these windows and use them to create our awesome obby.
Step 6: Add Luau Scripts
To make your Obby interactive, you’ll need to learn some basic Luau scripting. Luau lets you create gameplay mechanics, respond to player actions, control objects, and add behaviors to your Roblox game.
Luau is designed to work with Roblox Studio and is a great way to start learning programming through game development.
Fortunately for you, Roblox Studio has a native, user-friendly text editor that is easy to learn.
In this video, we go over how to add scripts to our game objects. We also give an overview of Luau variables, functions, and how to connect functions to events in our game.
You might also enjoy our breakout video, which is designed to make an important coding concept – a function – easy to understand.
Step 7: Create Your First Roblox Script
Lastly, we’ll take everything we learned and use it to create a kill block! These are some of the most popular hazards in any obby, and now you’ll know how they’re made!
While scripting using text-based coding might seem intimidating at first, just take your time and you’ll find that it’s a lot simpler than you think! Luau is designed to work with Roblox Studio and is a great programming language for new game designers. What we especially love about using Luau in Roblox Studio is the excellent documentation and helpful community.
If you stick with it, you’ll find that Game Development with Roblox using the Luau scripting language is fun and very rewarding.
Step 8: Test and Debug Your Roblox Game
Before publishing your Roblox game, play through it as a player. Check that your character spawns correctly, platforms and obstacles work as expected, and your scripts trigger the right actions.
If something isn’t working, check the Output window for warnings or script errors. Make a change, test the game again, and repeat the process until everything works as expected. Roblox provides several playtesting modes, including Test, Test Here, and Run.
Step 9: Publish Your Roblox Game
Once you’ve tested your game and fixed any problems, you can publish it to Roblox.
- In Roblox Studio, select File → Publish to Roblox.
- Enter a name for your game.
- Add a description if you want players to know what to expect.
- Choose the devices you want your game to support.
- Select Create to publish your game.
New games are private by default, so you can continue testing and making changes before releasing the game publicly.
Remember to publish your work regularly while you’re building so your progress is saved to your Roblox account.
Frequently Asked Questions
Is Roblox Studio free?
Yes. Roblox Studio is a free application that creators can use to build, script, test, and publish Roblox experiences. You can download Studio and start creating without purchasing a separate game-development program. (create.roblox.com)
Do I need to know how to code to make a Roblox game?
No. You can start building a Roblox game without advanced programming experience. Roblox Studio provides visual building tools that let beginners create environments and objects. As you progress, you can learn Luau to add more interactive gameplay and advanced features.
What programming language does Roblox use?
Roblox uses Luau, a scripting language derived from Lua 5.1. Luau is used in Roblox Studio to create gameplay mechanics, interactive objects, and other behaviors. (create.roblox.com)
How do you make a Roblox game for beginners?
To make a Roblox game as a beginner, start by opening Roblox Studio and choosing a template or Baseplate. Build your game environment with parts, use Explorer and Properties to organize and customize objects, add Luau scripts for interactive features, test your game, and publish it when you’re ready.
How long does it take to make a Roblox game?
The time required depends on the type and complexity of the game. A simple Obby can be built relatively quickly, while games with complex mechanics, custom environments, multiplayer systems, or extensive scripting can take much longer. Starting with a small project can help beginners learn the development process.
How do I publish a Roblox game?
After testing your game in Roblox Studio, select File → Publish to Roblox, enter the game’s information, and create the experience. New games are private by default, so you can continue testing and making changes before making your game available to other players. (create.roblox.com)
Conclusion
Making your first Roblox game doesn’t require advanced programming experience. With Roblox Studio, you can start by building a simple environment, learn the basic tools, add interactive features with Luau, and test your game as you develop it.
In this guide, you learned:
- What Roblox Studio is and how to install it
- How to navigate the main Roblox Studio interface
- How to build and customize a game environment
- How to use Explorer and Properties
- How Luau scripting works in Roblox
- How to add a basic script to your game
- How to test, debug, and publish your Roblox game
The best way to learn Roblox game development is to start with a small project and build on your skills as you go. Once you’re comfortable with the basics, you can experiment with new game mechanics, more advanced scripts, and larger game worlds.
Whether you’re building an Obby or creating an entirely different type of Roblox experience, Roblox Studio gives you a starting point for turning your ideas into playable games.
Are you ready to take your Roblox experience to the next level? Enroll in Codakid for a free trial.