If we’re being honest, Minecraft is hands-down one of the best games in existence. It’s got infinite replay value, plenty of expansions, and thousands of Minecraft mods and addons to keep things interesting. It’s accessible enough for new players to jump in and still rewarding enough for old players to keep going.
Recommended Reading:
- Minecraft Caves & Cliffs: Everything You Need to Know
- Top 11 Minecraft Addons for Interesting Gameplay
It’s also secretly immortalized itself via peak pop and meme culture, but that’s not necessarily a bad thing anymore.
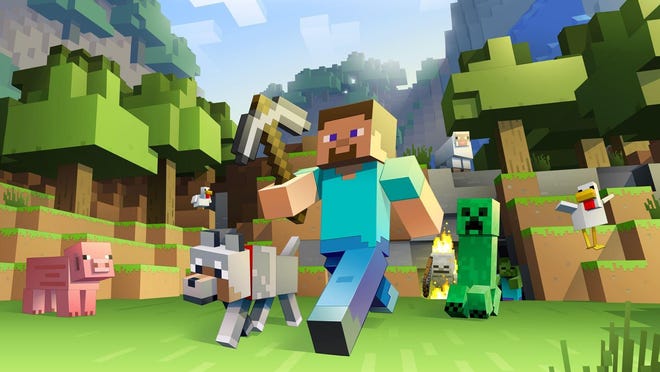
Point is, Minecraft’s a great game. The only thing about it that some people could potentially take issue with is its graphics. Part of Minecraft’s charm lies in its pixelated characters and interface, so that isn’t a big deal. However, the overall atmosphere, ambiance, lighting, and colors do pale in comparison to most modern games.
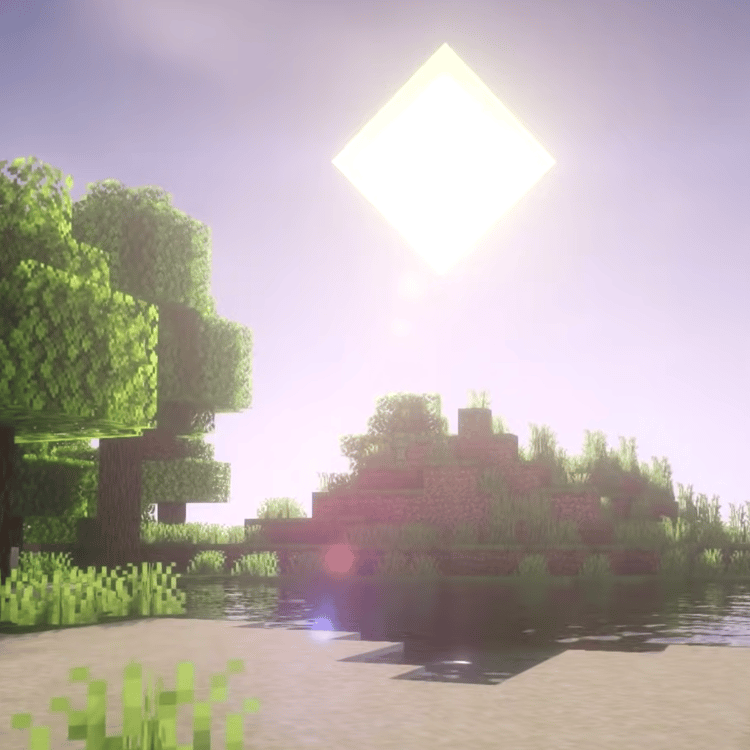
Minecraft being an open-world game has the potential to yield some absolutely gorgeous graphics. The community obviously thinks so, which is why Minecraft shaders were created.
Once you’re done exploring the best Minecraft Shaders be sure to check out CodaKid’s award-winning Minecraft courses!
Table of Contents
What are Minecraft Shaders?
Minecraft Shaders are similar to Minecraft texture packs in the sense that they modify the game’s visuals and graphic settings. From hyper-realistic lighting to subtle object blurring, Minecraft shaders can greatly enhance the gameplay and gaming experience for players who prefer their Overworld to be a little sharper, crisper, or brighter.
Some Minecraft shaderpacks can also optimize the base graphics to improve visuals and remove serious lag.
Just like Minecraft mods, Minecraft shaders are easy enough to find, download, and install. Here’s a quick tutorial before you dive in.
How to Install Minecraft Shaders
Before searching for Minecraft shaders to download, make sure you already have Minecraft Forge or Optifine installed. These are free, open-source servers that allow players to easily install and run Minecraft mods (this includes texture packs and addons).
Recommended Reading:
- How to Install Minecraft Mods: The Ultimate Guide
- Best Minecraft Texture Packs
- 11 Best Minecraft Mods
- 7 Best Minecraft Server Hosting Platforms
If you don’t have either installed yet, check out our updated guide on How to Install Minecraft Forge.
Step 1. Download the Minecraft shaders or Minecraft shaderpack of your choice. Make sure you get the latest version or the version that is compatible with your current Minecraft/Java version.
Step 2. Manually move the file you just downloaded into the shaderpacks folder in your Minecraft installation.
Step 3. If you can’t find your shaderpacks folder, open your Minecraft Launcher and choose the Optifine version of Minecraft.
Step 4. Go to the Options menu and select Video Settings. From there, choose Shaders > Shaders Folder. You should now have the option to move your newly downloaded shaders into that folder.
Step 5. Launch Minecraft using Forge or Optifine, and you’re done! Your new Minecraft shaders should automatically be visible.
Best Minecraft Shaders
Here are 11 of the top Minecraft shaders you can download for free.
I. Lagless Shaders
As you can probably tell with the name, the Lagless Shaders Minecraft shader pack is designed for visual performance. If you want a smooth, clean, non-stuttering experience frolicking throughout the Overworld, the Lagless Shaders mod should be your first choice. It gives you beautifully realistic textures and vibrant colors at a non-lagging 60 frames-per-second—all without overworking your GPU.
Pros: offers some of the best graphics for older and slower processors.
Cons: not as many effects or crisp details as other top Minecraft shaders; not recommended for faster, high-end machines capable of more processing power (and therefore running more demanding shader packs)
II. Sildur’s Shaders
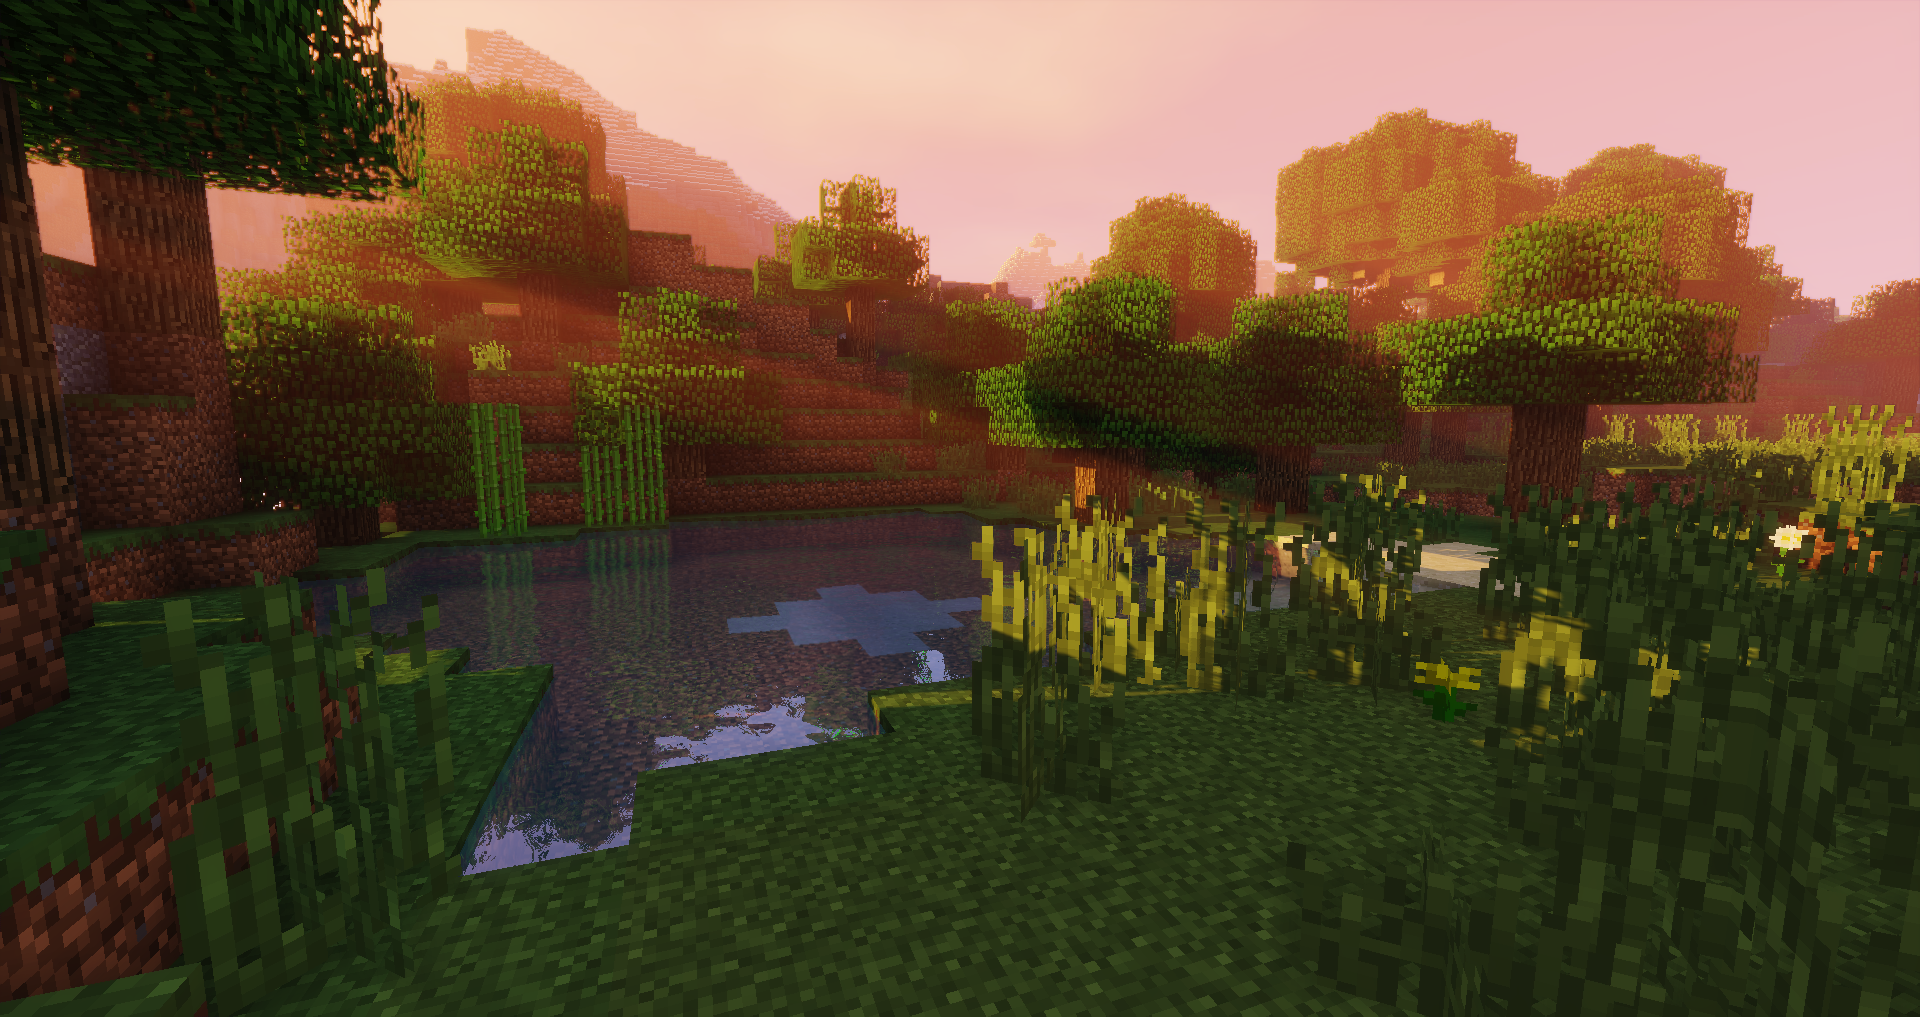
One of the best Minecraft shaders that have been around for quite some time, Sildur’s Shaders is known for being one of the most balanced shader packs in terms of visual and gameplay performance. It can add volumetric lighting bloom, ambient occlusion, and high-def reflections without compromising fps or inducing lag or stuttering in-game.
If you’re looking for Minecraft shaders to boost your game’s lighting, Sildur’s is the one to beat. Lightweight and highly customizable, this shaderpack comes with three (3) settings: basic, enhanced, and vibrant.
Each setting has its own set of pros and cons for visual enhancement, so we highly recommend playing around and seeing which suits your taste more.
Pros: doesn’t take a huge toll on older machines; one of the most customizable free Minecraft shaders available.
Cons: graphics compatibility may be a problem for machines running 2009 or earlier chipsets.
III. SEUS (Sonic Ether’s Unbelievable Shaders)
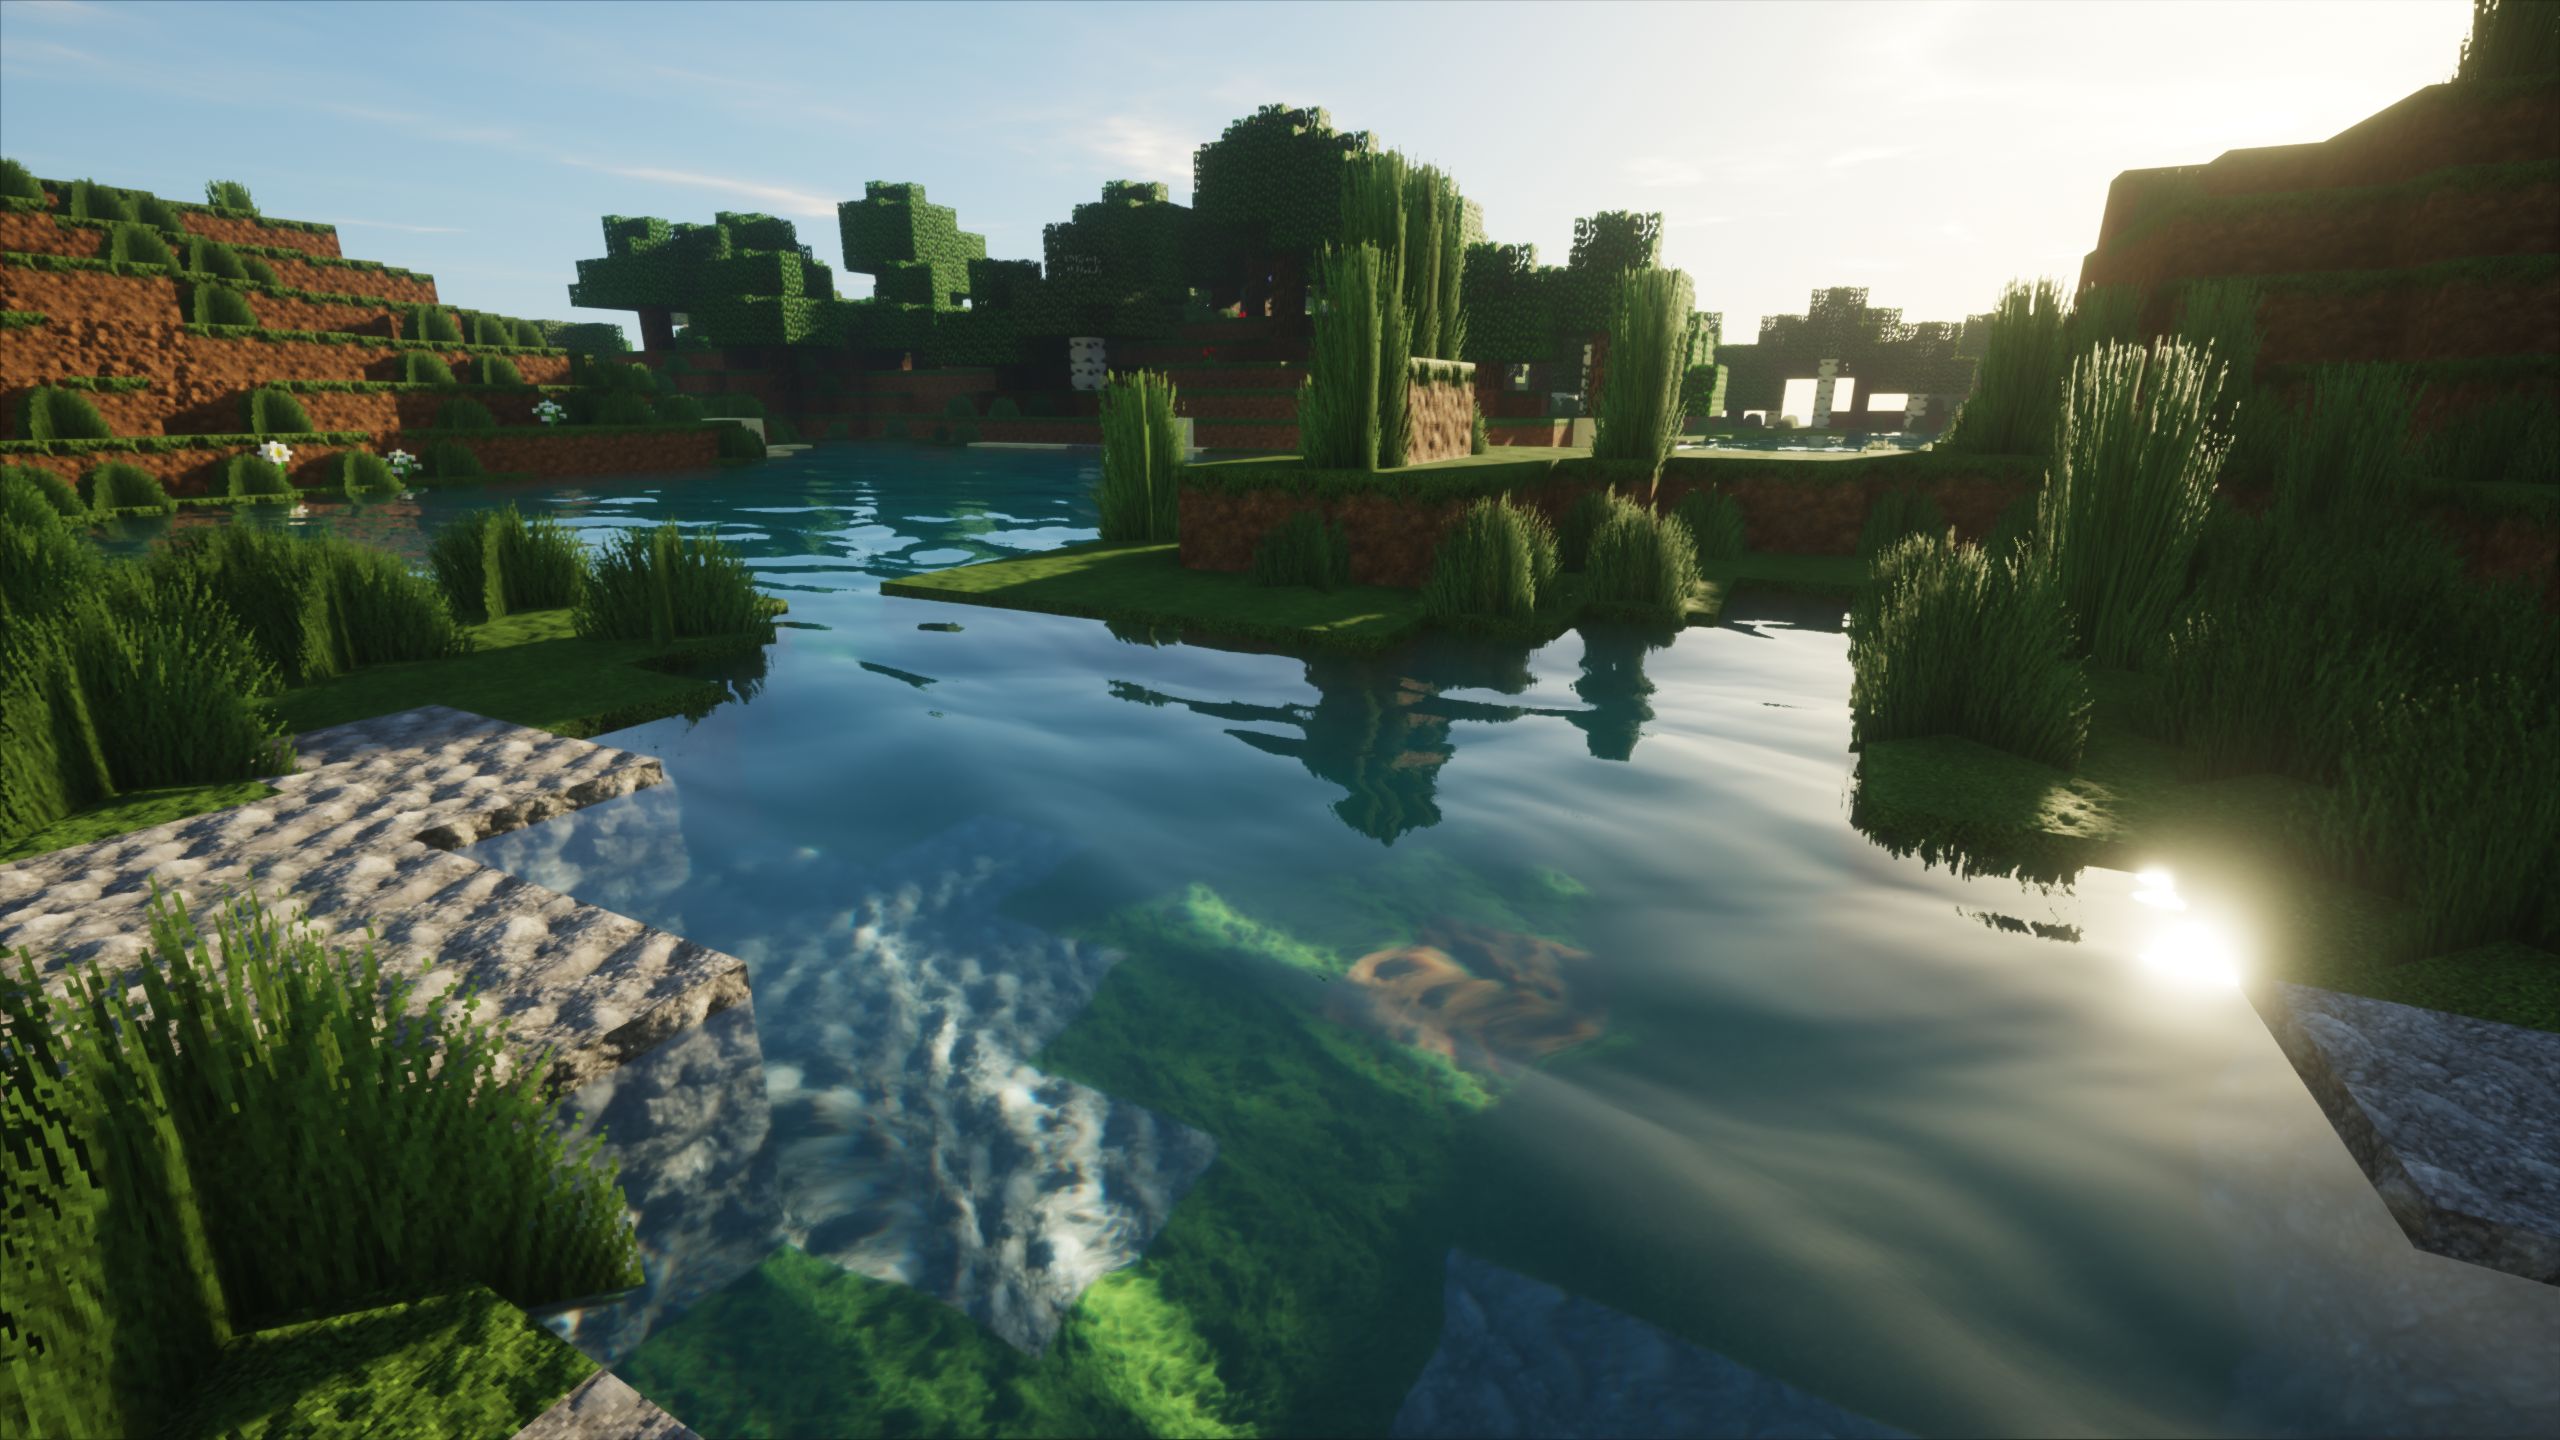
SEUS is one of the oldest – and, arguably, one of the most popular – Minecraft shaders packs around. Many consider SEUS shaders to be the shaderpack that started it all. It encouraged modders to create Minecraft add-ons, custom shaders, and texture packs by the dozen.
SEUS also happens to be one of the more iconic packs due to the subtle but gorgeous visual overhaul it gives the game. Soft natural lighting adds a smooth, touchable sheen to practically every surface. Textures pop more under a vibrant, colorful sun.
And the best part? It’s constantly being updated. The latest – and most recommended – version is SEUS Renewed 1.0.1 (released February 10, 2020), but you can still download Legacy SEUS v11 and SEUS v10.2 Ultra on their site.
Pros: hands-down one of the best visual enhancers for Minecraft; very realistic; constant updates ensure it always works with the latest Minecraft patches and packs.
Cons: resource-heavy; not recommended for older computers; outdated GPUs may not be able to handle it.
IV. BSL Shaders
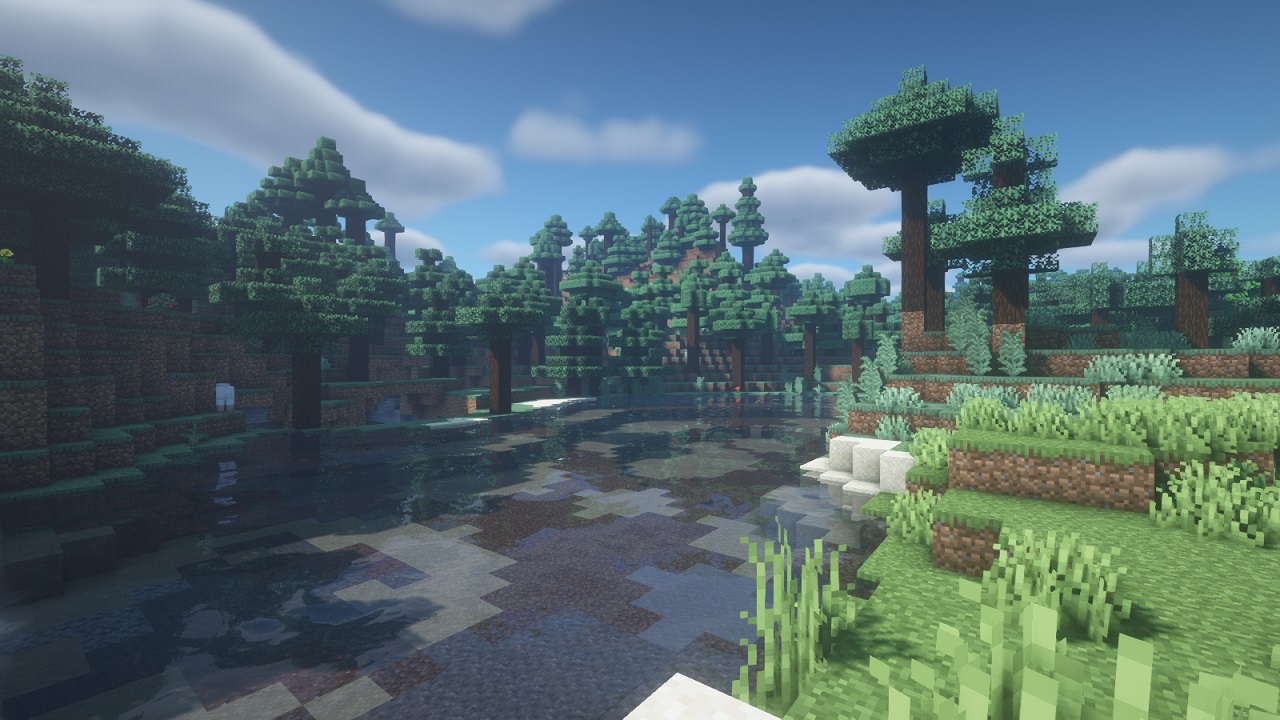
Another stellar Minecraft shaderpack that is highly commended for its visual value, the BSL Shaders pack ranks right up there with SEUS. Soft lighting, deep colors, vibrant hues, realistic textures, highly immersive shadows and ambience – it’s got it all.
Minecraft players also appreciate how this mod adds on to the Minecraft graphics rather than change it completely (as some shaders are wont to do). For this reason, many have named it their default go-to for Adventure and Creative mode.
If you want to optimize the graphics for taking screenshots with this shader pack, don’t forget to turn on World Curvature.
Pros: subtle but gorgeous graphics; constantly updated for latest Java versions and Minecraft patches; World Curvature option.
Cons: resource-heavy (though not as demanding as SEUS)
V. Complementary Shaders
Considered to be an “offshoot” of BSL Shaders, the Minecraft Complementary Shaders mod actually strives to deliver the same stunning visuals of BLS Shaders while requiring much less processing power. In fact, some say its primary goal as a Minecraft shaders pack is to “be as issueless as possible.”
It may not be as lightweight as Lagless Shaders, but it’s definitely one of the better shaders for seamless play. But as far as visuals go, it’s not that different from BSL Shaders (aka, it’s still incredibly gorgeous).
Pros: subtle but gorgeous graphics like BSL; World Curvature option
Cons: some players claim minute visual differences on powerful engines; not updated as often as BSL Shaders
VI. KUDA Minecraft Shaders
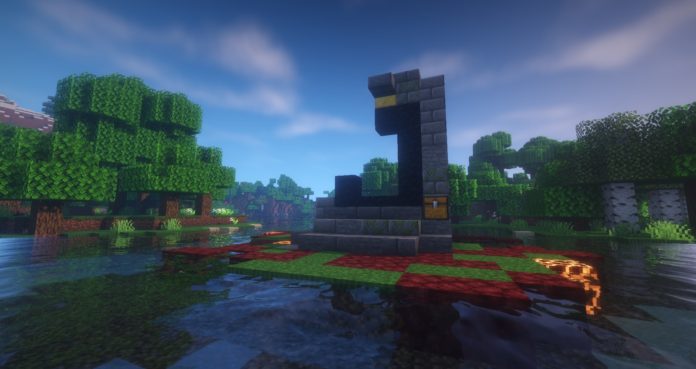
KUDA is another Minecraft shaderpack that makes an immediately noticeable difference to Minecraft’s natural lighting. In fact, we’d ague that this pack’s crowning glory is its enhanced sun rays. One of the best sunbeams we’ve seen in-game, KUDA turns sunny days in the Overworld into a whole new experience. The depth of field effect and the soft glow from certain textures further enhances the rural fantasy landscape vibe.
Pros: realistic lighting that doesn’t completely change the Minecraft ambiance; not too demanding in terms of performance
Cons: not updated as often as other shaders; lighting for torches tends to glitch and come out flat
VII. Continuum Shaders
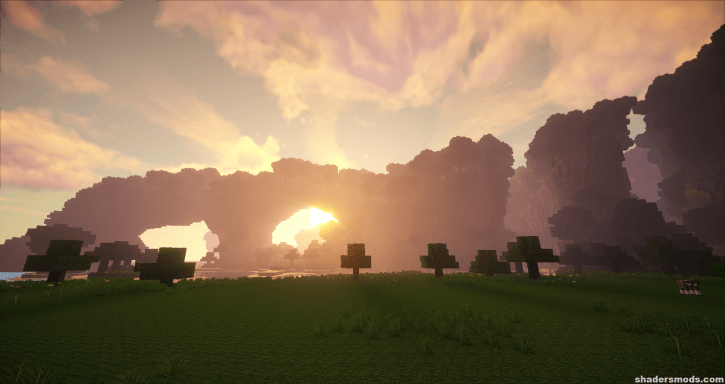
If you want photo-realistic screenshots, Continuum Shaders is the Minecraft shaderpack to have. The textures are detailed, the colors are crisp, and the shadows are true-to-life. It definitely changes the game’s ambiance from “friendly sandbox” to “almost scarily ethereal fantasy setting,” but some players live for that vibe. We personally can’t say we hate it, either. It’s definitely one of the most appealing options for people who want their games to have an “untouchable other-world” quality.
Pros: yields some of the best Minecraft screenshots
Cons: very demanding on GPUs and processors; definitely won’t work slower or older machines
VIII. CrankerMan’s TME Shaders
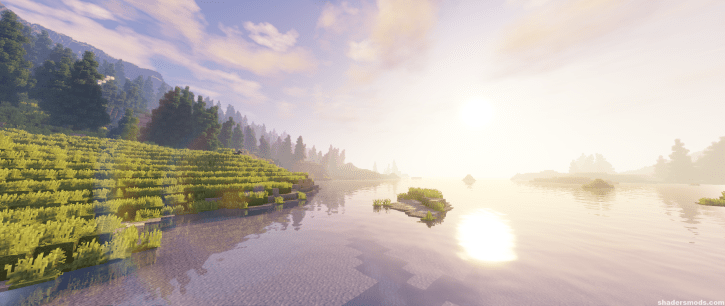
This one is a bit of a lesser-known gem, but CrankerMan’s TME Shaders deserve all the recognition they can get. Aside from introducing some incredibly realistic foliage movements, cloud shadows, and almost hyper-realistic in-game textures and shadows (to the point where it sometimes looks like a completely different game, if we’re being honest), this shaders pack is one of the very, very few out there that is still compatible with different – and older – versions of Minecraft. 1.15, 1.14, 12.2, 1.10.2, and 1.9 – just to name a few.
This Minecraft shaderpack is also one of the most regularly updated ones around, allowing both old and new players to enjoy the three-dimensional vibe it brings to the game.
Pros: compatible with multiple Minecraft versions; constantly updated; hyper-realistic graphics
Cons: can come off as too realistic; very demanding on GPUs; “TME” actually stands for “too many effects”
IX. Sushi Shaders
If you thought Sildur’s Shaders were customizable, wait ‘til you try Sushi Shaders. This Minecraft shaderpack is one of the most highly-recommended shaders for players looking to really tailor the game’s graphic settings to their taste. This is one of the heavier shaders on our list, sure, but that’s due to the dozens of customization options it has to offer.
Do you want realistic foliage? Crystal-clear water? Crazy high-end reflections? Do subtle objects glow? This shader’s got it all – and then some. If your machine can handle it, get this pack ASAP. Trust us; it’s worth it.
Pros: good balance of realism and Minecraft ambiance; plenty of customization options
Cons: requires a high-end GPU to run; not compatible with older versions of Minecraft
X. Chocapic13’s Shaders
Here’s another balanced shader that’s worth looking into. Chocapic13’s Shaderpack has been around for quite a while now, and that’s most probably due to its incredible scalability. Over the years, this Minecraft shader has been updated and revamped to accommodate several presets and customization options, allowing it to seamlessly integrate with lots of different hardware configurations.
This also ensures that it can do so without compromising graphic and gameplay quality. In fact, many players praise Chocapic13’s shaders for delivering beautiful visuals even at its lowest preset.
Mid- to high-range GPUs should have no problem running this one-of-a-kind Minecraft shaderpack.
Pros: best choice for mid-range computers; decent customization options; good array of presets
Cons: graphics aren’t as hyper-realistic as others on this list (but still visually better than vanilla Minecraft settings)
XI. Oceano Shaders
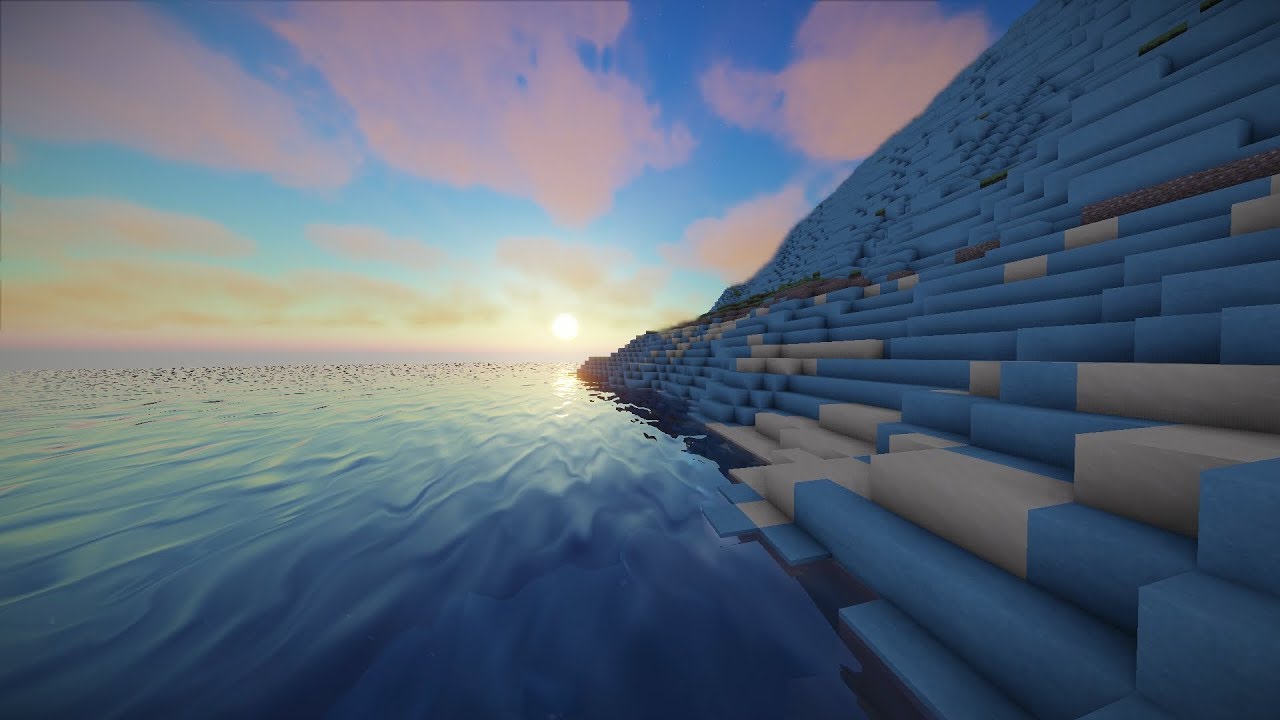
Topping off this list with a more specialized shaderpack, Oceano Shaders is – to this day – one of the best Minecraft shaders you can download. If you love all the underwater elements of Minecraft (from the architecture to the potions to, yes, even the mobs), you need this shaders pack in your life. Oceano breathes life into Minecraft’s otherwise flat blue waters by smoothing out the waves, adding light, shadow, and depth effects, and completely overhauling the vanilla color palette.
Soft blues, vivid cyans, turquoise, and emerald gradients … it’s a masterpiece. And it could easily be yours. If you’ve never fully explored the waters of the Minecraft world, this shaderpack will make you want to.
Pros: hands-down one of the best Minecraft shaders for water
Cons: effects and color gradients may seem a little over-the-top for smaller bodies of water
Conclusion
Just like texture packs and mods, Minecraft shaderpacks is yet another community-created element that increases Minecraft’s replay value.
Table of Contents:
- What are Minecraft Shaders?
- How to Install Minecraft Shaders
- Lagless Shaders
- Sildur’s Shaders
- SEUS
- BSL Shaders
- Complementary Shaders
- KUDA Minecraft Shaders
- Continuum Shaders
- CrankerMan’s TME Shaders
- Sushi Shaders
- Chocapic13’s Shaders
- Oceano Shaders
- Conclusion
Minecraft shaderpacks are definitely not as demanding on your GPU as some mods and texture might be, seeing as it largely affects the graphics and visuals of the game. However, it’s always best to err on the side of caution. Before downloading and installing any of the top Minecraft shaders we’ve listed here, make sure you have enough RAM and processing power for it!
Recommended Reading:
Want to help your computer-whiz kid to dive into Minecraft modding? Check out CodaKid’s Special Offer!
