In the context of coding for kids, it’s not unusual for websites and platforms to teach programming through games. Everyone knows how much kids love games, and teaching them something as daunting as coding is easier when there are straightforward instructions and highly visual elements. In this regard, coding games for kids are a godsend for both students and instructors alike.
On that note, is it possible for kids to learn how to code their own games? Many educational programs like Scratch and ScratchJr can certainly give kids the ability. However, being block-based coding platforms, the games you can create with them are fairly limited.
Now, if you were to use something as extensive as Pygame, it would be a completely different story. That is why we decide to create a PyGame tutorial!
In this PyGame tutorial guide we will cover the following:
Table of Contents
What is PyGame?
Pygame is defined (on the official website) as a “set of Python modules” specifically tailored for writing and programming video games. On top of Python’s existing SDL (Simple DirectMedia Layer) library, Pygame adds functionality and optimizes the environment for game creation. Programmers can use Pygame to craft fully functional games and multimedia programs using the Python language.
(Related: What is the Best Programming Language for Kids?)
Aside from being one of the most intuitive platforms for game design, Pygame is also:
- Highly portable
- Capable of running on nearly every operating system
- 100% free and released under the LGPL license
In this article, we cover the fundamentals and basics of getting started with Pygame. If you’re a total beginner or a curious coder, keep reading to find out what you can do with this platform.
(Related: How to Create a Roblox Game)
Installing Python and Pycharm
Before you start exploring Pygame, make sure Python is installed.
To do this, go to python.org, click on “Downloads,” and select the platform you want to install it on. Python is currently available for both Windows and Mac, but you can check their “All Releases” or “Other Platforms” tabs for more options.
(Related: 5 Reasons Python Programming is Best for Kids)
Once you’ve got Python installed, the next step is to download and install an Integrated Development Environment, or an IDE. These environments greatly improve programmer productivity by combining common programming activities—namely editing source code, building executables, and debugging—into one single application.
For this tutorial, we recommend PyCharm. There is a paid “Professional” version of the software, but the free “Community” open-source version works just as well.
Installing Pygame
Now that you have Python on your computer, you can safely install Pygame via the Python Package Installer—also known as the pip tool. This tool comes with the latest versions of Python 2 and Python 3, but you can always find it here if you want more information.
IMPORTANT! Make sure you’re running python 3.7.7 or higher, as this version runs faster and is much more beginner-friendly.
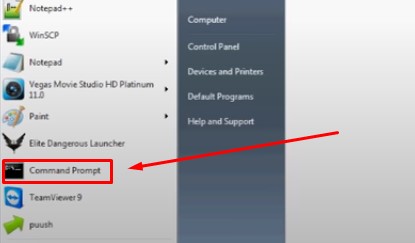
Step 1. Open your Start menu. Find the “Command Prompt” program (or type “cmd” to bring it up) and run it.
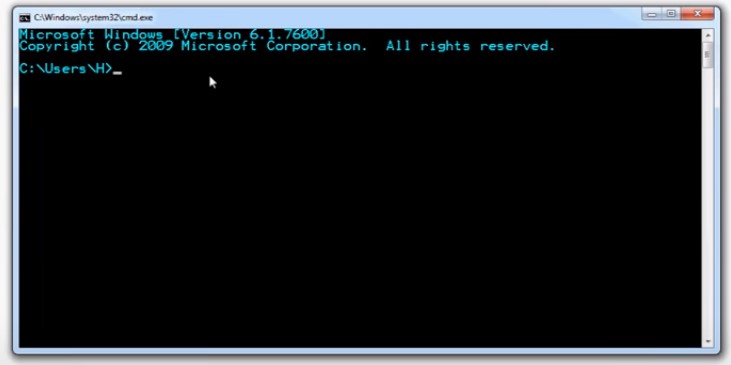
A simple window with white text on a black background should pop up. The third line of text should read something like:
C:UsersH>_
With the underscore symbol blinking. If you see that, you’re in the right place.
Step 2. Type the following command:
pip install
And after that, you’d type in your module of choice. For example, matplotlib. So the final command would be:
pip install matplotlib
Alternatively, you can also give them the full path to Python’s pip installed on your computer. The full command would look something like this:
Python34/Scripts/pip install matplotlib
You can find more examples of some of the more popular PyGame modules here.
Step 2.5. Other platforms or instances would suggest the following command:
pip install PyGame
Use whichever command works for your platform!
Step 3. You can also test if PyGame was successfully installed by running one of the game samples. Try this command:
python3 –m pygame.examples.aliens
If a game window pops up, you’re all set!
You can find all the possible packages and modules for Python and Pygame at the Python Package Index (PyPI).
Post-Installation Details
Once everything’s up and running smoothly, you’re all set to create your very first Pygame instance! Before you start making a basic Pygame program, you’ll need to do a little more post-installation setup.
Import Pygame
In order to fully make use of each module, you need to import Pygame. The following command will take care of that:
import pygame
After that, run the following:
pygame.init()
This command initiates Pygame and allows you to make various commands with Pygame, making it integral to writing Pygame applications.
Ready for your child to start coding? Follow this link to CodaKid’s free trial!
Pygame Programming Basic Concepts
Before we dive into the details of designing and programming your own Pygame, let’s cover a few Pygame concepts worth knowing. Keep in mind that Pygame and its SDL library is portable across different devices. This means that they’ll be subject to various hardware realities, and will therefore need various abstractions defined as well.
Let’s start with Initialization and Modules.
Initialization & Modules
If you visit the Pygame library, you’ll find that it’s full of a number of Python constructs. Each Python construct holds several modules that provide abstract access to specific hardware existing in your system. They also hold uniform methods for working with said hardware. For instance:
- display – allows uniform access to your video display
- joystick – allows abstract control of your joystick
As we mentioned earlier, running pygame.init() initializes Pygame. If you want to work with the same code on Linux, Windows, and Mac, you need this step.
Displays & Surfaces
Aside from modules, you’ll also find several Python classes in Pygame. These classes encapsulate concepts that are not dependent on hardware. We’re going to study two: “Surface” and “Display.”
The Surface concept defines a rectangular area that you can draw on. Think of it as a blank slate or blank canvas. Surface objects are quite prevalent in Pygame, especially since you can easily load an image onto a Surface object and display it on screen.
The Display concept defines a window or a full screen through which everything can be viewed. Single-user created display objects are done using the following command:
.set_mode()
This returns a Surface object that represents the visible part of the window.
To put it simply, you can draw a circle on Surface objects (pygame.draw.circle()) and control how people will see it using Display (pygame.display.flip()).
Rects & Images
Two other concepts you should familiarize yourself with would be the “image module” and the “rectangle class.” Let’s start with images.
Aside from drawing objects from scratch on the display’s Surface, you can also use pre-existing images on the disk. Using the image module, you can load and save images on to the Surface objects.
You also have options to manipulate and display said images in a variety of ways.
As for rectangles, Surface objects aren’t the only objects represented by rectangles in Pygame. Images, windows, and other commonly-used objects are too. You can even use rectangles to draw enemies, define players, manage collisions between them, and so on. In fact, rectangles are used so often, there’s a special “Rect” class just to handle them.
Pygame Practice: Implementing Concepts
To better illustrate the previous Pygame concepts, take a look at this sample code below:
import pygame
pygame.init()
screen = pygame.display.set_mode([500, 500])
running = True
while running:
for event in pygame.event.get():
if event.type == pygame.QUIT:
running = False
screen.fill ((255, 255, 255))
pygame.draw.circle(screen, (0, 0, 255), (250, 250), 75)
pygame.display.flip()
pygame.quit()
Running this program should give you a blue circle in the middle of a window with a white background. Take a look at the picture below for reference.
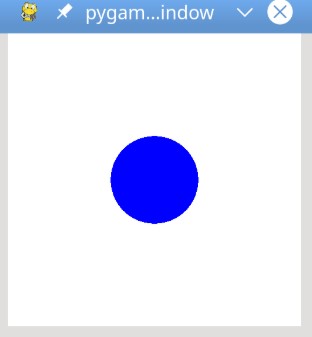
Let’s break down how this happened using the corresponding concepts wherever possible.
Concept: Initialization
import pygame
pygame.init()
Concept: Surface & Display
screen = pygame.display.set_mode([500, 500]) ← this is the drawing window
Concept: Surface
screen.fill((255, 255, 255)) ← fills the background with white
pygame.draw.circle (screen, (0, 0, 255), (250, 250), 75) ← draws a solid blue circle
Concept: Display
pygame.display.flip() ← flips the display
The other parts of the code touch some Pygame concepts that you’ll become familiar with later on: Game Loops and Events.
Concept: Game Loops
running = True
while running: ← runs program until the user asks to quit
Concept: Event
for event in pygame.event.get():
if event.type == pygame.QUIT:
running = False ← close the program if the user clicks the window close button
Pygame Tutorial: Breaking Down Basic Game Design
When you have roughly an idea of the game you want to create and the gameplay you want to achieve, it always helps to write the basics of it down. In a similar fashion, we’re going to break up the game design and programming process into simple steps.
- Game Design Write-Up
- Import & Initialize
- Display Setup
- Game Loop Setup
- Processing Events
- Drawing
I. Game Design Write-Up
We highly recommend writing down some guidelines or rules that you want your gameplay to follow. For instance, what is the goal? How many players? How many objects? When and how does the game end? What are the player limitations?
The more specific your parameters, the easier it’ll be for you to map out your commands.
Sample goals:
- Get from point A to Point B
- Avoid obstacles
- Find all items
Sample restrictions/limitations:
- Don’t touch the borders
- Don’t touch a certain object
- Avoid enemy sprites/characters
Sample guidelines:
- Player can move up, down, left, and right
- Player can hide (share the same space as) behind other objects
- Player can move/pick up other objects
II. Import & Initialize
We’ve already covered this multiple times, but it does bear repeating—just because it’s such a crucial step. Remember, your Pygame won’t run at all if you don’t import and initialize first!
So make sure you’ve entered the commands:
import pygame
pygame.init()
… before you start!
III. Display Setup
Next, prepare your canvas! You need something to draw on, so create a screen like so:
Step 1: Define constants/parameters for screen width and height
SCREEN_WIDTH = 800
SCREEN_HEIGHT = 600
Step 2: Create the screen object
screen = pygame.display.set_mode((SCREEN_WIDTH, SCREEN_HEIGHT))
As you can see, the command pygame.display.set_mode() creates the screen you’ll be using. Meanwhile, the defined constants SCREEN_WIDTH and SCREEN_HEIGHT define the canvas’s dimensions. Within these constants is the area you can control.
NOTE: You don’t have to stick to 800 and 600 for the dimensions. Obviously your screen can be as big or as small as you’d like it to be.
IV. Game Loop Setup
Earlier, we mentioned another Pygame concept called the game loop. This concept is responsible for four crucial actions:
- Processes user input
- Updates the state of all game objects
- Updates the display and audio output
- Maintains game speed
A frame refers to every cycle of the game loop. The speed of the game depends on how quickly a cycle lasts, and a cycle lasts depending on how quickly the things in it are completed. Frames will continue to occur until the conditions to exit the game are met.
Some examples of parameters that could end a game—and close the loop—are:
- Player hits an obstacle/wall
- Player is seen/caught/killed by enemy sprites/characters
- Player fails to collect all objects
In order for a game loop to even run, it needs to process the user’s input. It needs to be able to tell where or how the player is moving, what the player is holding, how the player is interacting with the objects, and so on. This is where the Pygame event system comes into play.
V. Processing Events
Here are some examples of typical user input:
- Player presses arrow keys to move
- Player presses a combination of keys to interact with the environment
- Player uses a joystick to make his character run
- Player uses a joystick to move
- Player interacts with other objects by clicking on them with a mouse
- Player navigates the environment by clicking and dragging with a mouse
All of these, as acceptable user input, can generate an event. Events often originate outside of the program—being the direct result of external input—and can happen at any point in the game. In order to fully access and manipulate these events as per the programmer’s parameters, Pygame instantly places these events in something called an event queue.
Event handling in Pygame specifically refers to the code that is used to deal with these events. These codes are also known as event handlers.
Event types are pretty self-explanatory. They’re basically categories for the events in every Pygame. Here are two well-known examples:
Event Type: keydown – refers to key presses
Event Type: quit – refers to window closure
You can access the list of all active events in the event queue using the following command:
pygame.event.get():
You can then loop through this list to inspect every event type. This allows you to further respond—or program responses—accordingly.
So take this sample:
running = True ← this keeps the main loop running
while running: ← this is the main loop
for event in pygame.event.get(): ← command to access the list of active events
Under the list of active events, you would then set the event types and event handlers. Let’s use the keydown event type as our example.
for event in pygame.event.get(): ← access list of active events
if event.type == KEYDOWN: ← did the user hit a key? Defines event type
if event.key == K_ESCAPE:
running = False ← event handler; was Escape key pressed? If so, stop the loop
VI. Drawing
We’ve already touched on two ways to draw on your screen in Pygame: the screen.fill() command to color/fill the background, and the pygame.draw.circle() command to draw a circle (or square or whatever shape you want).
There is another way to draw in Pygame using the screen, and that’s by using a surface object.
If you remember the definition of a surface object, it’s basically a canvas: a rectangular object on which you can draw. The screen object is a surface object, and this lets you create your own surface objects separate from the actual display screen.
This can be done using the following command:
surf = pygame.Surface((x, y))
In which x and y would be the length and width.
So, to put that in practice, here’s a sample script:
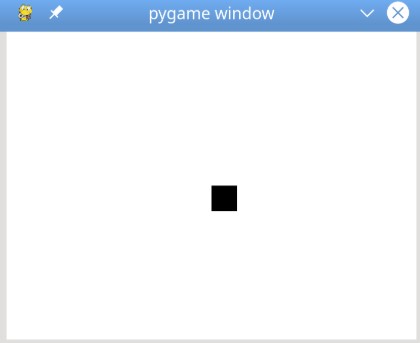
screen.fill((255, 255, 255)) ← fills the screen with white
surf = pygame.Surface((50, 50)) ← creates a surface and pass in a tuple containing its length and width
surf.fill((0, 0, 0)) ← gives the surface a color (black) to separate it from the background
rect = surf.get_rect()
This will result in a white screen with a black rectangle that is 50 pixels wide and 50 pixels tall.
This black rectangle is now assigned to surf. At this point, it’s basically another screen, which is why you can fill it with black.
The command .get_rect() is used to access the new screen’s (the black rectangle) underlying rect.
Other PyGame Tutorial Resources
To recap our PyGame tutorial lets circle back to the key points we covered:
Table of Contents:
- What is PyGame?
- Installing Python and Pycharm
- Installing Pygame
- Post-Installation Details
- Pygame Programming Basic Concepts
- Pygame Practice: Implementing Concepts
- Pygame Tutorial: Breaking Down Basic Game Design
Hopefully, you found this tutorial helpful in terms of getting started with Pygame! It’s definitely a complicated—and slightly overwhelming—platform to explore, but it’s definitely worth the time and effort to learn.
If you need a little more help understanding the basics, we highly recommend you go check out the official Getting Started page for Pygame. They also have a couple of Pygame tutorials that are worth trying, as well as a Reference list that you can use as you progress further.
Although Pygame may not be specifically tailored towards coding for kids, it’s still an excellent jumping-off point that teaches coding for beginners and coding enthusiasts alike!
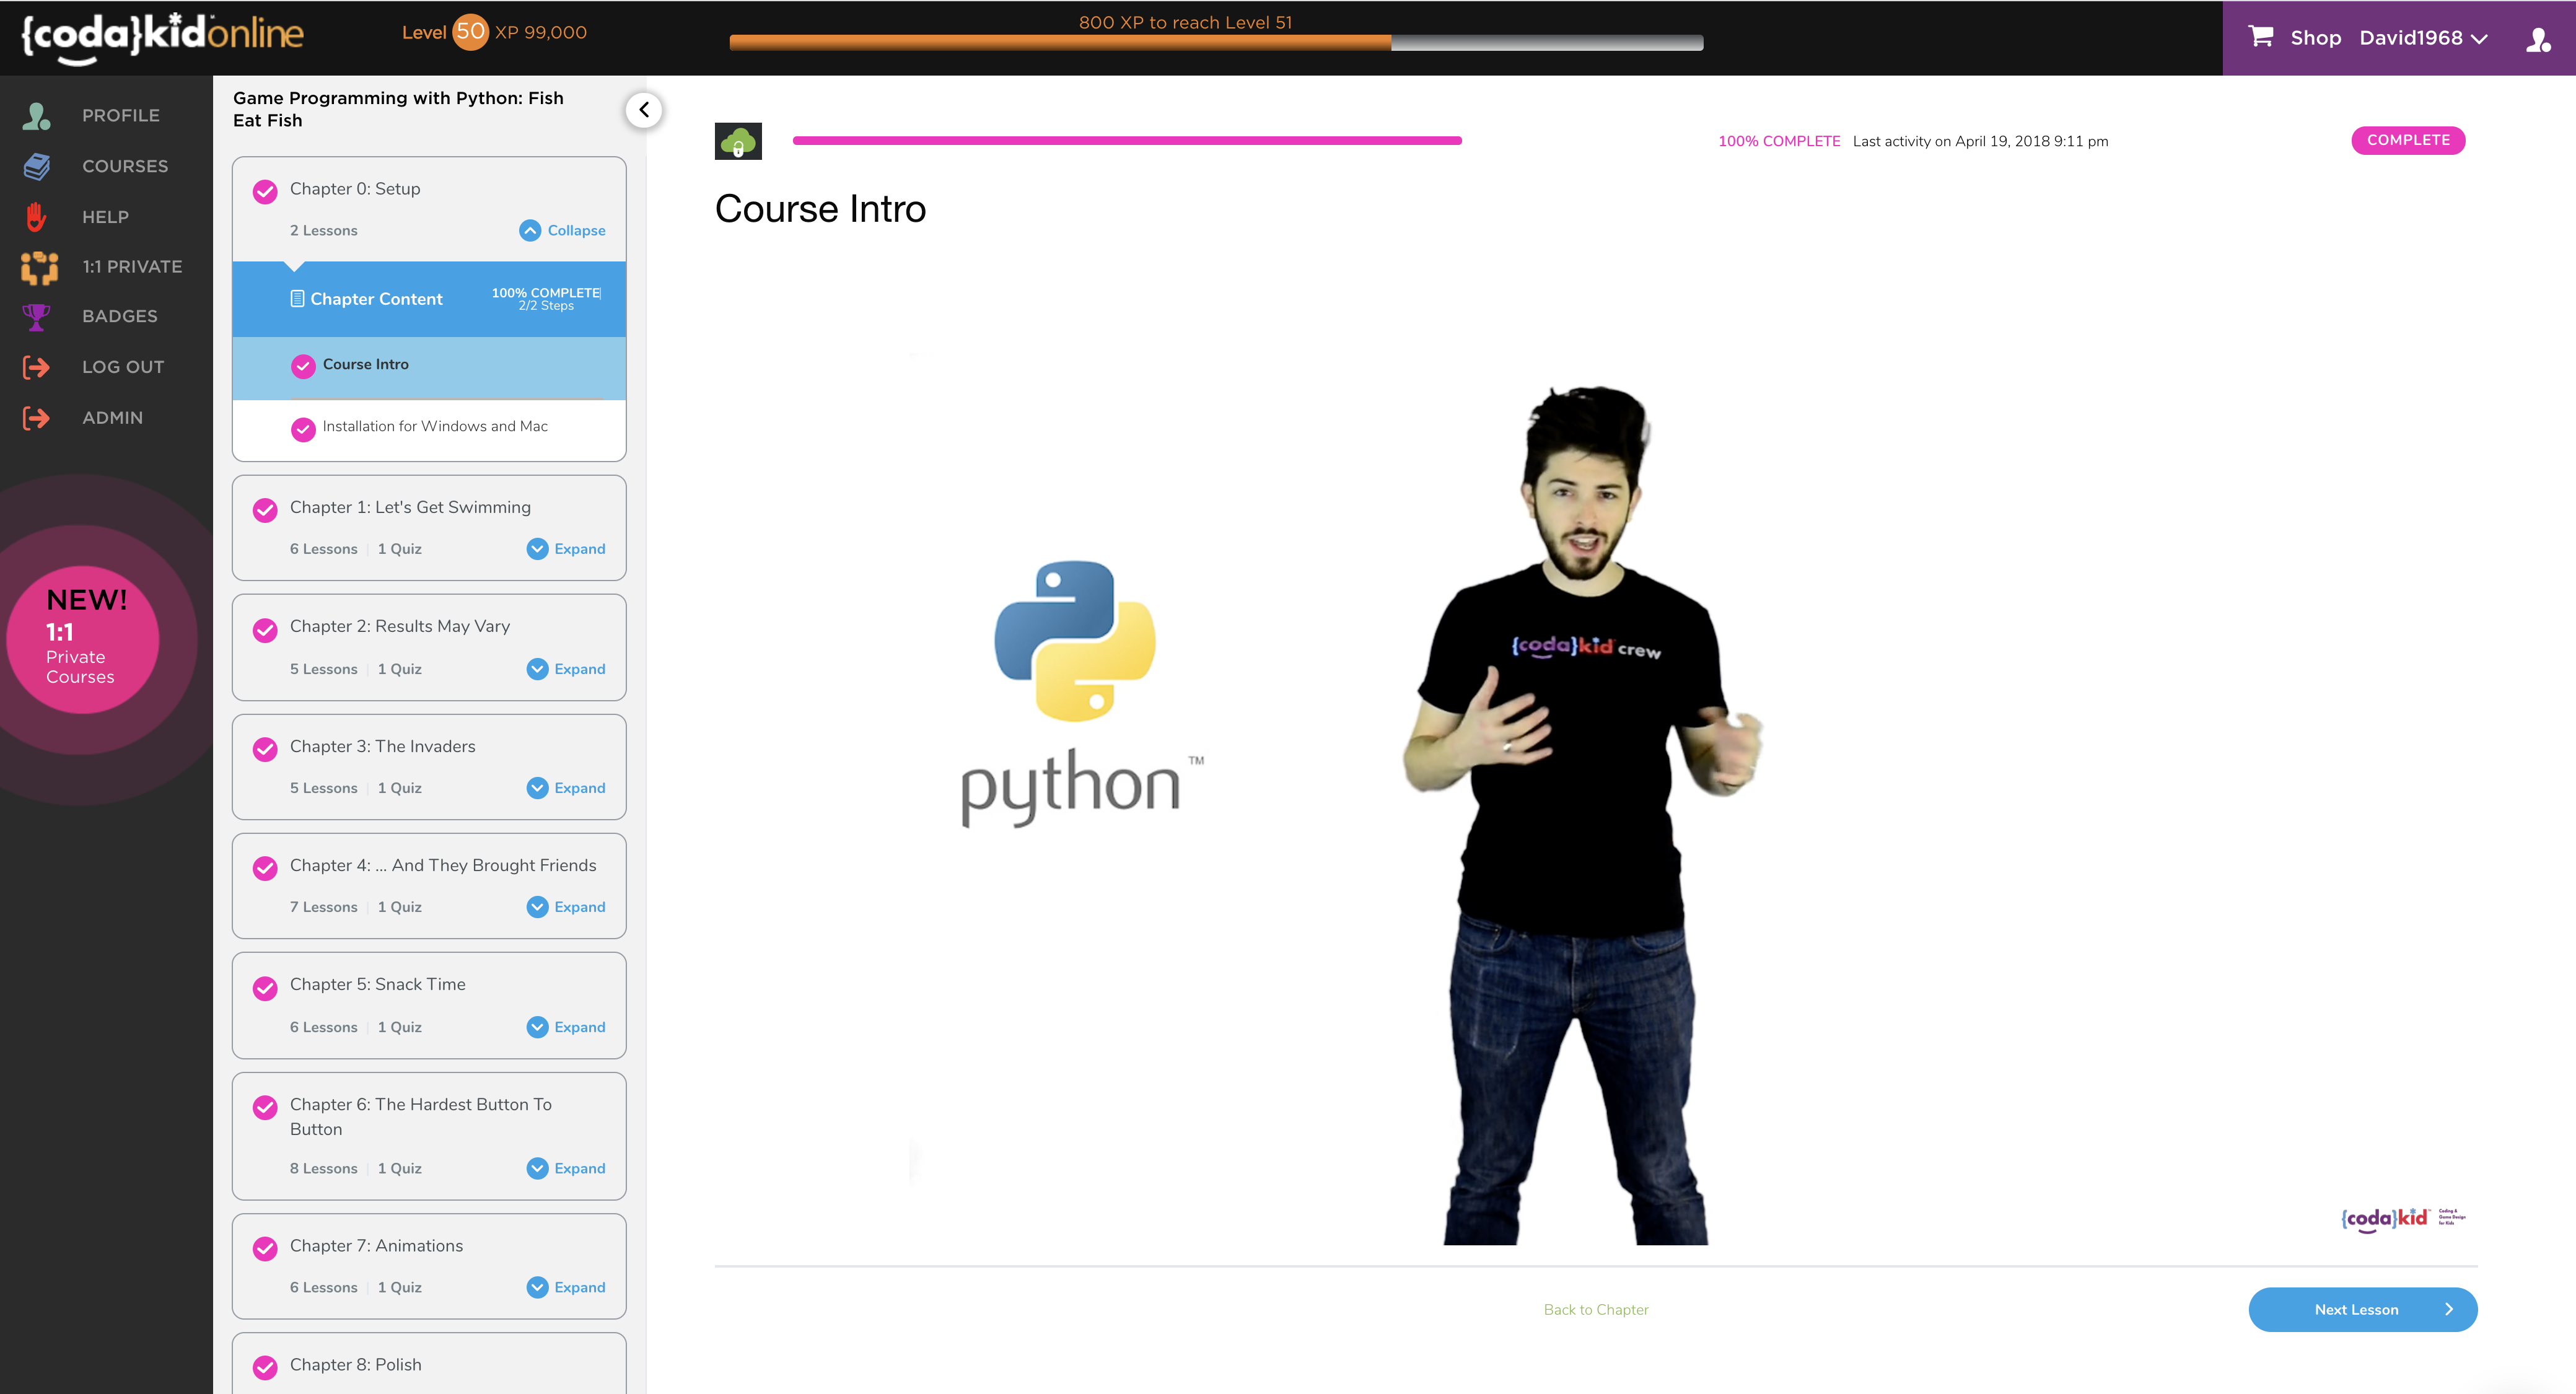
If you haven’t already, sign up your child to CodaKid’s classes for a FREE TRIAL. We teach you how to make several professional quality games using Pygame, including a Fish Eat Fish game, a RoboZombie Survival game, and even a multiplayer Super Smash Bros style game with Pygame and Python!