Table of Contents
Swift for Kids: The Ultimate Guide to App Development Basics
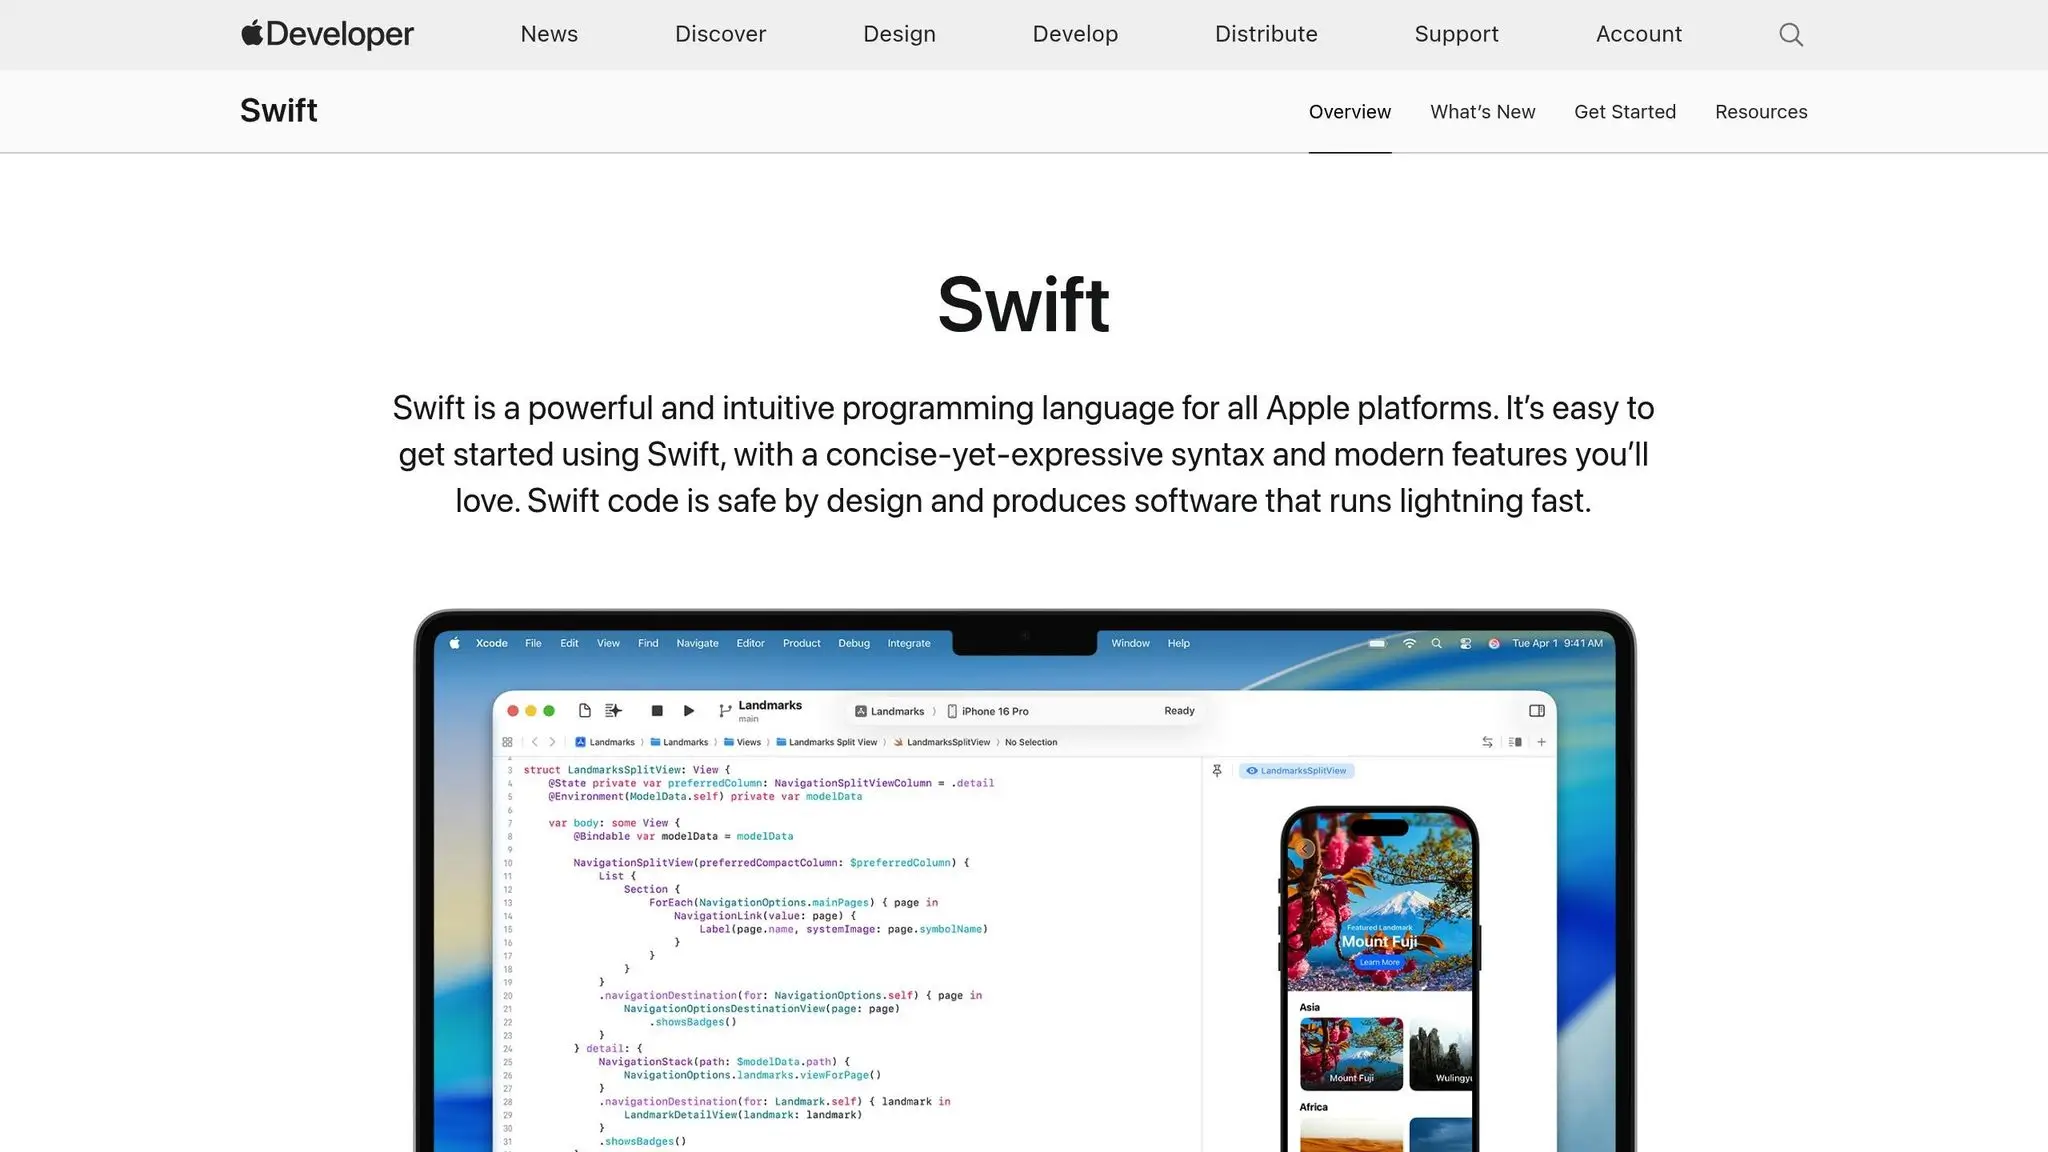
Swift is Apple’s user-friendly programming language designed for creating apps on iPhones, iPads, and Macs. It’s beginner-friendly, making it ideal for kids to learn coding. With simple syntax and built-in safeguards, Swift minimizes errors and keeps coding enjoyable. This guide explains how kids can start with Swift Playgrounds, a free app that turns coding into fun puzzles, and progress to Xcode for building real apps. Parents will also find tips to support their child’s learning journey, from setting goals to choosing the right resources. By mastering Swift basics like variables, loops, and functions, kids can create their first apps and build skills for future programming challenges.
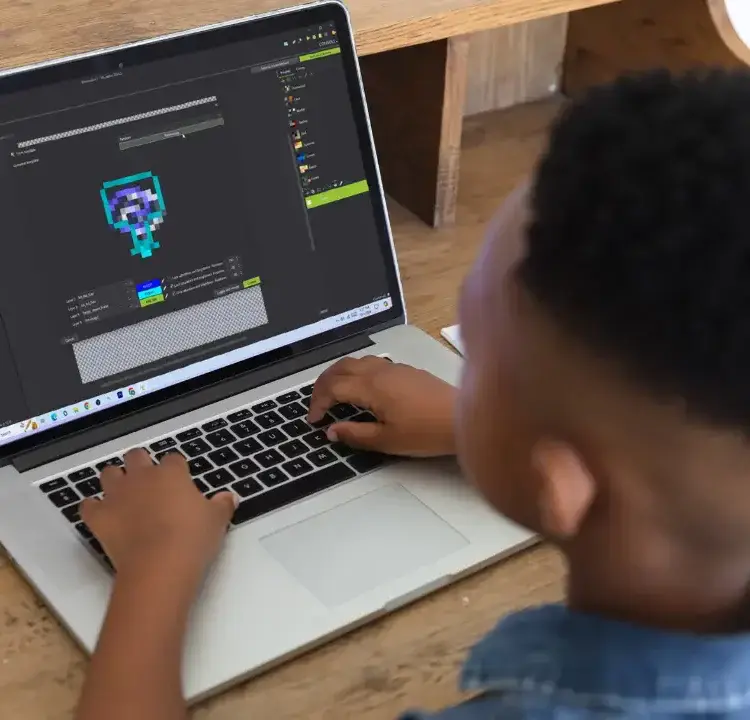
Kids Series: Code your own app with Swift Playgrounds
Tools and Resources: Learning Swift for Kids
Starting your journey with Swift programming is much easier when you have the right tools and resources. Apple offers user-friendly platforms for beginners, while more advanced tools are available as learners progress. Knowing when and how to use these tools can make learning smoother and more enjoyable.
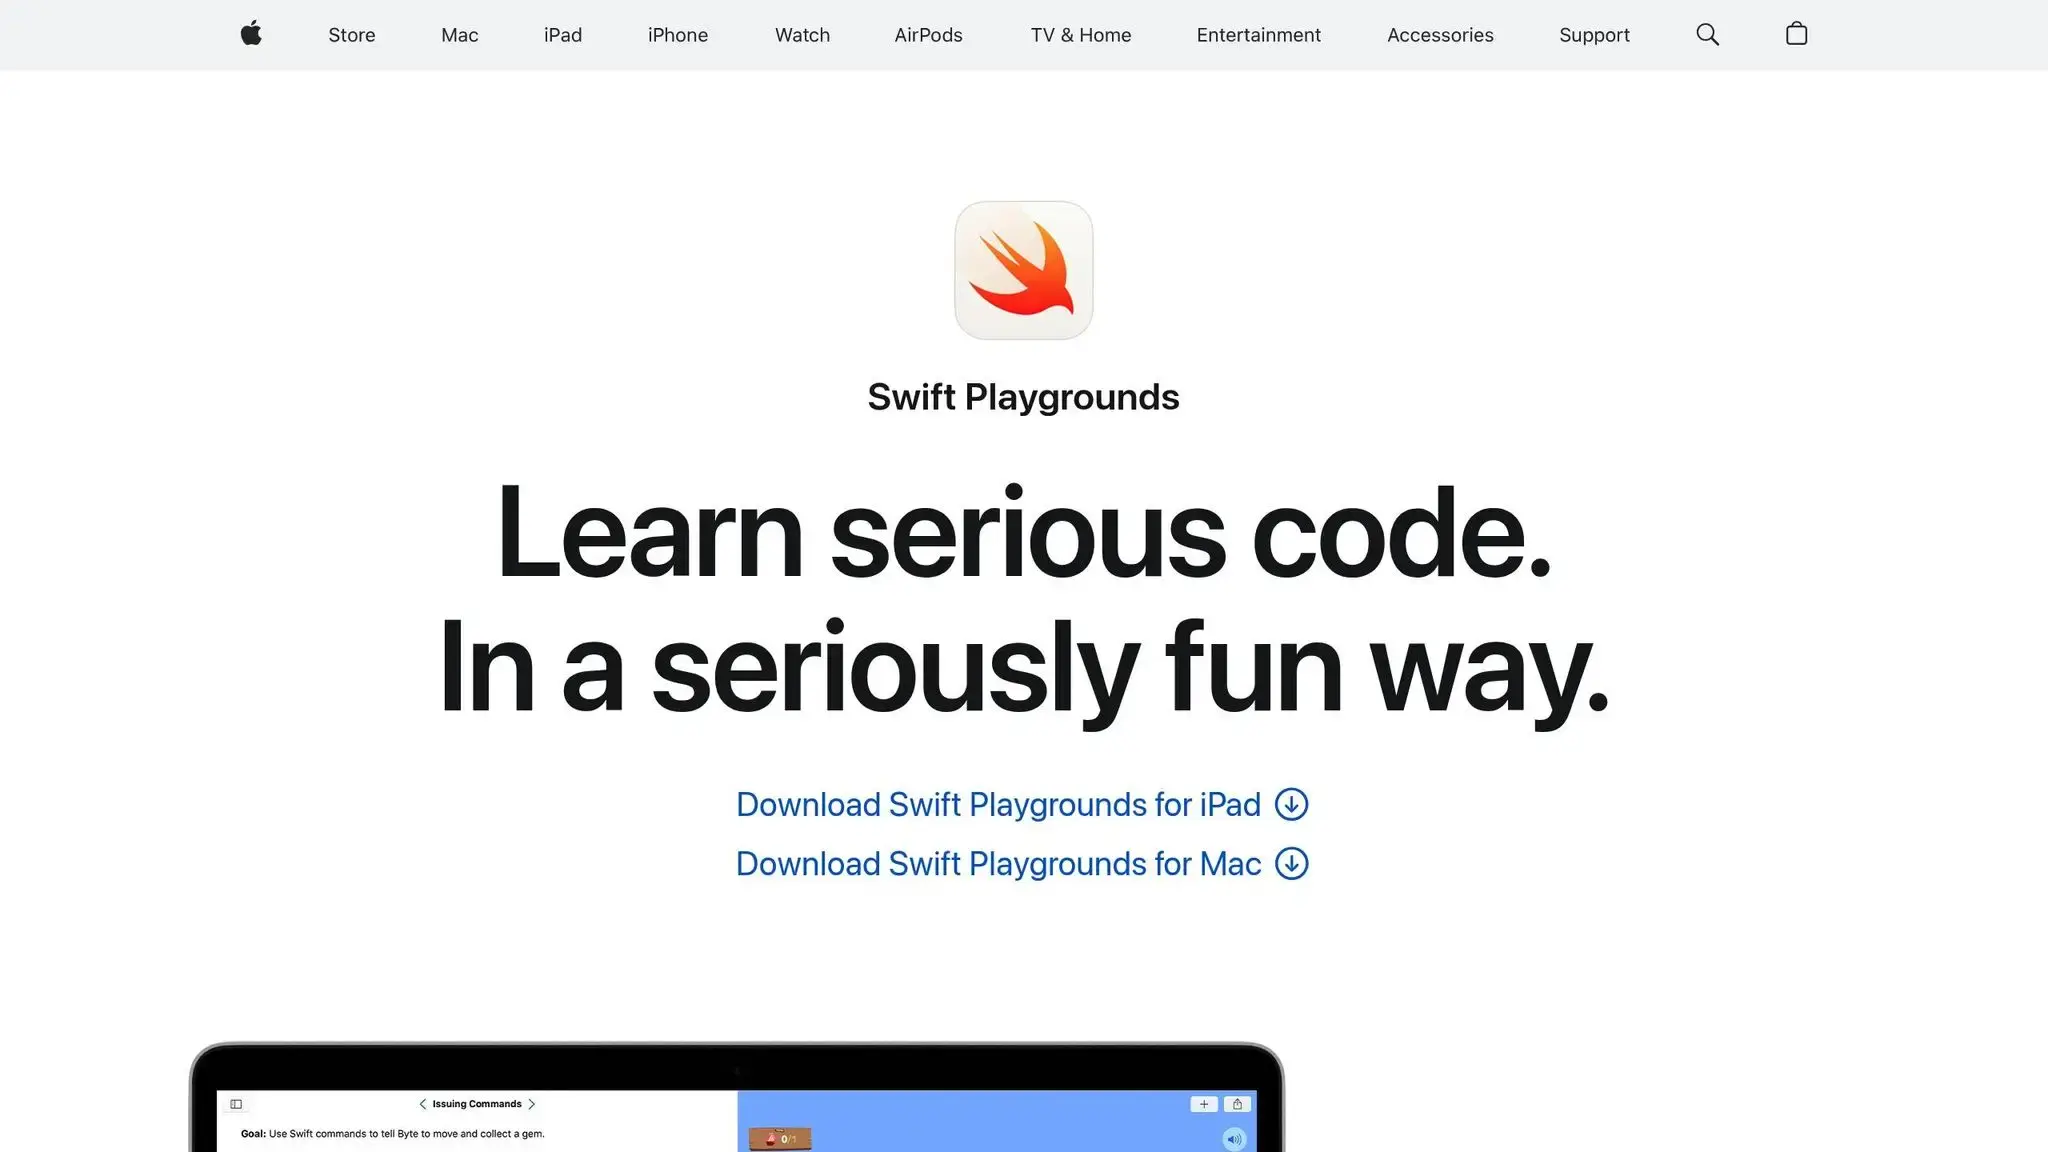
Swift Playgrounds: A Fun Starting Point
Swift Playgrounds is a fantastic way for kids to dive into coding. This free app for iPad and Mac transforms learning into an interactive game where kids can solve puzzles, control characters, and create animations using Swift.
The app provides instant visual feedback, making it easy for young learners to see how their code works. It includes built-in tutorials like the “Learn to Code” series, which introduces programming basics through fun challenges. Kids can guide characters through mazes, collect gems, and complete missions by writing simple Swift commands.
Swift Playgrounds also offers “Get Started with Apps” templates, which allow kids to design their own interactive scenes, stories, and games. These templates give just enough structure to help them learn while encouraging creativity. Kids can experiment with colors, sounds, and animations as they explore programming concepts.
Once children feel confident with these lessons, they can move on to more advanced tools like Xcode to build full-fledged apps.
Moving to Xcode: When and Why
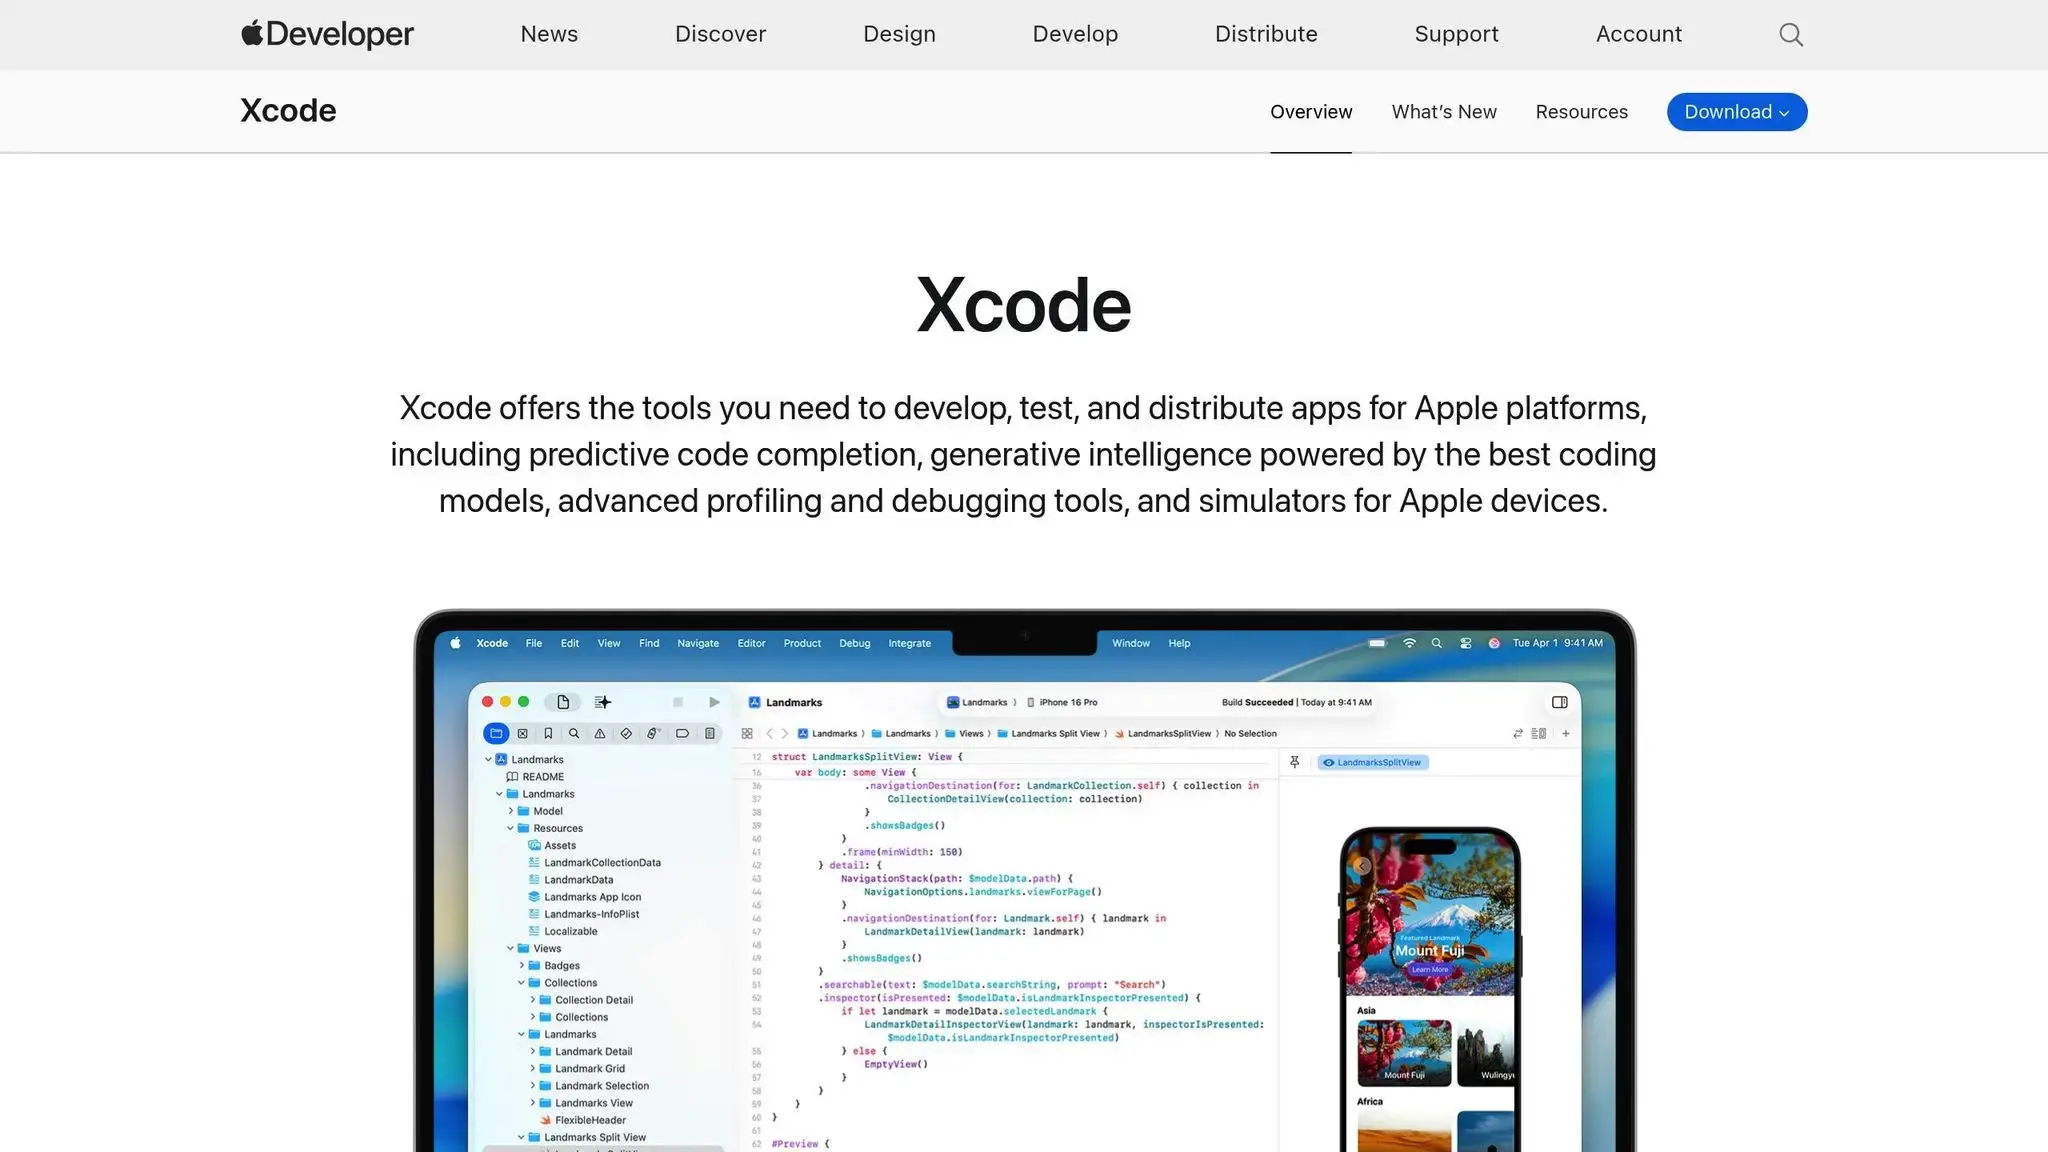
Xcode is Apple’s professional development tool for creating real iOS apps. It comes with everything needed for app development, including code editors, interface builders, debugging tools, and simulators. However, transitioning from Swift Playgrounds to Xcode should happen at the right time.
Most kids spend about 6–12 months mastering Swift Playgrounds before they’re ready for Xcode. Signs they’re prepared include completing multiple challenges independently, showing interest in building “real” apps, and understanding key programming concepts like variables, functions, and loops.
Xcode’s interface can be intimidating at first, with its many panels and options. Starting with simple projects – like a “Hello World” app or a basic button-clicking game – can make the transition easier. The iOS Simulator is a highlight for kids, as it lets them test their apps on virtual devices like iPhones and iPads. Seeing their code come to life on a screen can be hugely motivating.
While Apple’s tools are excellent, there are plenty of other resources to enhance the learning experience.
Additional Resources to Explore Swift for Kids
Beyond Swift Playgrounds and Xcode, other tools can help kids deepen their Swift skills:
- Apple’s “Everyone Can Code” Curriculum: This program offers structured lesson plans and guides for parents to support their kids’ learning.
- CodaKid: Known for its project-based courses, CodaKid helps kids build real iOS apps. The platform offers self-paced courses for $29 per month and private 1:1 lessons for $249 per month, tailoring instruction to each learner’s pace and interests.
- Apple Developer Documentation: While this resource may feel advanced for beginners, it becomes invaluable for intermediate learners looking to understand specific Swift features.
- YouTube Channels: Many channels focus on Swift programming for kids. Look for ones that use up-to-date Swift syntax and feature age-appropriate projects.
Combining different resources is the best way to succeed. Swift Playgrounds lays a strong foundation, structured courses provide step-by-step learning, and community tools offer inspiration and solutions when challenges arise. Together, these tools create a rich and engaging learning experience.
Basic Swift Programming Concepts
Swift basics lay the groundwork for creating apps. Whether you’re building a calculator or a game, these are the key ideas every beginner needs to understand.
Variables, Constants, and Data Types
Variables are used to store information that your app needs to keep track of. In Swift, you define a variable with the var keyword. For instance, in a game where players collect coins, you might write:
var coins = 0
This creates a variable named “coins” that starts at zero and can change as the player earns more.
Constants, on the other hand, are values that don’t change once set. You create them using the let keyword. For example, if your game has a maximum level of 50, you’d write:
let maxLevel = 50
This ensures that maxLevel will always remain 50 throughout the app.
Swift also uses data types to manage different kinds of information. Some common ones include:
- Int: for whole numbers
- String: for text
- Bool: for true/false values
- Double: for numbers with decimals
Swift automatically figures out the data type for you. For example, when you write var playerName = "Alex", Swift knows that playerName is a String because of the quotation marks. This feature, called type inference, makes coding less intimidating for beginners.
Control Flow: If Statements, Loops, and Functions
Once you understand how to manage data, the next step is controlling how your app behaves.
If statements let your app make decisions. Think of them like a real-world scenario: “If it’s sunny, wear sunglasses.” In Swift, you might write:
if coins >= 100 {
    print("You can buy a power-up!")
}
This checks if the player has at least 100 coins and displays a message if they do.
Loops handle repetition in your code. For example, a for loop can run a block of code a specific number of times, while a while loop keeps running until a condition changes. Here’s an example:
for level in 1...5 {
    print("Starting level \(level)")
}
This loop prints “Starting level 1”, “Starting level 2”, and so on, up to level 5.
Functions are blocks of code you can reuse to perform specific tasks. For instance:
func addCoins(amount: Int) {
    coins = coins + amount
    print("You earned \(amount) coins!")
}
Instead of writing the same code repeatedly, you can call addCoins(amount: 10) whenever you need to add coins.
Objects and User Interfaces
Objects combine properties and actions. For example, a player character might have properties like health and level, and actions like jump() or attack(). In Swift, you can create objects using classes or structures. Here’s a simple example:
class Player {
    var name: String
    var health: Int = 100

    func takeDamage(amount: Int) {
        health -= amount
    }
}
Here, the Player class has a name property, a health property, and a takeDamage() method that reduces health when called.
User interfaces (UIs) are what users see and interact with in your app. Swift provides built-in UI components like buttons, labels, text fields, and images. These elements let you design the look and feel of your app.
Connecting your code to these visual elements is crucial. For example, when someone taps a “Start Game” button, your app might call a startNewGame() function to reset the player’s score and begin the first level.
Two key concepts in linking code and interface are outlets and actions:
- Outlets allow your code to control UI elements, like changing the text on a label.
- Actions let UI elements trigger your code, such as running a function when a button is tapped.
Building Your First Simple App
Now it’s time to put your Swift knowledge into action by creating your very first app. This step-by-step guide will help you connect the dots between learning the basics and actual app development.
Planning and Setting Up Your Project
Start by picking a simple app idea that’s both fun and manageable. A basic calculator, a “Magic 8-Ball” fortune teller, or a quiz app based on a favorite topic are great options. The goal is to choose something engaging that keeps the process enjoyable.
Think about what your app will do, who will use it, and what essential features it needs. Sketch out the layout to clarify how everything will fit together. This bit of preparation helps avoid confusion later and gives a clear roadmap for your project.
Using the programming skills you’ve learned, plan your app’s structure and interface. If you’re working in Swift Playgrounds, select “App” from the starting options. This gives you a basic template with everything set up, making it easy to see your code on the left and a live preview of your app on the right.
For those using Xcode, create a new project by selecting “iOS” and then “App.” Choose a simple, memorable name for your project and use SwiftUI as the interface. SwiftUI’s beginner-friendly syntax feels more like plain English, making it easier to understand how the code works.
Writing Code for Your App
Let’s create a “Compliment Generator” app that displays a random positive message when a button is pressed. This project is both fun and a great way to practice key programming concepts.
Start with the basic structure. In SwiftUI, the main screen of your app is called a View. Here’s an example to get you started:
import SwiftUI

struct ContentView: View {
    var body: some View {
        VStack {
            Text("Tap for a compliment!")
                .font(.title)
                .padding()

            Button("Get Compliment") {
                // Action goes here
            }
            .font(.headline)
            .padding()
        }
    }
}
The VStack groups the text and button vertically. Modifiers like .font() and .padding() adjust the size and spacing of elements, making the app look polished.
Next, add functionality to display random compliments. Create an array of messages and use Swift’s randomization to pick one:
struct ContentView: View {
    let compliments = [
        "You're amazing!",
        "You're incredibly creative!",
        "You make the world brighter!",
        "You're a fantastic problem solver!",
        "Your curiosity is inspiring!"
    ]

    @State private var currentCompliment = "Tap for a compliment!"

    var body: some View {
        VStack {
            Text(currentCompliment)
                .font(.title)
                .padding()
                .multilineTextAlignment(.center)

            Button("Get Compliment") {
                currentCompliment = compliments.randomElement() ?? "You're wonderful!"
            }
            .font(.headline)
            .padding()
        }
    }
}
The @State property allows currentCompliment to update dynamically, and the randomElement() method selects a random compliment from the array. Each time the button is pressed, the displayed text changes.
Adding Personal Touches to Your App
Now, let’s make your app stand out by customizing its appearance and adding new features. Start with colors and styling for a visual upgrade:
Button("Get Compliment") {
    currentCompliment = compliments.randomElement() ?? "You're wonderful!"
}
.font(.headline)
.foregroundColor(.white)
.padding()
.background(Color.blue)
.cornerRadius(10)
This code creates a button with white text, a blue background, and rounded corners. Experiment with other colors like .purple or .green to match the app’s vibe.
You can also expand the app’s functionality. For example, track how many compliments have been given or personalize messages with the user’s name:
@State private var complimentCount = 0

Button("Get Compliment") {
    currentCompliment = compliments.randomElement() ?? "You're wonderful!"
    complimentCount += 1
}

Text("Compliments given: \(complimentCount)")
    .font(.caption)
    .foregroundColor(.gray)
Want to make it even more dynamic? Add animations to give the text a smooth fade-in effect:
Text(currentCompliment)
    .font(.title)
    .padding()
    .multilineTextAlignment(.center)
    .animation(.easeInOut(duration: 0.5), value: currentCompliment)
Think about the personality of your app. Is it playful, calming, or energetic? Use bright colors and silly compliments like, “You’re cooler than a penguin in sunglasses!” for a fun vibe, or soft blues and gentle encouragement for a more soothing experience.
Test your app with friends and family to gather feedback. Watching others interact with your creation can spark ideas for improvements or new features.
Supporting Your Child’s Coding Education (Swift for Kids)
When your child embarks on their Swift programming journey, your involvement as a parent plays a key role in keeping their interest alive and helping them tackle challenges. A nurturing environment can turn initial struggles into a lasting passion for coding.
Making Coding Fun and Stress-Free
Learning Swift should feel more like an adventure than a chore. When kids approach coding with curiosity instead of pressure, they’re more likely to stick with it, even when the concepts get tricky.
Start by creating a dedicated coding space at home. It doesn’t have to be elaborate – a comfy chair, good lighting, and a quiet corner with an iPad or Mac running Swift Playgrounds can work wonders. Add some personal touches, like their favorite decorations, to make the space feel inviting. Tools like Swift Playgrounds are especially great because they provide instant visual feedback, which can boost confidence and keep the experience engaging.
Celebrate your child’s milestones, whether it’s completing a challenge, building a simple app, or mastering a new concept. Verbal praise, sharing their work with family, or even displaying certificates can go a long way in building their confidence. Keep coding sessions relaxed and enjoyable. If frustration creeps in, encourage a break – sometimes stepping away helps the brain process things better.
Setting Goals and Tracking Progress
A supportive environment is just the beginning. Setting clear, realistic goals can help your child stay focused and motivated. Involve them in the goal-setting process to give them a sense of ownership. For beginners, achievable goals might include completing one lesson in Swift Playgrounds each week, building a basic app like a calculator, or learning a few new Swift functions.
Tracking progress is another great way to keep the momentum going. You can use simple tools like checklists or journals where your child can log completed lessons and reflect on what they’ve learned. Many digital platforms also offer built-in progress dashboards, making it easy to visualize their advancement.
CodaKid’s certificate system is another excellent option. These certificates not only celebrate your child’s achievements but also serve as a record of real programming skills. Unlike simplified coding tools, these certificates reflect work done with professional-grade languages and tools. Once the basics are mastered, your child can move on to more challenging projects that inspire further growth.
Next Steps in Swift for Kids Programming Education
After your child has a solid grasp of Swift, encourage them to take on more advanced projects. Ideas like creating a personal journal app with photo uploads or a weather app that pulls live data can teach valuable skills while keeping things fun and engaging.
CodaKid offers a wide range of courses to help your child branch out. They can explore Python for artificial intelligence, JavaScript for web development, or even dive into Minecraft modding and Roblox game creation. Python-based machine learning projects are particularly exciting and often a natural next step for kids who’ve developed logical thinking skills through Swift.
Game development is another thrilling path to explore. Swift’s SpriteKit framework allows for the creation of detailed 2D games, while SwiftUI makes complex user interfaces manageable. Encourage your child to connect with others through coding clubs, online forums, or programming competitions. These communities can provide inspiration and opportunities for collaboration.
For a more structured approach, CodaKid’s virtual camps are a fantastic option. These week-long programs, offered during school breaks, focus on topics like AI development or advanced game design. They combine expert instruction with peer interaction, creating an intensive learning experience that can significantly accelerate progress.
The problem-solving skills your child gains through Swift programming will benefit them far beyond coding. Whether they pursue a career in tech or another field, these skills will serve them well, making your support in their coding education a meaningful investment in their future.
Conclusion: Starting Your Swift for Kids Programming Journey
Learning Swift programming nurtures creativity, sharpens logical thinking, and builds problem-solving skills that can benefit kids across various areas of learning. In this guide, we’ve highlighted how Swift’s intuitive design makes it a great starting point for young learners. From exploring the interactive, visual world of Swift Playgrounds to advancing into professional tools like Xcode, each step offers a rewarding pathway into coding.
Starting with core concepts like variables, functions, and control flow, kids can gradually move on to creating real apps. Whether they design a simple calculator or a custom photo gallery, these projects teach them how to solve problems while expressing their ideas. Parents play a big role here – providing a supportive and stress-free environment helps kids build a strong foundation and enjoy the process.
Stepping Stone Into Other Areas of Technology
Swift doesn’t just stop at app development. It can act as a stepping stone into other areas of technology. Once kids grasp Swift’s basics, transitioning to languages like Python for AI projects or JavaScript for web development becomes much easier. The logical thinking and problem-solving skills they develop while building iOS apps naturally carry over to these new challenges, opening doors to advanced projects and other programming languages.
Platforms like CodaKid offer structured, hands-on learning to guide kids on this journey. By using real programming languages and professional tools, CodaKid ensures that kids gain genuine coding experience – not just simplified, toy-like versions. As they progress, they’ll tackle exciting projects like game development and even machine learning, allowing their skills to grow without hitting unnecessary limits.
While technology keeps evolving, the core skills kids develop through Swift – analytical thinking, creative problem-solving, and digital literacy – will serve them well no matter what career path they choose. Whether they become developers, scientists, entrepreneurs, or something entirely different, these abilities will help them thrive in a tech-driven world.
Get started today and help your child turn their ideas into reality. With the right tools, encouragement, and patience, they can go from being passive users of technology to active creators, building apps that solve problems and showcase their unique creativity.
FAQs
How can parents help their kids learn Swift programming effectively?
Parents can play a big role in helping their kids learn Swift by showing genuine interest in the projects they create, cheering them on, and celebrating their progress. These small acts can boost their confidence and keep them motivated. Creating a supportive and curiosity-driven environment is essential to help kids feel comfortable exploring and solving problems.
To make learning Swift enjoyable, consider using kid-friendly tools like Swift Playgrounds, which turns coding into an interactive and fun experience. You can also sign them up for coding programs or virtual camps tailored for young learners. These activities not only build their skills but also keep them engaged and excited about coding. The key is to encourage their creativity and develop their love for programming through consistent support and hands-on learning opportunities.
How can I tell if my child is ready to move from Swift Playgrounds to Xcode?
If your child is confidently navigating code on their own, it might be time to consider moving them from Swift Playgrounds to Xcode. Some clear indicators they’re ready include their ability to copy and edit code within Xcode, an understanding of how project files and assets are organized, and familiarity with managing basic app settings. They should also show some skill in troubleshooting simple coding issues and have a basic grasp of how apps are tested and deployed.
When they’re eager to tackle more advanced challenges and experiment with professional tools, introducing them to Xcode could open the door to the exciting realm of app development.
What are some helpful resources for kids to learn more about Swift beyond Swift Playgrounds and Xcode?
Learning Swift programming can be an exciting journey for kids, and there are plenty of resources to help them sharpen their skills. One standout option is Apple’s Swift Playgrounds app, which offers a hands-on, interactive way to dive into coding. It’s designed to make learning both fun and approachable. For those looking to dig a bit deeper, Apple’s official Swift documentation is packed with beginner-friendly tutorials and guides that break down the basics step by step.
Beyond apps and documentation, kids can gain a lot by connecting with others. Online forums and coding groups provide spaces to ask questions, share projects, and pick up tips from peers who are also learning. For visual learners, video tutorials created by seasoned developers can be incredibly helpful, offering clear explanations and walkthroughs of more advanced topics.
With these tools and communities, young programmers can explore Swift in a way that’s engaging and easy to understand.


