Table of Contents
Roblox Lua Scripting: 2026 Guide for Kids
Roblox Lua scripting is a beginner-friendly way for kids to learn coding while creating their own games in Roblox Studio. As of 2025, Roblox attracts 380 million monthly users and offers tools for young developers to design interactive experiences. Lua, a lightweight programming language, powers these games, enabling everything from character movements to in-game events.
Why Learn Roblox Lua?
- Roblox has 85.3 million daily users, with a large community under 13 years old.
- Kids gain skills in coding basics like variables, functions, and loops, alongside problem-solving and critical thinking.
- Lua is used in various industries, making it a stepping stone for future opportunities.
Getting Started:
- Download Roblox Studio (free for Windows and Mac).
- Learn the basics of Lua syntax, including variables (
playerHealth = 100), functions, loops, and Roblox’s custom version, Luau. - Start small: Create scripts for actions like color changes or teleportation.
Support for Learning:
- CodaKid offers self-paced courses ($29/month), private lessons ($249/month), and virtual camps for hands-on projects.
- Resources like the Roblox Developer Hub and forums provide additional guidance.
Key Takeaway: Roblox Lua scripting teaches kids coding in a fun, interactive way, preparing them for future tech skills while letting them build their own games.
Setting Up Roblox Studio
Getting started with Roblox Studio is straightforward. Once you understand the interface and complete the installation, you’ll be ready to dive into creating your first project.
Installing Roblox Studio
Roblox Studio is a free desktop application available for both Windows and Mac. Before downloading, make sure your system meets the following requirements: Windows 10 or newer (Windows 11 recommended), macOS 10.14 or newer (macOS 14+ recommended), at least 3 GB of RAM (8 GB recommended), and a screen resolution of 1600×900 or higher. Keep in mind, Roblox Studio doesn’t work on Chromebooks or mobile devices.
Here are two ways to install Roblox Studio:
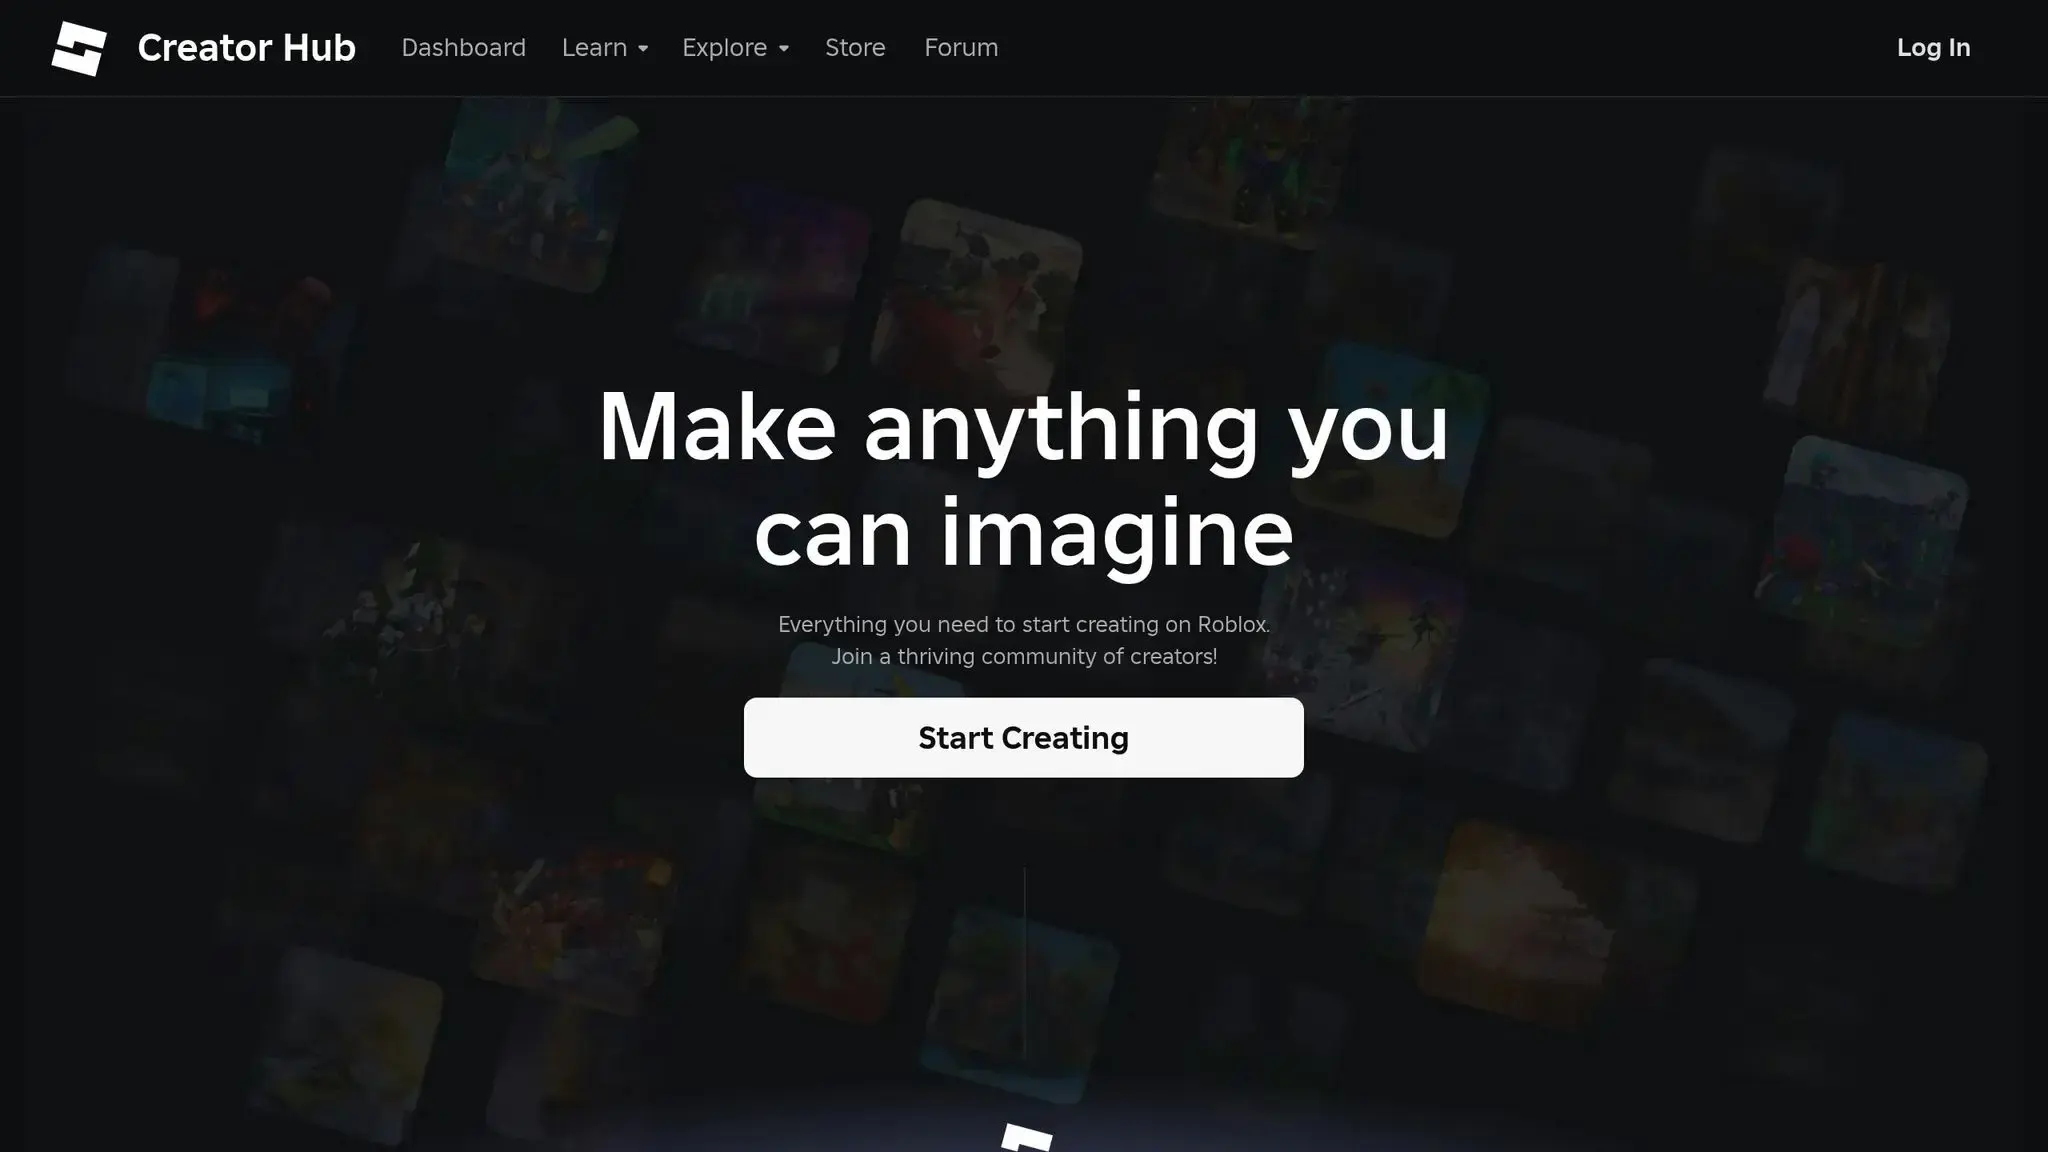
- Direct Download:
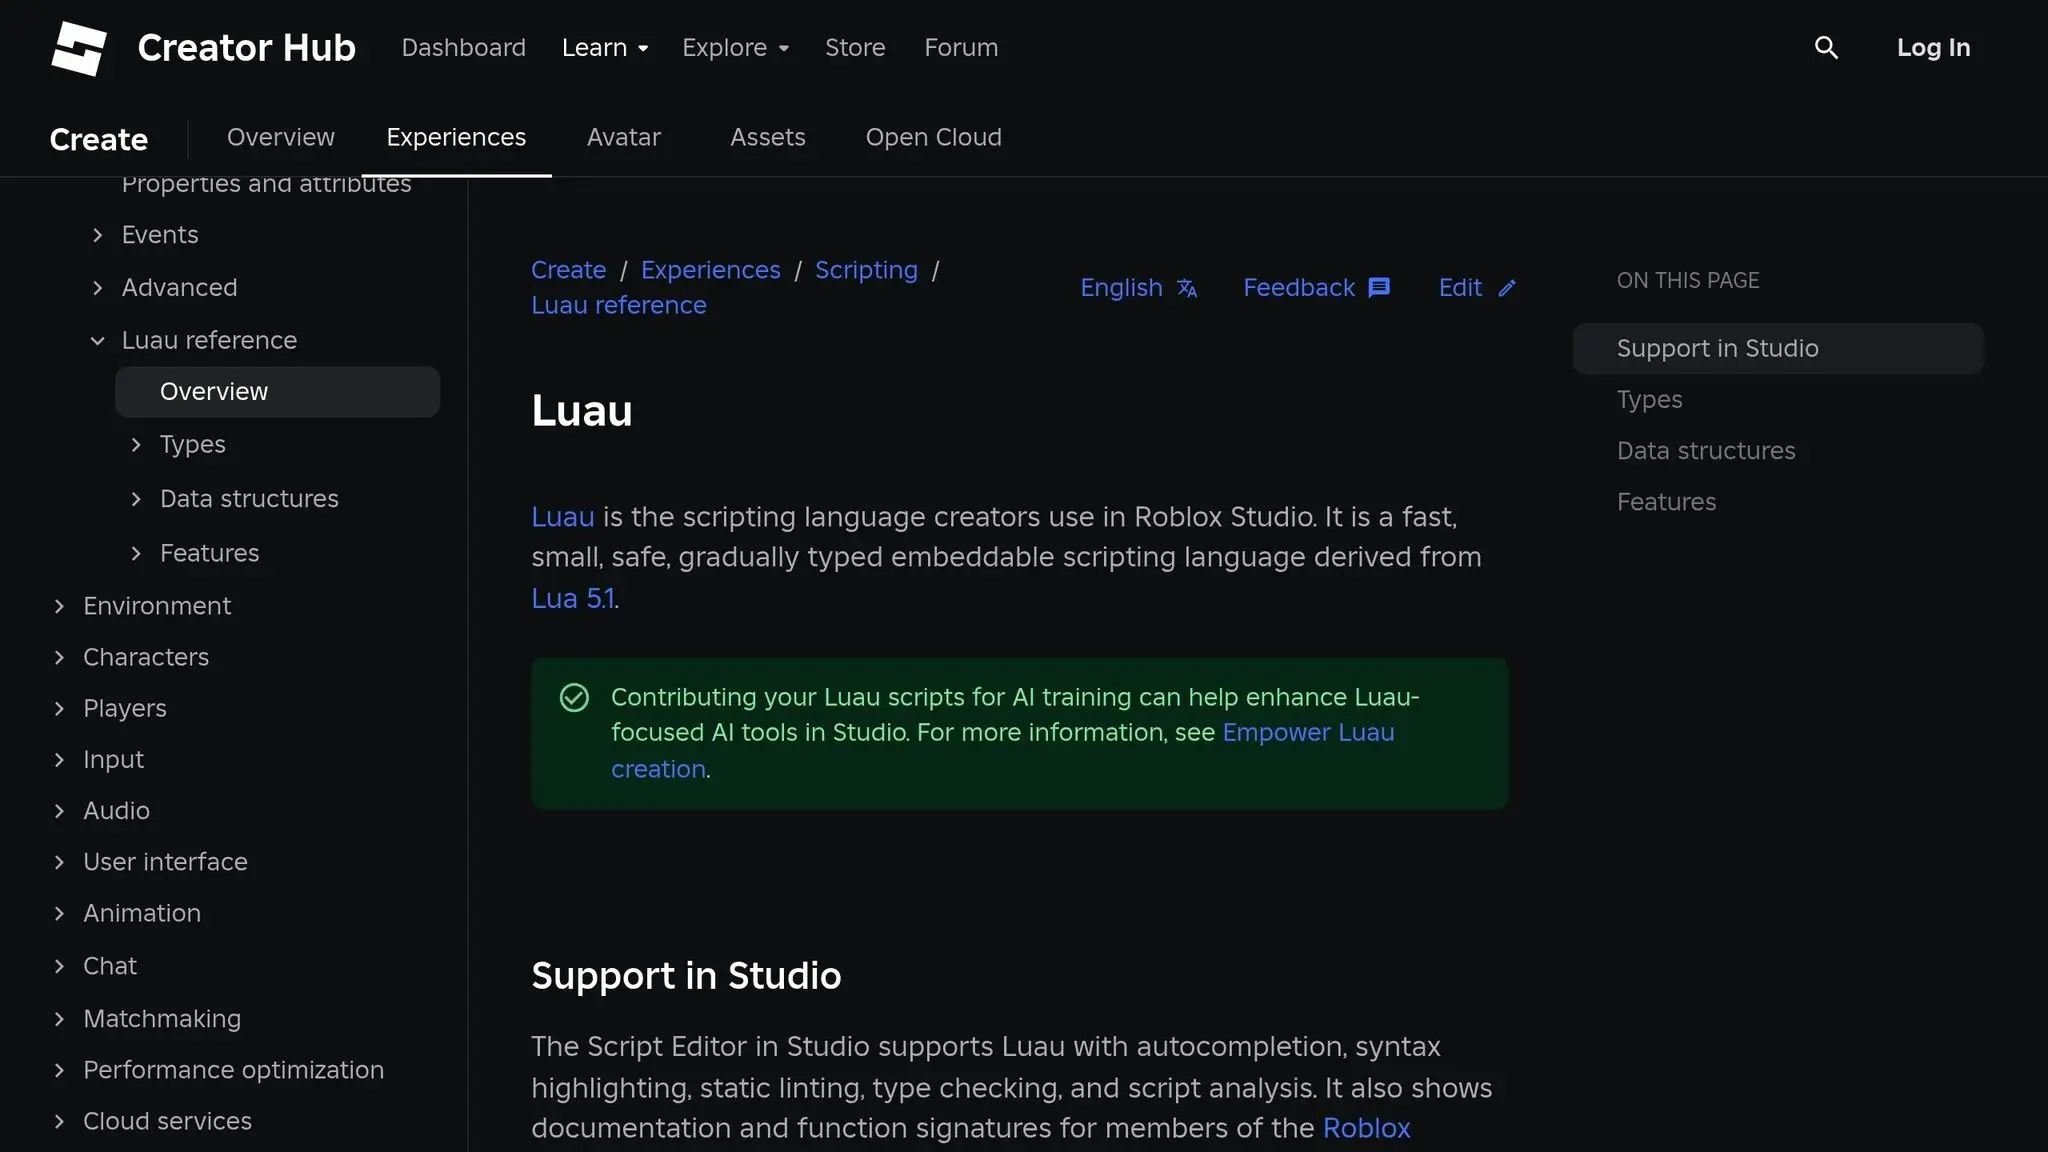
Head to the Roblox Creator Hub website, click the download button, and run the installer. You’ll be prompted to confirm by clicking “Download Studio” again, which will initiate the download (RobloxStudio.exefor Windows orRobloxStudio.dmgfor Mac). Once downloaded, double-click the file to begin the installation. The process runs automatically, and when it’s done, a pop-up will appear with a “Launch Studio” button. Click it to open Roblox Studio for the first time. - Automatic Installation via the Roblox Website:
If you’re already logged into your Roblox account, open one of your experiences on the website. Click the three dots in the upper-right corner and select “Edit.” This will automatically install Roblox Studio and open your project.
After installation, log in with your Roblox account. If you don’t have one yet, you can create an account at roblox.com. Roblox Studio updates automatically, so you’ll always have access to the latest features. When an update is available, you’ll see an “Update Available” button.
Understanding the Roblox Studio Interface
Roblox Studio is designed to make game creation easy, even for younger users. The interface is divided into key areas, each serving a specific purpose:
- Home Menu: Offers quick access to essential tools for starting new projects, saving your work, and testing games.
- Explorer: Displays all parts, folders, and assets in your project, organized in a tree structure for easy management.
- Toolbox: Connects you to a marketplace filled with models, sounds, and other assets created by the Roblox community.
- Properties: Lets you customize objects by adjusting settings like position, color, size, and transparency.
- Viewport: Acts as your main 3D workspace, where you can navigate, select objects, and see real-time updates to your game.
| Panel/Area | Functionality |
|---|---|
| Home Menu | Quick access to new projects, saving, and testing |
| Explorer | Displays all game parts, folders, and assets in a tree structure |
| Toolbox | Offers models, sounds, and assets from Roblox Studio’s marketplace |
| Properties | Lets you edit settings like position, color, size, etc. |
| Viewport | Main window for viewing and editing your 3D game world in real time |
When building, it’s important to understand the difference between local and global axes. The local axis moves objects based on their own orientation, while the global axis follows the world’s coordinate system. You can switch between these modes by pressing the “L” key or using the Ctrl+L shortcut.
Configuring Kid-Friendly Settings
Once you’re familiar with the interface, you can adjust settings to create a workspace that’s comfortable and easy for younger users to navigate. Start by exploring the main panels and using the built-in tutorials available in Roblox Studio.
When starting a new project, the Part tool is a great way to add basic building blocks to your game. Understanding how objects move in relation to their own space versus the game world is an essential skill as you begin building.
Arrange your workspace in a way that feels natural and works well with your screen size. Many beginners find it helpful to keep the Explorer and Properties panels open while working. Begin with simple projects to get a feel for the tools before diving into more complex scripting tasks. With its drag-and-drop functionality and access to community-created assets in the Toolbox, Roblox Studio provides everything you need to start creating.
Basic Lua Programming Concepts
Now that Roblox Studio is ready and you’re familiar with its interface, it’s time to step into the coding side of game creation. The programming language behind all the interactive features in Roblox games is Lua. Thanks to its beginner-friendly nature, Lua is an excellent starting point for those new to coding.
Programming, at its core, is about giving computers clear, step-by-step instructions. Computers are precise, so the instructions need to be exact – and Lua provides the tools to make that happen. Let’s start by breaking down the basics of Lua syntax to lay the groundwork for your coding journey.
Lua Syntax Basics
Think of learning Lua as picking up the grammar of a new language. Once you know the basic structure, you can combine elements to create more complex programs. Here are the essential concepts every Roblox scripter should grasp.
In Lua, variables are like labeled containers that store information. For example:
playerHealth = 100(stores a number)playerName = "Alex"(stores text, or a string)gameStarted = false(stores a true/false value, also called a boolean)
Functions are reusable blocks of code that perform specific tasks – like following a recipe. For instance, you might write a function to make a character jump or spawn an enemy. Here’s a simple example:
function makePlayerJump()
    player.Character.Humanoid.Jump = true
end
If statements allow your game to make decisions. They check conditions and execute code only if those conditions are true. For example:
if playerHealth <= 0 then
    print("Game Over!")
end
Loops help you repeat actions without rewriting the same code. A for loop might count from 1 to 10, while a while loop continues until a specific condition is met. Loops are especially useful for tasks like spawning multiple enemies or creating animations.
What Is Luau?
When you’re coding in Roblox, you’re actually using Luau (pronounced “Lou-ow”), Roblox’s customized version of Lua. Luau includes additional features like type checking, clearer error messages, and faster performance. It’s designed to give developers better tools while staying simple enough for beginners.
So, how is Luau different from standard Lua? The most noticeable feature is type checking. In regular Lua, you might accidentally try to add a number to a string, causing an error. Luau catches these mistakes early, like a helpful friend proofreading your work before you turn it in.
Another improvement is better error messages. When something goes wrong in your code (and it will – making mistakes is part of learning!), Luau provides clearer explanations to help you fix the issue. Instead of vague or confusing messages, you’ll get hints about what went wrong and where to look.
The best part? Everything you learn in Luau applies to standard Lua as well. This means you’re not just learning to code for Roblox – you’re gaining skills in a programming language used across many industries.
Object-Oriented Programming Basics
Once you’re comfortable with Lua’s syntax and Luau’s features, you can dive into object-oriented programming (OOP). While it might sound complex, OOP is actually a straightforward way to structure your game. In real life, objects have properties (characteristics) and abilities (things they can do). For example, a car has properties like color and speed, and abilities like starting or stopping. Roblox games work the same way.
In Roblox, every game element – whether it’s a player, a door, or a sound – is an object. Objects have properties that describe them and methods that define their actions.
Here’s a quick example of modifying an object’s properties in Roblox:
myPart.Size = Vector3.new(4, 2, 1)  -- Changes the part’s size
myPart.Color = Color3.new(1, 0, 0)  -- Makes the part red
myPart.Position = Vector3.new(0, 10, 0)  -- Moves the part
Methods, on the other hand, make objects perform actions. For example:
myPart:Destroy()  -- Removes the part from the game
player:Kick("Game over!")  -- Disconnects a player from the server
Roblox also uses a parent-child relationship to organize objects. For example, a player character contains body parts, each of which might contain accessories. You can access child objects through their parent:
player.Character.Head.Size = Vector3.new(2, 2, 2) -- Increases the size of the player’s head
Finally, events are key to making your game interactive. Events are triggered when something happens – like a button click or a player joining the game. You can write code to respond to these events:
myButton.Activated:Connect(function()
    print("Button was clicked!")
end)
This object-oriented approach keeps your code organized and manageable. Instead of cramming everything into one massive script, you can create smaller scripts that focus on specific objects and tasks. It’s like having a tidy toolbox where every tool is easy to find and ready to use.
Creating Your First Roblox Game
Now that you’ve got a handle on Lua basics and object-oriented programming, it’s time to put those skills into action. Let’s walk through the steps to create your first Roblox game. You’ll start by building a simple environment, adding interactive scripts, and learning how to troubleshoot along the way.
Building Your Game Environment (Roblox Lua Scripting)
The environment is the backbone of your game. It’s where everything happens, so setting it up is your first task.
Open Roblox Studio and pick a game template that suits your idea. If you’re just starting, the Baseplate template is a great choice since it gives you a blank canvas to work with. However, if you want a head start, templates like Village or Castle come with pre-built settings you can tweak.
Once your workspace is ready, use the Part tool to start shaping your world. Add blocks, platforms, and other structures to create walls, floors, or obstacles – whatever your imagination dreams up. You can resize these parts using the Size property or the Scale tool.
To speed things up, enable the Material Manager feature in Roblox Studio. Go to File > Beta Features and check the box for “Material Generator.” This tool lets you type prompts to quickly generate landscapes, characters, or items, giving you more time to focus on creativity.
Don’t forget to set up spawn points where players will appear when they join. Insert a SpawnLocation from the toolbox and place it in a safe spot. You can even customize the spawn’s appearance or add multiple locations if needed.
Once your environment is ready, it’s time to make it interactive with Lua scripts.
Writing Your First Scripts
Now comes the fun part – bringing your game to life with Lua. Make sure you have the Properties, Explorer, Command Bar, and Output windows open (you can find them under the View tab).
Start simple. For example, you can write a script that changes the color of a part when a player touches it. This is a great way to learn the basics while seeing immediate results.
Here’s an example script for a color-changing part:
local part = script.Parent
local colors = {Color3.new(1, 0, 0), Color3.new(0, 1, 0), Color3.new(0, 0, 1)}
local currentColor = 1

part.Touched:Connect(function(hit)
    local humanoid = hit.Parent:FindFirstChild("Humanoid")
    if humanoid then
        part.Color = colors[currentColor]
        currentColor = currentColor + 1
        if currentColor > #colors then
            currentColor = 1
        end
    end
end)
This script detects when a player touches the part, checks if it’s a player using the Humanoid, and cycles through colors.
Want to try something different? Create a teleporter! Place two parts in your game and add this script to the first one:
local teleporter = script.Parent
local destination = workspace.TeleportDestination -- Replace with the name of your destination part

teleporter.Touched:Connect(function(hit)
    local humanoid = hit.Parent:FindFirstChild("Humanoid")
    if humanoid then
        local character = humanoid.Parent
        character:MoveTo(destination.Position + Vector3.new(0, 5, 0))
    end
end)
This teleports players to a new location, slightly above the destination to avoid glitches.
For a more interactive touch, try adding a click counter. Insert a ClickDetector into a part, then use this script:
local part = script.Parent
local clickDetector = part.ClickDetector
local clicks = 0

clickDetector.MouseClick:Connect(function(player)
    clicks = clicks + 1
    part.BrickColor = BrickColor.Random()
    print(player.Name .. " clicked the part! Total clicks: " .. clicks)
end)
This script changes the part’s color randomly with each click and keeps track of how many times it’s been clicked. The results will show up in the Output window.
Once you’ve added some scripts, the next step is to make sure everything works smoothly.
Finding and Fixing Script Problems
Encountering errors is a normal part of coding. The Output window is your best friend for debugging – it shows error messages and lets you track what’s happening in your game.
Common errors include phrases like “attempt to index nil” (trying to access something that doesn’t exist) or “bad argument” (passing incorrect data to a function). Pay attention to the line numbers mentioned in the error messages – they’ll point you to the exact spot in your script where the issue occurred.
For example, if your script references workspace.MyPart but the actual part is named workspace.MyPart1, you’ll get a nil error. Always double-check that the names in your script match the ones in the Explorer panel.
Variable scope is another common pitfall. Variables defined inside a function can’t be accessed outside of it unless they’re declared in a broader scope. Using print statements can help you figure out what’s going on. For example:
print("Script started")
local part = workspace.MyPart
print("Found part:", part.Name)
part.Touched:Connect(function(hit)
    print("Something touched the part:", hit.Name)
end)
These statements let you see what your script is doing step by step, making it easier to spot issues.
If your script isn’t working, check its location. Server scripts should go in ServerScriptService or be attached to specific parts in the workspace. LocalScripts, on the other hand, work in areas like StarterPlayerScripts or GUI elements.
Timing issues can also cause problems. For example, a player’s character might not be immediately available after joining the game. Use wait() or WaitForChild() to ensure objects are ready before your script interacts with them:
local player = game.Players.LocalPlayer
local character = player.CharacterAdded:Wait()
local humanoid = character:WaitForChild("Humanoid")
And if all else fails, don’t hesitate to rewrite a script from scratch. Keeping your code simple and focused on one task at a time makes debugging much easier – and helps you learn faster.
Improving and Customizing Your Game (Roblox Lua Scripting)
Once your first game is up and running, the real fun begins – making it even better! One of the most important skills to learn at this stage is debugging. Roblox Studio provides some excellent tools to help you identify and fix errors in your code, allowing you to refine and customize your game further.
Debugging Scripts and Fixing Errors
Roblox Studio has several features designed to help you quickly spot and resolve issues in your scripts:
- Script Analysis Tool: This tool automatically checks your code as you write, flagging errors like improper syntax, missing variables, or incorrect indentation. You can find it under the View tab in Roblox Studio.
- Studio Debugger: The debugger allows you to set breakpoints by clicking beside any line number in your script. When your game runs and hits a breakpoint, it pauses, letting you inspect what’s happening at that moment. You can also use the “Add Watch” feature to monitor specific variable values in real time.
- Output Window: This window logs every message, warning, and error that occurs while your game is running. You can customize the filters to focus on specific types of messages, making it easier to pinpoint issues.
Another handy debugging trick is using print() statements to track the flow of your code. For example:
local player = game.Players.LocalPlayer
print("Player found:", player.Name)
local character = player.Character
print("Character exists:", character ~= nil)
These messages will appear in the Output Window, showing you exactly where your script might be getting stuck.
Keep in mind that Lua is case-sensitive, so double-check the spelling and capitalization of your variables and functions. For instance, print() works, but Print() does not. Also, ensure functions are properly connected to events to make them trigger as expected. For example:
part.ClickDetector.MouseClick:Connect(onPartClicked)
To trace your code’s execution step by step, use the following shortcuts:
- F11: Step Into
- F10: Step Over
- Shift+F11: Step Out
Mastering these tools and techniques will not only help you fix bugs but also open the door to adding advanced features and custom themes, taking your game to the next level.
Learning Resources and Support
When diving deeper into Roblox Lua scripting, there’s no need to go it alone. A wealth of resources is available to guide you through every stage of your game development journey. From structured learning programs to active online communities, you’ll find plenty of support to sharpen your skills and bring your ideas to life.
CodaKid‘s Learning Options
CodaKid provides several flexible learning options tailored for aspiring Roblox developers. Here’s a breakdown of their offerings:
- Self-Paced Courses: Perfect for kids who prefer to learn independently, this option grants access to a broad library of courses. These include Roblox Lua scripting tutorials alongside lessons in Python, AI, and even Minecraft modding. Students can progress at their own speed, making it a great fit for self-motivated learners.
- Private Lessons (1:1): For those who thrive with personalized attention, this program offers weekly one-on-one sessions with an instructor. Lessons are tailored to the student’s pace and style, and the flexible scheduling accommodates busy family routines.
- Virtual Camps: Held during summer breaks, these one-week intensive programs focus on topics like AI and Roblox game creation. Kids get to work on real projects, collaborate with peers, and learn in an interactive group setting.
All CodaKid programs include live support for tricky concepts and award completion certificates, making the learning experience even more rewarding. Beyond the courses, students can tap into a vibrant developer community and extensive documentation to deepen their understanding.
Community and Documentation (Roblox Lua Scripting)
Outside of structured programs, the broader Roblox developer community and official documentation are invaluable resources. Whether you’re troubleshooting a bug or looking for inspiration, these tools can help you build and improve your games.
- Roblox Developer Hub: This official platform offers a treasure trove of tutorials, documentation, and learning materials. It covers everything from Lua basics to advanced scripting techniques, making it suitable for developers at any level.
- Roblox Developer Forum: A bustling community where developers of all ages share resources, tutorials, and solutions. It’s an excellent place to learn from others and discover creative ideas.
The importance of independent problem-solving is often highlighted by experienced developers. As Supersaiyan122, a contributor to the Lua Scripting Starter Guide, explains:
“When you can’t figure it out, the first step should not to be ask for help. Go to the dev wiki, go to stackoverflow, go to the dev forums, read past posts and figure it out on your own. You could ask for help over and over again and make a pretty decent game, but you’d never be able to replicate that without those people around you, you won’t learn anything. It’s not wrong to ask for advice sometimes, but it should never be the first thing you go to.”
Additionally, Discord servers dedicated to Roblox development offer real-time chat support, coding challenges, and opportunities to connect with other developers. These platforms provide a dynamic way to test your skills and learn new techniques.
CodaKid Plans Comparison (Roblox Lua Scripting)
| Plan Name | Monthly Price | Key Features | Best For | Limitations |
|---|---|---|---|---|
| Self-Paced Courses | $29 | 85+ courses, video tutorials, support, certificates | Independent learners who value flexibility | Requires strong self-motivation |
| Private Lessons 1:1 | $249 | Weekly sessions, personalized guidance, progress tracking | Students needing tailored support | Higher cost, limited to scheduled sessions |
| Virtual Camps | Varies | One-week intensives, group learning, expert instructors | Kids who enjoy collaborative learning | Limited to specific summer dates |
The Self-Paced Courses are a budget-friendly way to explore a variety of programming topics, while Private Lessons provide targeted, one-on-one guidance. For a more interactive experience, Virtual Camps offer a collaborative and immersive learning environment, especially during summer breaks.
When deciding which path to take, think about your child’s learning preferences, time availability, and goals. Many families start with self-paced courses and add private lessons as kids advance or need extra help with specific challenges.
Conclusion: Helping Kids Build Games with Roblox Lua Scripting
Roblox Lua scripting gives kids the tools to bring their game ideas to life. In this guide, we explored how to set up Roblox Studio, dive into basic scripting, and start creating games. While the path from beginner to skilled game developer takes time, with the right resources and support, your child can gain these valuable programming skills.
Learning to script goes beyond memorizing lines of code – it focuses on understanding concepts that can be applied to other programming languages and STEM areas. Whether it’s debugging a tricky Lua script or designing their first game mechanic, kids are honing critical thinking skills that will serve them well in any future challenge.
Key Role of Parents
Parents play a key role in fostering this journey. By encouraging creativity and experimentation, helping set up a positive learning space, and celebrating small achievements, you can support your child’s progress. Balancing screen time with other activities and motivating them to push through challenges also helps build resilience and problem-solving skills.
Once the setup steps are completed, starting projects becomes much easier. Creating a dedicated workspace, sticking to regular learning schedules, and joining communities like the Roblox Developer Forum can keep kids engaged and moving forward.
Mistakes are part of the process. Teach kids to see errors and debugging as opportunities to learn rather than setbacks. With patience and the right guidance, these hurdles become stepping stones toward success.
Structured Courses, Live Mentoring
CodaKid offers structured courses, live mentoring, and hands-on projects designed specifically for young learners. Their lessons simplify complex topics into digestible steps, provide real-time feedback, and encourage kids to design and personalize their own games, making the experience both productive and enjoyable.
The skills kids gain from Roblox Lua scripting today – logical reasoning, creativity, and problem-solving – will prepare them for the digital world of tomorrow. Game development blends technical knowledge with artistic expression, and with the right environment, your child can grow from simply playing games to creating their own.
FAQs
How can learning Roblox Lua scripting help my child’s future career?
Learning Roblox Lua scripting can open up a world of opportunities for your child, equipping them with skills that are in high demand across the tech industry. Lua is a versatile programming language used in game development, software engineering, and even cutting-edge areas like artificial intelligence. It serves as a great starting point for anyone interested in exploring a variety of career options in technology.
Through Roblox, kids don’t just learn to code – they gain essential skills like problem-solving, logical thinking, and creativity. These abilities are highly valued in the workforce and can lead to well-paying careers. In fact, experienced developers in the U.S. often earn six-figure salaries. Introducing your child to Lua scripting now could give them a significant advantage as they prepare for a future in tech.
What challenges do beginners face when learning Roblox Lua scripting, and how can they overcome them?
Many newcomers to Roblox Lua scripting often struggle with fundamental programming concepts such as variables, loops, and functions. On top of that, debugging errors in scripts can feel overwhelming when you’re just starting out. These hurdles are completely normal but can be tackled with the right mindset and strategy.
Start by focusing on the basics. Beginner-friendly tutorials and straightforward projects are great ways to get your feet wet. Dedicate time to regular practice and experiment with small scripts to gradually build your confidence. Tools like scripting cheat sheets and active community forums can be incredibly helpful when you’re stuck or need advice. The secret to improving? Consistency and patience – keep at it, and you’ll be on your way to creating amazing Roblox games!
What makes Luau different from standard Lua, and why is it important for building games in Roblox?
Luau is a tailored version of Lua, crafted specifically for developing games on Roblox. While it builds on Lua 5.1, it introduces several key features like optional static typing, string interpolation, and improved tools for managing tables. These additions make coding more organized, efficient, and easier to scale.
For Roblox developers, these upgrades are a game-changer. They not only help fine-tune game performance but also minimize errors, which is especially valuable in larger projects. With Luau, even beginners can dive into creating more dynamic and polished games while picking up advanced programming skills in an accessible way.