Table of Contents
Unity Coding for Kids: Complete Step-by-Step Guide
Unity is a game development platform that helps kids turn ideas into interactive games while learning coding concepts. Through hands-on projects, kids can explore physics, coding, and design using Unity‘s tools like C# scripting and a visual interface. These projects develop problem-solving, logical thinking, and creativity while introducing skills useful for STEM careers.
Key Highlights:
- Why Unity Coding for Kids? Kids learn coding by creating games, improving logic and problem-solving by 70%.
- Getting Started: Install Unity Hub, check system requirements, and choose the free Unity Personal version.
- Beginner Projects:
- Rube Goldberg Machine: Learn physics basics with 3D objects and Rigidbody components.
- 2D Endless Runner: Build a scrolling game with sprite animation and collision detection.
- 3D Escape Room: Combine puzzles, navigation, and event-driven programming.
- Coding Basics in Unity: Understand variables, functions, conditionals, and Unity-specific features like GameObjects and MonoBehaviour scripts.
- Structured Learning: Platforms like CodaKid offer guided courses and support for young coders.
Unity helps kids build technical skills while creating games, making it a fun and practical way to learn coding.
How to Get Your Child Interested in Coding
Getting Started with Unity Coding for Kids
Ready to dive into game development? The first step is installing Unity Hub, your central tool for managing Unity versions and projects. Unity Hub not only simplifies setup but also provides an intuitive interface that’s perfect for beginners while still offering the depth professionals need.
System Requirements and Unity Hub Installation
Before you jump in, make sure your computer meets Unity’s system requirements. Unity works on both Windows and Mac, but double-checking your specs can save you a lot of frustration later.
For Windows users, you’ll need Windows 10 (version 1903 or newer), at least 8 GB of RAM, 4 GB of free storage, and a graphics card that supports DirectX 11 – most modern PCs meet these criteria. Mac users should have macOS 10.14 or later, along with similar RAM and storage requirements.
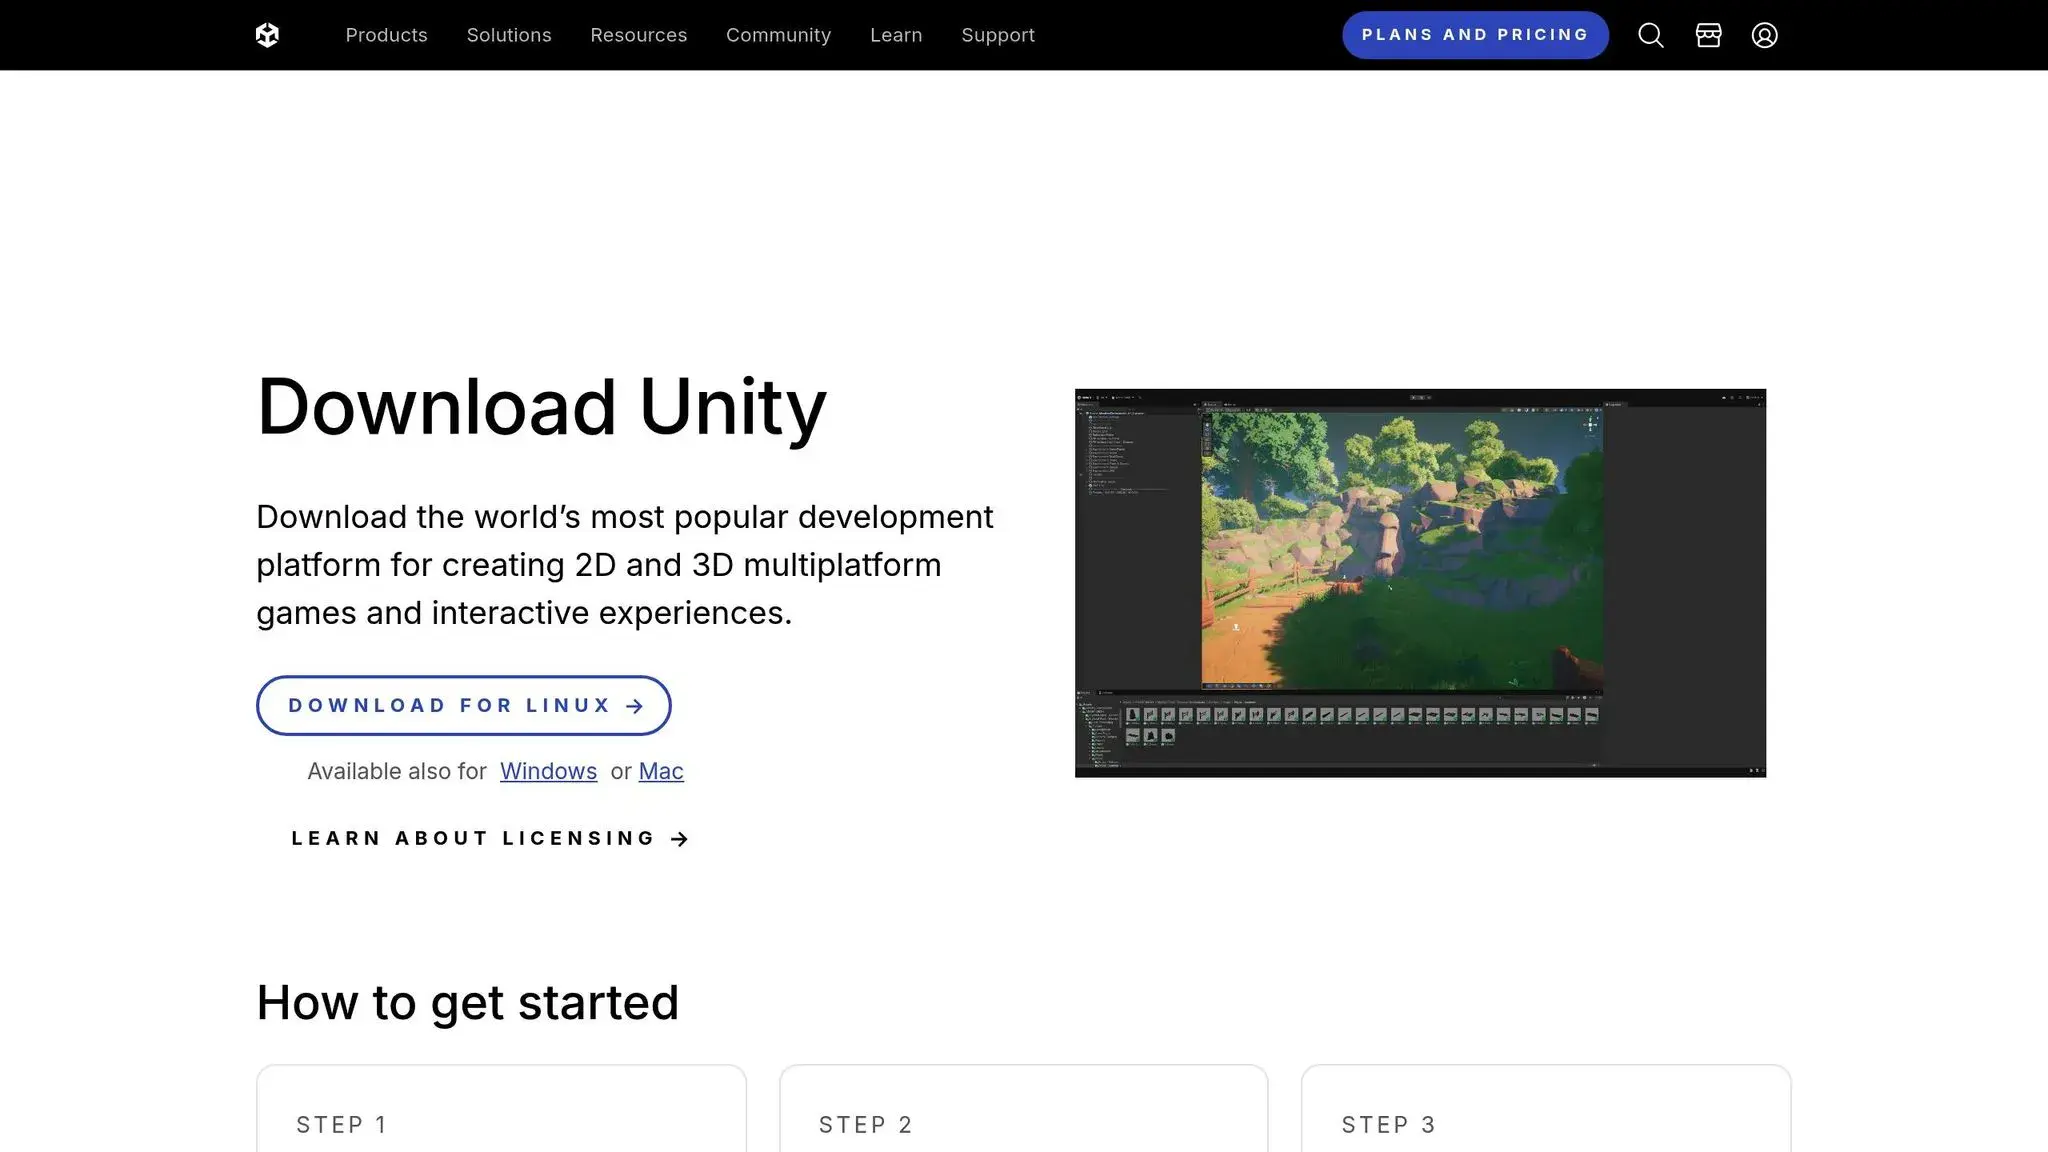
To get started, head to Unity’s official website and click the “Get Unity” button. Unity Hub is free and acts as your main dashboard for managing installations and projects. Make sure your internet connection is stable for a smooth download.
Once downloaded, run the installer and follow the setup instructions. After Unity Hub is installed, you’ll use it to download the Unity Editor itself. If you’re new to Unity, the Unity Personal version is completely free and offers everything you need to learn and create.
When choosing a Unity version in Unity Hub, go for the latest LTS (Long Term Support) release. These versions are updated regularly with fixes, making them ideal for learning.
Creating Your First Unity Project
After setting up Unity Hub, you’re ready to create your first project. Click the “New Project” button in the top-right corner.
Unity provides several templates to kick things off. The 2D template is great for simple games like puzzles or side-scrollers, while the 3D template is better for more immersive experiences like adventure or first-person games. Don’t stress too much about your choice – Unity lets you switch between 2D and 3D modes later.
Give your project a name and pick a save location you’ll remember. Unity will then set up all the necessary files and folders, which usually takes under a minute.
Once your project is ready, you’ll be greeted by Unity’s interface – a powerful workspace designed to help you bring your game ideas to life.
Understanding the Unity Interface
Opening your project for the first time might feel a bit overwhelming, but Unity’s interface is designed to make sense as you start using it. Each panel serves a specific purpose, and with a little practice, you’ll feel right at home.
At the heart of the interface is the Scene view, where you’ll build your game world. This is your creative workspace for adding, moving, and editing objects. Think of it as the canvas for your game. You can navigate the Scene view using your mouse and keyboard.
Behind the Scene view is the Game view, which shows exactly what players will experience when they play your game. Switching between these views is as easy as clicking their tabs.
Other key panels include:
- Inspector panel: Displays detailed settings for any object you select.
- Hierarchy panel: Lists all the objects in your scene, like a file explorer for your game world.
- Project panel: Houses all your project files – images, sounds, scripts, and more – that you can drag into your scene.
At the top of the interface, you’ll find the toolbar with essential controls like Play, Pause, and Stop. The Play button is especially handy, letting you test your game instantly without leaving Unity.
Unity’s layout is flexible. You can resize, move, and even close panels to suit your workflow. If you accidentally close a panel, don’t worry – you can reopen it through the Window menu at the top.
Unity’s interface might seem like a lot at first, but as you start experimenting, you’ll see how every piece fits together to help you create amazing games.
3 Beginner Unity Projects with Step-by-Step Instructions
Get hands-on with three beginner-friendly Unity projects that cover physics, coding, and design. Each project builds on the skills you’ve learned, guiding you from basic physics to creating interactive 3D environments.
Project 1: Virtual Rube Goldberg Machine
This first project focuses on Unity’s physics engine – no coding required. You’ll create a chain reaction where one object triggers another, demonstrating the basics of physics in Unity.
Start by adding 3D shapes to your scene. In the Hierarchy panel, right-click, select 3D Object, and choose Cube. This will act as your first domino. Adjust its position by setting its Transform Y value to about 10 units above the ground in the Inspector panel.
Now, create more cubes, spacing them 2 units apart. Each cube already has a Collider component, allowing them to interact when they collide. To make the objects respond to gravity and collisions, you’ll need to add a Rigidbody component. Select all your cubes, click Add Component in the Inspector, search for “Rigidbody”, and apply it.
Want to spice things up? Add different shapes like spheres or cylinders. You can also create ramps by scaling cubes and adjust how objects interact by applying Materials. For instance, create a new Material in the Project panel, tweak its bounciness, and drag it onto your objects to make them more dynamic.
Once your setup is complete, test it by pushing the first object and watching the chain reaction unfold. Make sure every object has the necessary Rigidbody component and is positioned correctly.
This project introduces you to essential Unity concepts like Transform components, Colliders, and Rigidbodies. It’s the perfect starting point for understanding how Unity’s physics simulation works.
Next, you’ll move into the world of 2D game mechanics in Project 2.
Project 2: 2D Endless Runner
In this project, you’ll create a 2D endless runner game, diving into sprite animation, collision detection, and loop-based programming.
Begin by creating a 2D project in Unity and importing a character sprite. You can design your own sprite using an image editor or use one of Unity’s built-in options. Place your character on the left side of the screen.
Next, build a ground platform using Unity’s Sprite Renderer component. Position it at the bottom of the screen, as this will serve as the surface your character runs on. Obstacles will appear from the right, and your character will need to jump over them.
The key mechanic here is the illusion of endless movement. To achieve this, create a background sprite and write a script to move it from right to left using Unity’s Update() method. This makes the background scroll while your character stays in place.
Add functionality to detect player input. For example, when the spacebar is pressed, apply an upward force to your character’s Rigidbody2D component. This introduces event-driven programming by translating player input into in-game actions.
To generate obstacles, use the Instantiate() method. Set up a system that spawns obstacles at regular intervals using timers, which will help you understand how loops and conditionals work together. Finally, implement collision detection using Unity’s OnTriggerEnter2D() method. This will allow you to add game-over logic or scoring systems when the character interacts with obstacles.
This project teaches you how to automate tasks with loops, create branching game logic with conditionals, and use collision detection to make meaningful interactions.
The final project will bring all these skills together in a 3D interactive adventure.
Project 3: Escape Room Adventure
For the final project, you’ll build a 3D escape room, combining spatial navigation, interactive puzzles, and event-driven programming.
Start by creating a 3D scene. Use scaled cubes to construct walls, a floor, and a ceiling for your room. Add a Directional Light to the scene and experiment with different colors and intensities to set the atmosphere.
Introduce interactive elements like keys, doors, and puzzles by adding Collider components set as triggers. These will detect when players approach and trigger specific actions.
CharacterController
Next, create a player controller using Unity’s CharacterController component. This step will help you understand 3D vector math, as you’ll script movement using the WASD keys and mouse for navigation.
Build an inventory system using arrays or Lists. For instance, when a player picks up a key, it gets added to their inventory. When they approach a locked door, your script can check if the key is in their inventory before unlocking it.
Event-driven programming becomes essential here. For example, picking up a key might unlock a door, or solving a puzzle could reveal a hidden passage. Unity’s UnityEvent system allows you to visually connect these interactions in the Inspector.
Design a variety of puzzles to challenge players. Examples include combination locks requiring number sequences, pressure plates that activate when objects are placed on them, and hidden switches for players to discover. These puzzles will teach you about state management and conditional logic.
Finally, enhance the experience with sound effects. Use Unity’s AudioSource component to add sounds for footsteps, doors opening, key pickups, and puzzle completions. This small detail adds depth to the gameplay.
This project ties together everything you’ve learned so far – physics, scripting, collision detection, user interface design, and 3D modeling. It’s a great way to see how multiple systems work together to create a cohesive game experience.
Basic Coding Concepts for Unity Beginners
The code behind your Unity projects is built on a few fundamental programming principles. If you’ve already created a few hands-on projects, now’s the perfect time to dive into the concepts that made them tick. Unity uses C# (pronounced “C-sharp”) as its scripting language. While it might seem overwhelming at first, the core ideas are actually pretty simple once you break them down.
Core Programming Concepts
Programming is essentially giving a computer step-by-step instructions. These instructions are built using a few basic elements.
- Variables: Think of variables as containers for storing data. For example, in your endless runner project, you used variables to track the player’s score, control obstacle speed, and check if the game was over. When you wrote
int score = 0;, you created a variable called “score” that holds whole numbers, starting at zero. Different variable types hold different data:floatfor decimals like 3.14,stringfor text like “Game Over”, andboolfor true/false values like whether a door is locked. - Functions: Functions are reusable blocks of code designed to perform specific tasks. In your endless runner, when the character jumped, a function applied an upward force to the Rigidbody2D. Instead of repeating the same code every time the character jumped, you created a
Jump()function and simply called it whenever the spacebar was pressed. Functions help keep your code organized and easier to debug. - Conditionals: These allow your program to make decisions. For instance, in your escape room project, you used conditionals to check if the player had the right key to open a door. The logic was something like, “If the player has the blue key, then unlock the blue door.” Conditionals compare values and control the flow of your program.
- Classes: Classes act as blueprints for creating objects in your game. Imagine a class as a cookie cutter – it defines the shape and properties, but you can use it to create multiple identical cookies. For example, an
Enemyclass might define how all enemies behave, and you can use it to spawn multiple enemy characters, each with the same behavior.
Unity C# Scripting Basics
Unity stands out because it bridges your code with visual game objects. Every script in Unity inherits from MonoBehaviour, which gives you access to Unity’s built-in features and functions.
When you create a new C# script in Unity, it automatically includes two key functions: Start() and Update().
Start(): This function runs once when the game object appears in the scene. It’s great for setup tasks like initializing variables or finding other objects in your scene.Update(): This function runs every frame – usually 60 times per second. It’s perfect for continuous actions like moving objects or checking for player input.
Unity follows a component-based design, meaning you build your game by attaching small, focused scripts (or components) to GameObjects. For example, your player character might have separate components for movement, health, inventory, and animations. This modular approach makes your code easier to manage and reuse across projects.
Unity also provides built-in functions like OnTriggerEnter() for detecting collisions and OnMouseDown() for responding to mouse clicks. These functions connect player actions to in-game responses, making your scripts more interactive.
Another handy feature is public variables, which show up in Unity’s Inspector. This allows you to tweak gameplay values – like physics settings or object positions – without modifying your code. For example, in your Rube Goldberg machine project, you could fine-tune object properties directly from the Inspector.
GameObjects and Components
In Unity Coding for Kids, GameObjects and Components work together to create everything in your game. A GameObject is like an empty container, while Components are the functional pieces you attach to it. For instance, your player character might have:
- A Sprite Renderer to display its image
- A Collider2D to detect collisions
- A Rigidbody2D for physics interactions
- A custom movement script to handle controls
Grasping these concepts turns you from someone following tutorials into a developer who can troubleshoot and build independently. When something doesn’t work, you’ll know whether to check your variables, debug your conditionals, or adjust your component settings. These basics are the foundation for every Unity project you’ll create, setting you up for more advanced learning as you continue.
Resources and Structured Learning for Young Coders
For young developers, diving into Unity through random tutorials and scattered resources can feel like navigating a maze without a map. While hands-on projects are a great way to learn by doing, structured programs take it a step further by guiding learners through concepts in a clear, step-by-step manner. This is where platforms like CodaKid come into play.
CodaKid‘s Project-Based Learning Platform
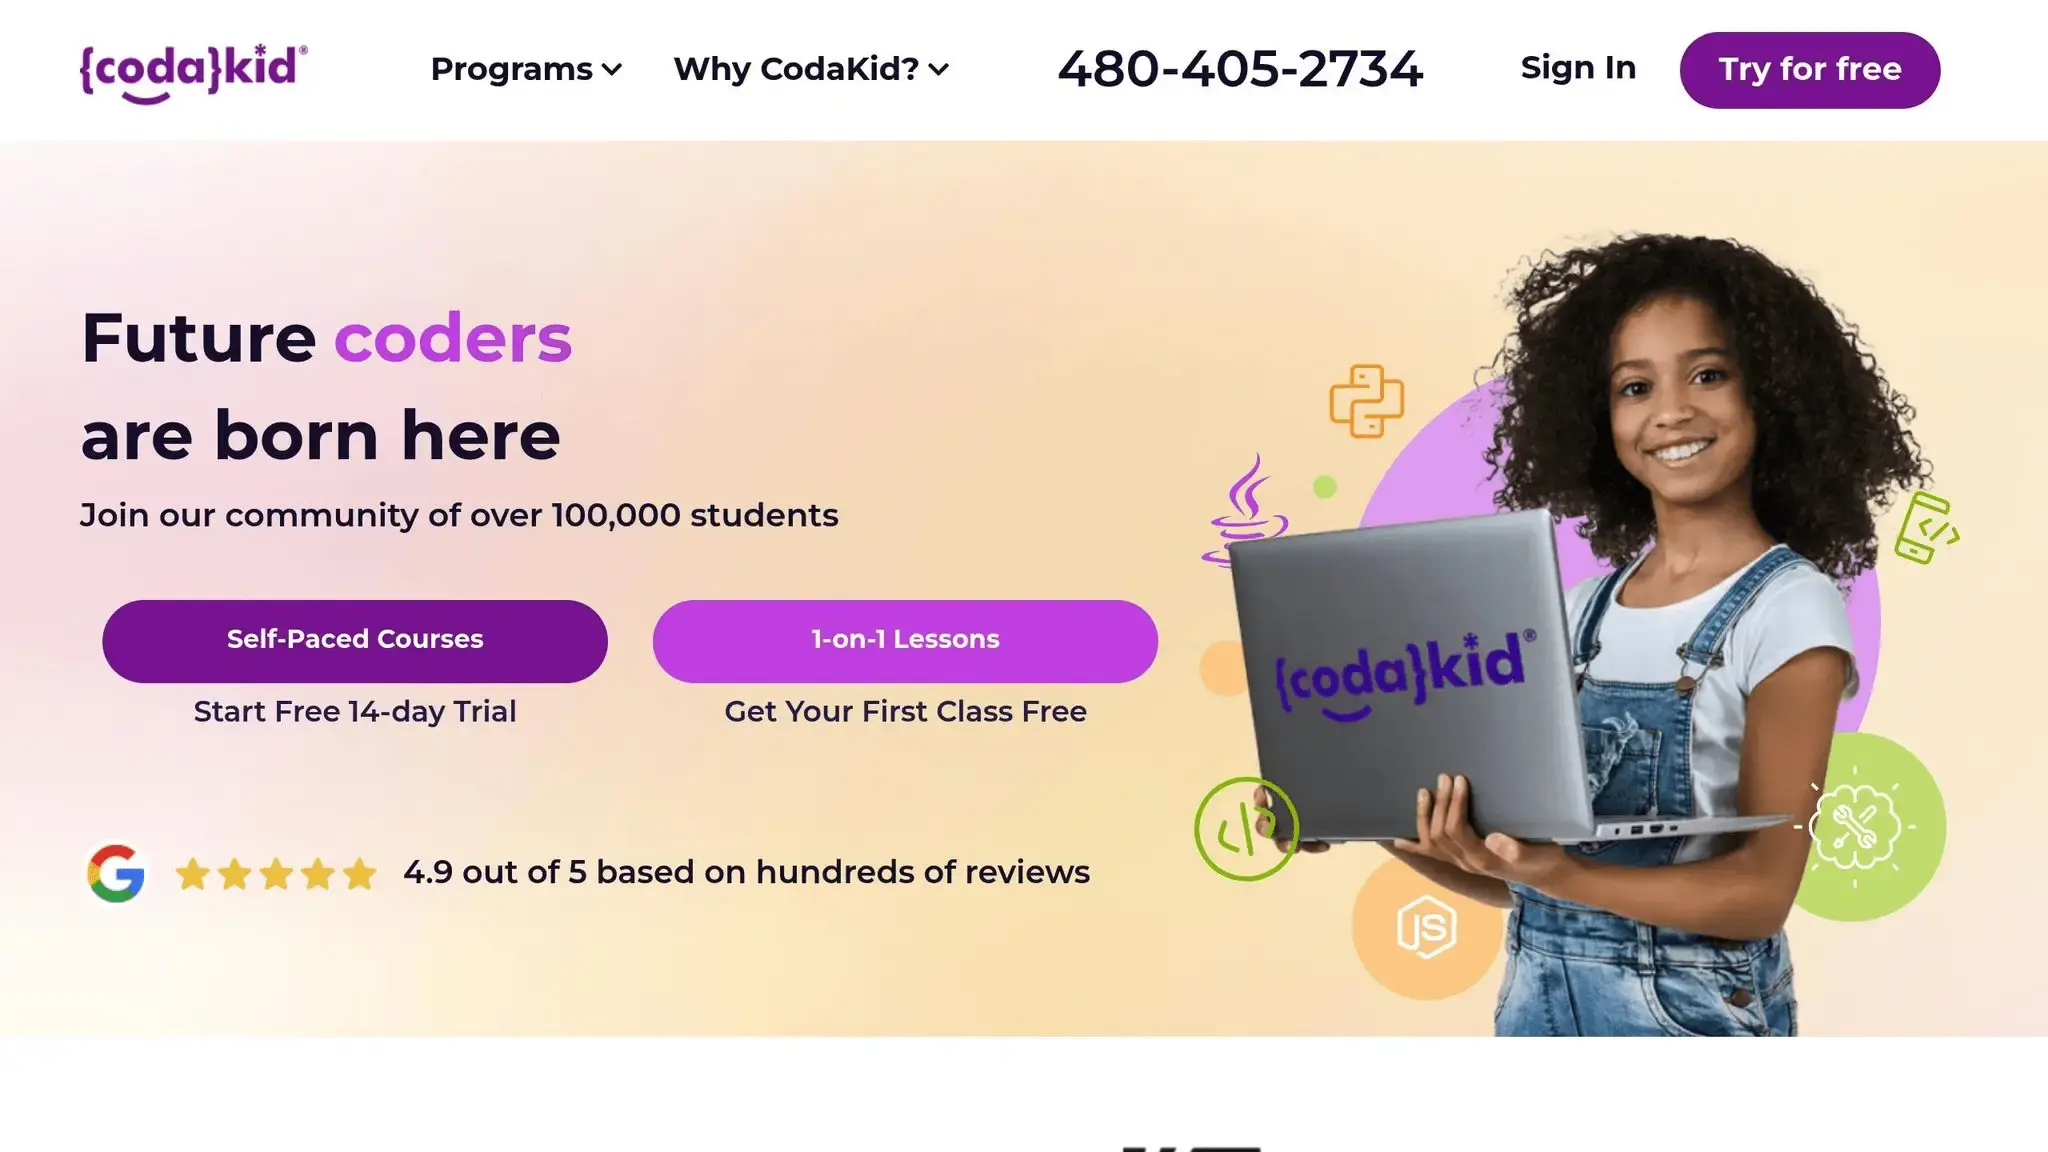
CodaKid offers a project-based learning platform designed specifically for young coders and teens. Their Unity coding courses for kids, alongside other programming and game development options, cater to intermediate to advanced learners aged 12 and up. It’s an ideal next step for those who’ve mastered the basics and are ready to tackle more advanced challenges in professional game development.
What sets CodaKid apart is its focus on real-world tools. Instead of simplified or overly basic environments, students use the same professional tools and programming languages employed by companies like Google and Facebook. This approach ensures that young learners are building practical, industry-relevant skills while exploring Unity.
To suit different learning preferences and schedules, CodaKid provides three main learning formats:
- Self-paced courses: For $29 per month, students get unlimited access to a library of over 750 curated videos. They can work through Unity projects at their own pace and rely on unlimited help desk support whenever they hit a roadblock.
- Private 1:1 lessons: Starting at $249 per month, this option pairs students with dedicated instructors who use CodaKid’s Private Tutoring Mastery Method™. It’s designed to help learners deeply understand coding concepts rather than just memorizing steps.
- Virtual camps: These intensive, week-long programs focus on specific topics like Unity game development, AI programming, and other coding specialties.
CodaKid also shines when it comes to support. Parents often highlight the platform’s responsive help desk, which keeps kids engaged and motivated. As one parent, Christy Lynn, shared:
“This has been a great addition to our home school curriculum! My son loves spending time in the program and even jumps back in after school when he’s finished his other work. The response to help requests is always immediate and they do a great job finding and explaining the issues he may be having.”
With a track record of serving over 100,000 students across 120+ countries and maintaining an impressive 4.9 out of 5 rating from 350+ reviews, CodaKid has become a trusted resource for young coders worldwide.
Why Structured Learning Programs Matter
Platforms like CodaKid offer several advantages over piecing together knowledge from random online tutorials. For starters, structured curriculums ensure that students build a strong foundation before progressing to more advanced topics. This creates a natural connection between the basics and practical Unity development.
Another major benefit is expert guidance. When young coders face complex challenges, professional instructors can step in to pinpoint the problem and provide clear solutions. This kind of support prevents frustration and keeps kids from abandoning their coding journey. Parent Jennifer H. emphasized this point:
“We LOVE CodaKid. We couldn’t even imagine a better experience. People are amazing – very warm, supportive and enthusiastic. And the program that they have designed is fabulous. My kids have attended several other programs and say CodaKid far surpasses the others.”
Structured programs also offer safe learning environments, shielding young learners from the inappropriate content and negativity that can sometimes be found in free coding forums. Additionally, students naturally build project portfolios as they progress, creating a cohesive body of work that showcases their growing skills.
Finally, these programs provide motivation and accountability, which are crucial for tackling challenging concepts. As parent Ci Tro noted:
“My 12 year old loved their Minecraft programming course. It kick-started his interest in computer science. A huge plus for busy parents is the outstanding and swift support from CodaKid. No frustrating long deadlock, but friendly, competent help to keep the kids going and exploring. Brilliant!”
Conclusion (Unity Coding for Kids)
Learning to code with Unity offers young programmers a chance to combine the thrill of creating games with the development of essential technical skills. By working on hands-on projects like virtual Rube Goldberg machines, physics-based puzzles, endless runners, and escape room challenges, kids not only unleash their creativity but also strengthen their computational thinking and technical abilities. Research even suggests that coding can improve problem-solving skills by an impressive 70%.
These experiences go beyond just fun – they prepare kids for a world increasingly shaped by technology. Whether it’s gaining an edge for college admissions or laying the groundwork for a career in tech, the skills developed through Unity projects can translate into valuable opportunities in a fast-growing industry.
Programs like CodaKid take this learning a step further, offering structured, project-based lessons that bridge the gap between beginner tutorials and advanced coding skills. By using industry-standard tools and programming languages, these programs help kids build practical coding expertise that can grow into professional-level competencies.
FAQs (Unity Coding for Kids)
Why is Unity a great tool for teaching kids how to code?
Unity is a fantastic tool for introducing kids to coding, blending creativity with practical programming skills. It gives young learners the chance to design their own games and interactive projects, making the learning process both enjoyable and immersive. Plus, Unity uses C#, a widely-used programming language, which sets kids up with skills they can carry into future projects or even careers.
What makes Unity stand out is how it brings code to life in vibrant 3D environments. Kids get to see the immediate results of their work, which makes learning feel both fun and rewarding. And with its beginner-friendly features and a wealth of resources, Unity is accessible even to those who are just starting their coding journey.
How can parents check if their child’s computer can run Unity smoothly?
To make sure your child’s computer can handle Unity smoothly, start by reviewing Unity’s minimum system requirements, which can be found on their official website. As a rule of thumb, a computer with a modern multi-core processor, at least 8GB of RAM, and a dedicated graphics card is ideal, especially for 3D projects. Also, keep in mind that Unity projects can take up a lot of storage space, so having ample free disk space is important.
It’s equally essential to check that the operating system is updated and compatible with the version of Unity your child plans to use. A simple way to test the computer’s performance is by running Unity with a small project. If you’re still uncertain about the setup, reaching out to Unity’s support team or consulting a tech expert can provide additional clarity.
How can I keep kids motivated and excited while learning Unity coding through step-by-step projects?
Keeping kids engaged while learning Unity doesn’t have to be complicated. The key is to make the experience enjoyable and centered around their interests. Let them dive into projects that excite them and encourage their creativity. Celebrate even small wins to build their confidence and keep the momentum going.
Be there to offer support when they hit a roadblock – this helps prevent frustration and keeps the learning process smooth. Encourage them to experiment and explore within Unity. This not only sparks curiosity but also gives them a sense of control and ownership over their learning journey.