Table of Contents
Minecraft Modding for Kids: A Parent’s Guide
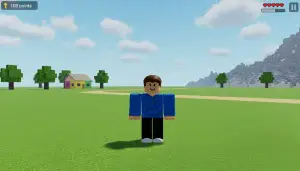
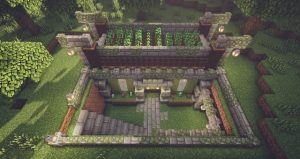
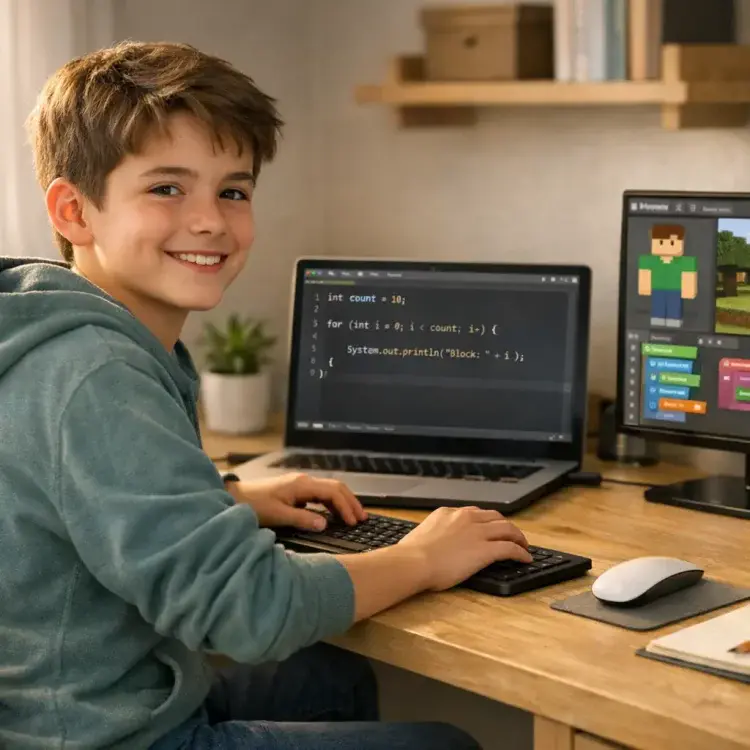
Minecraft modding is a great way for kids to learn coding while having fun. Instead of starting with basic exercises like “Hello World”, kids can create custom game features – like tools, blocks, or mobs – in Minecraft. This approach combines creativity with programming fundamentals, offering immediate feedback as their ideas come to life in the game.
Here’s how it works:
- Skills Learned: Variables, loops, conditionals, functions, and problem-solving.
- Tools Needed: Minecraft Java Edition, Java Development Kit (JDK 17), Minecraft Forge, and an IDE like Eclipse or IntelliJ IDEA.
- Beginner Options: Tools like MCreator allow coding without writing Java. Blockbench helps design 3D models and textures.
- System Requirements: A 64-bit PC or Mac with at least 2GB-4GB allocated RAM for smooth gameplay.
For homeschoolers, platforms like CodaKid offer structured, self-paced courses and hands-on projects, making coding accessible even if parents have no programming background. Kids learn Java while building mods, gaining skills that align with professional programming tools. Whether creating a custom sword or debugging code, Minecraft modding turns learning into an engaging adventure.
Best Coding Curriculum for Kids & Teens (2026 Roadmap): Roblox, Minecraft, Python, AI
Getting Started with Minecraft Modding For Kids at Home
Getting Started with Minecraft Modding: Essential Tools and Setup Guide
Before diving into the world of Minecraft modding, it’s essential to set up the right tools and environment. Here’s a guide to help you get started with everything you’ll need.
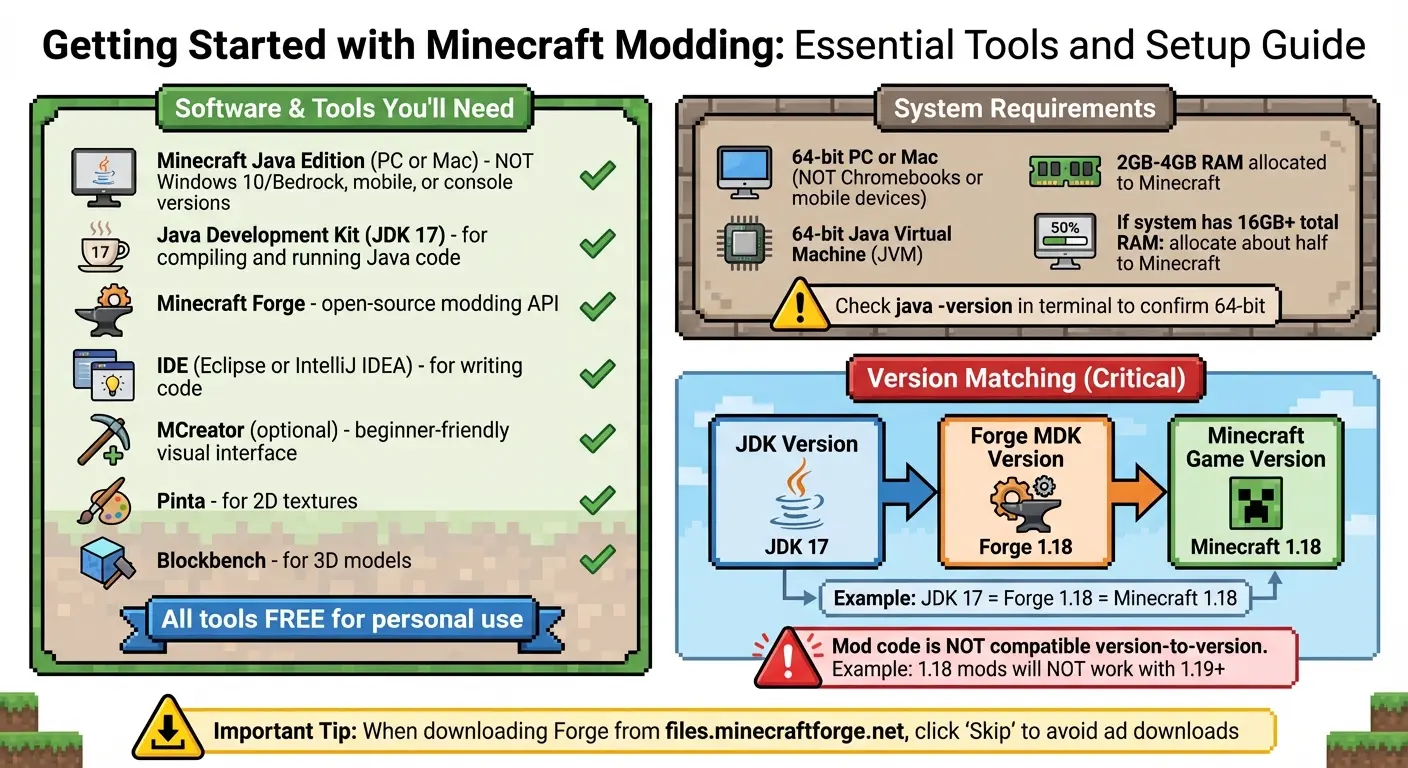
Software and Tools You’ll Need
To mod Minecraft, you’ll need the Minecraft Java Edition for PC or Mac. Keep in mind that the Windows 10 (Bedrock), mobile, and console versions don’t support the Forge modding tools.
You’ll also need the Java Development Kit (JDK) 17, which is necessary for compiling and running Java code – especially for mods targeting Minecraft version 1.18. Another must-have is Minecraft Forge, an open-source modding API that connects your custom mods to the game. For writing and managing your code, a professional Integrated Development Environment (IDE) like Eclipse or IntelliJ IDEA works best.
If you’re not ready for text-based coding, you can use MCreator, a beginner-friendly tool with a block coding interface. To design textures and 3D models for your mods, Pinta (for 2D artwork) and Blockbench (for 3D models) are great options. The best part? All these tools are free for personal use.
When downloading Forge from files.minecraftforge.net, be cautious of ads. Click “Skip” when the option appears to avoid unnecessary downloads.
System Requirements and Minecraft Version Setup
A 64-bit PC or Mac is essential for running tools like Eclipse and Forge MDK – Chromebooks and mobile devices won’t work. Additionally, you’ll need a 64-bit Java Virtual Machine (JVM) to avoid compatibility issues. You can confirm this by typing java -version in your terminal.
“Make sure you are using a 64-bit JVM… Using a 32-bit JVM will cause some problems when using ForgeGradle.” – Minecraft Forge Documentation
Matching versions is also critical. As CodaKid explains, “As a rule of thumb, Minecraft mod code is not compatible from version to version. For example, 1.18 mods will not work with 1.19 and above”. This means your JDK version, Forge MDK version, and Minecraft game version must all match. For instance, if you’re modding Minecraft 1.18, you’ll need Forge 1.18 and JDK 17.
To ensure smooth gameplay when running mods, allocate more RAM to Minecraft (between 2GB to 4GB). If your system has 16GB or more of total RAM, consider dedicating about half of it to the game for optimal performance.
How to Create Your First Minecraft Mod
Ready to dive into modding? Crafting your first Minecraft mod doesn’t demand expert programming skills. Thanks to beginner-friendly tools, you can jump right in using visual interfaces instead of complicated code.
Installing MCreator and Blockbench
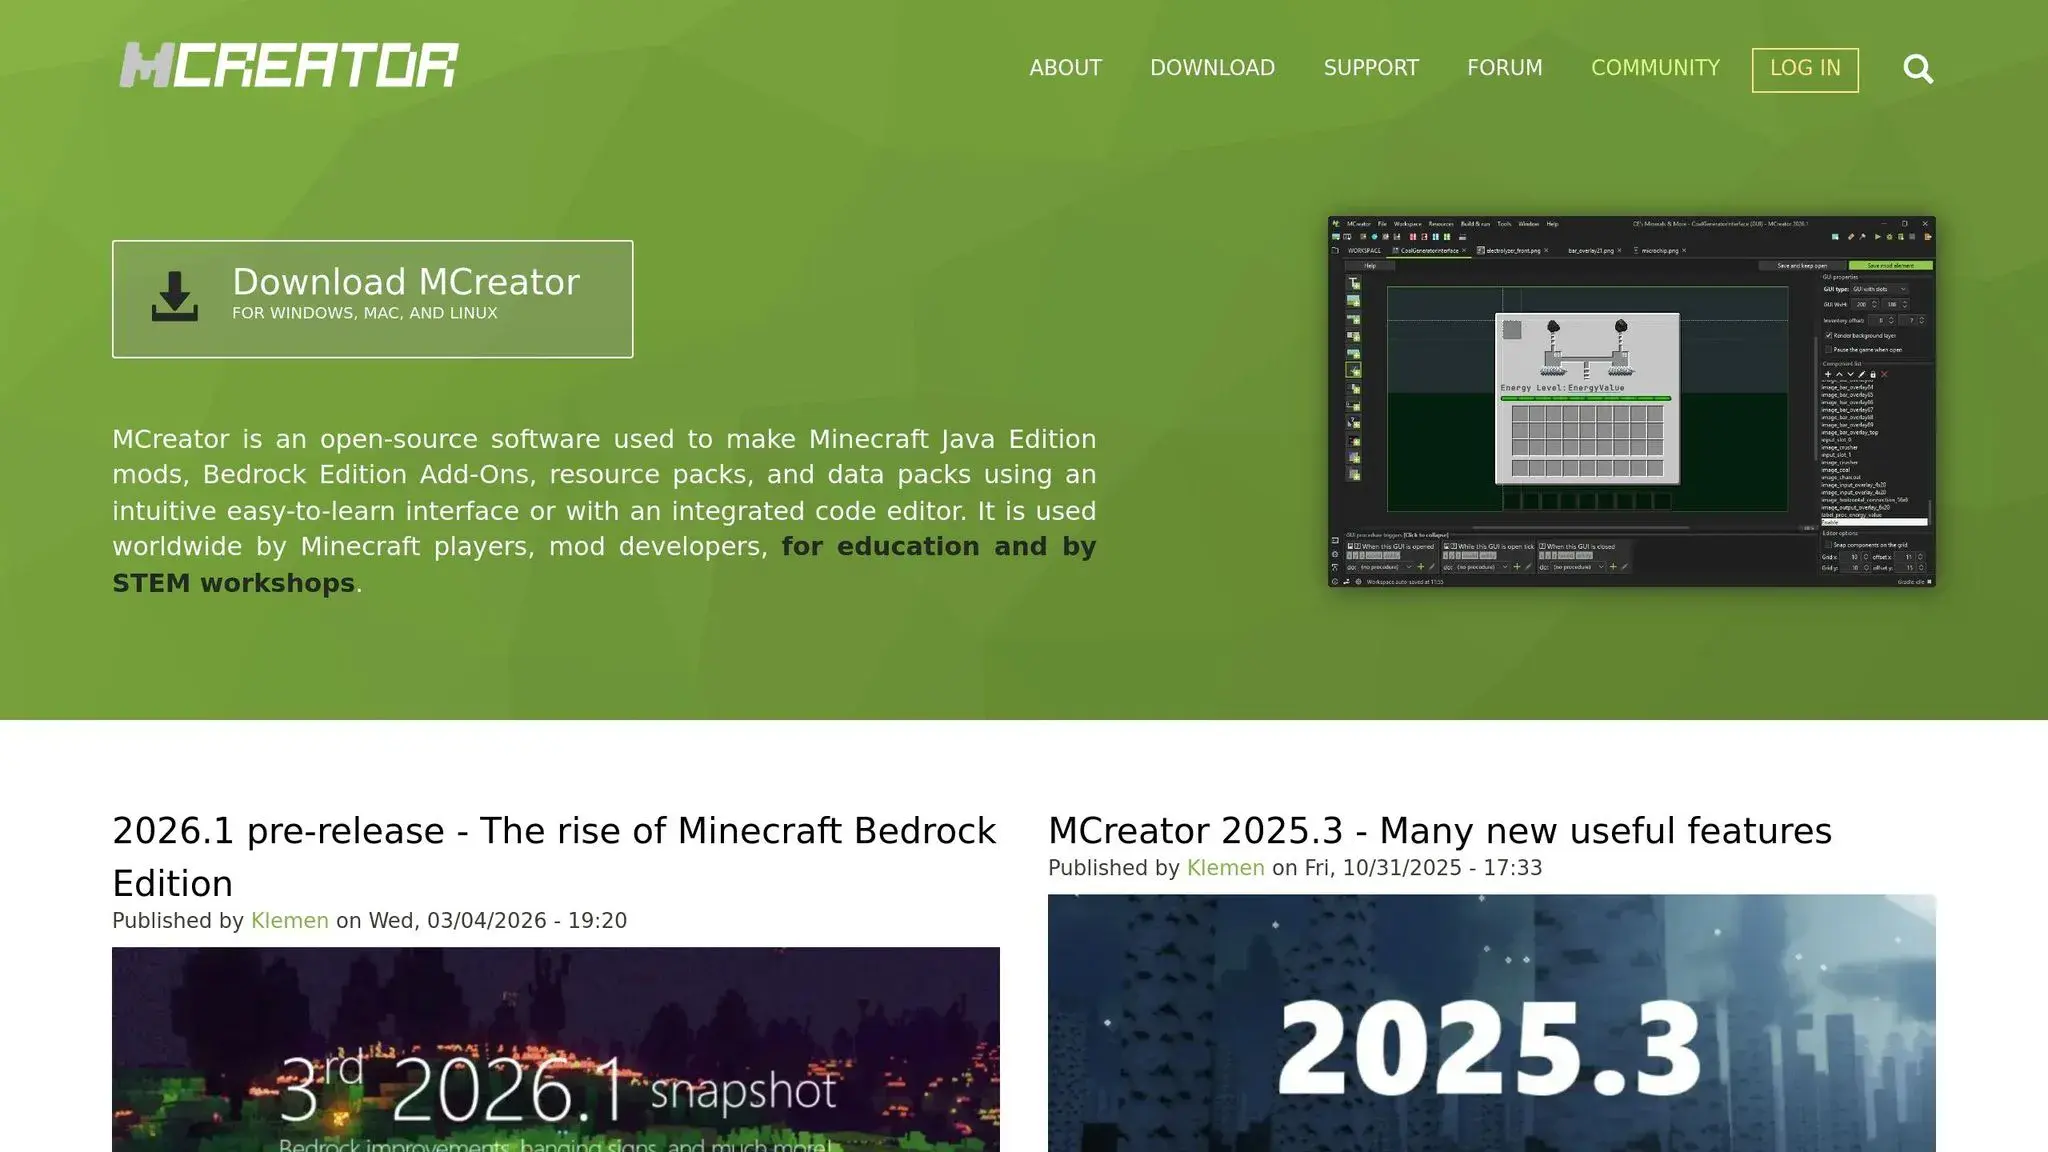
MCreator is a free tool designed to help you create mods without needing to write Java code. Head to its official website, download the program, and install it. MCreator sets up your workspace automatically, including configuring the Forge or NeoForge mod loaders you’ll need.
“Using MCreator mod generator, you can make Minecraft mods, Bedrock Edition Add-Ons, Minecraft resource packs, and data packs without a single line of code.” – MCreator
For creating custom 3D models and textures, Blockbench is your go-to tool. You can download its desktop version or use the web app directly in your browser – no installation required.
To keep things organized, create a separate game directory in the Minecraft Launcher specifically for your mod files.
With these tools in place, you’re ready to start designing the visual elements of your mod.
Creating Custom Textures and Blocks
Blockbench offers three modes to help you design custom objects. In Edit Mode, you can add, move, and resize cubes to shape your block or item. Once you’re happy with the structure, switch to Paint Mode to apply colors and textures pixel by pixel.
The UV Mapping process is where your 3D model gets “flattened” to align with a 2D texture – think of it like wrapping paper for your block. While it might feel a bit tricky at first, Blockbench’s visual tools make it easier to grasp. Be sure to finalize your block’s shape before applying textures, as changes later on can mean redoing your work.
To keep things neat, use the Outliner panel to group cubes into “bones.” This hierarchy is especially useful for managing more complex models. Once your design is complete, import your model and texture into MCreator, where you can assign behaviors to make your block functional.
With your visuals ready, it’s time to add interactivity using Blockly.
Coding Procedures and Events with Blockly
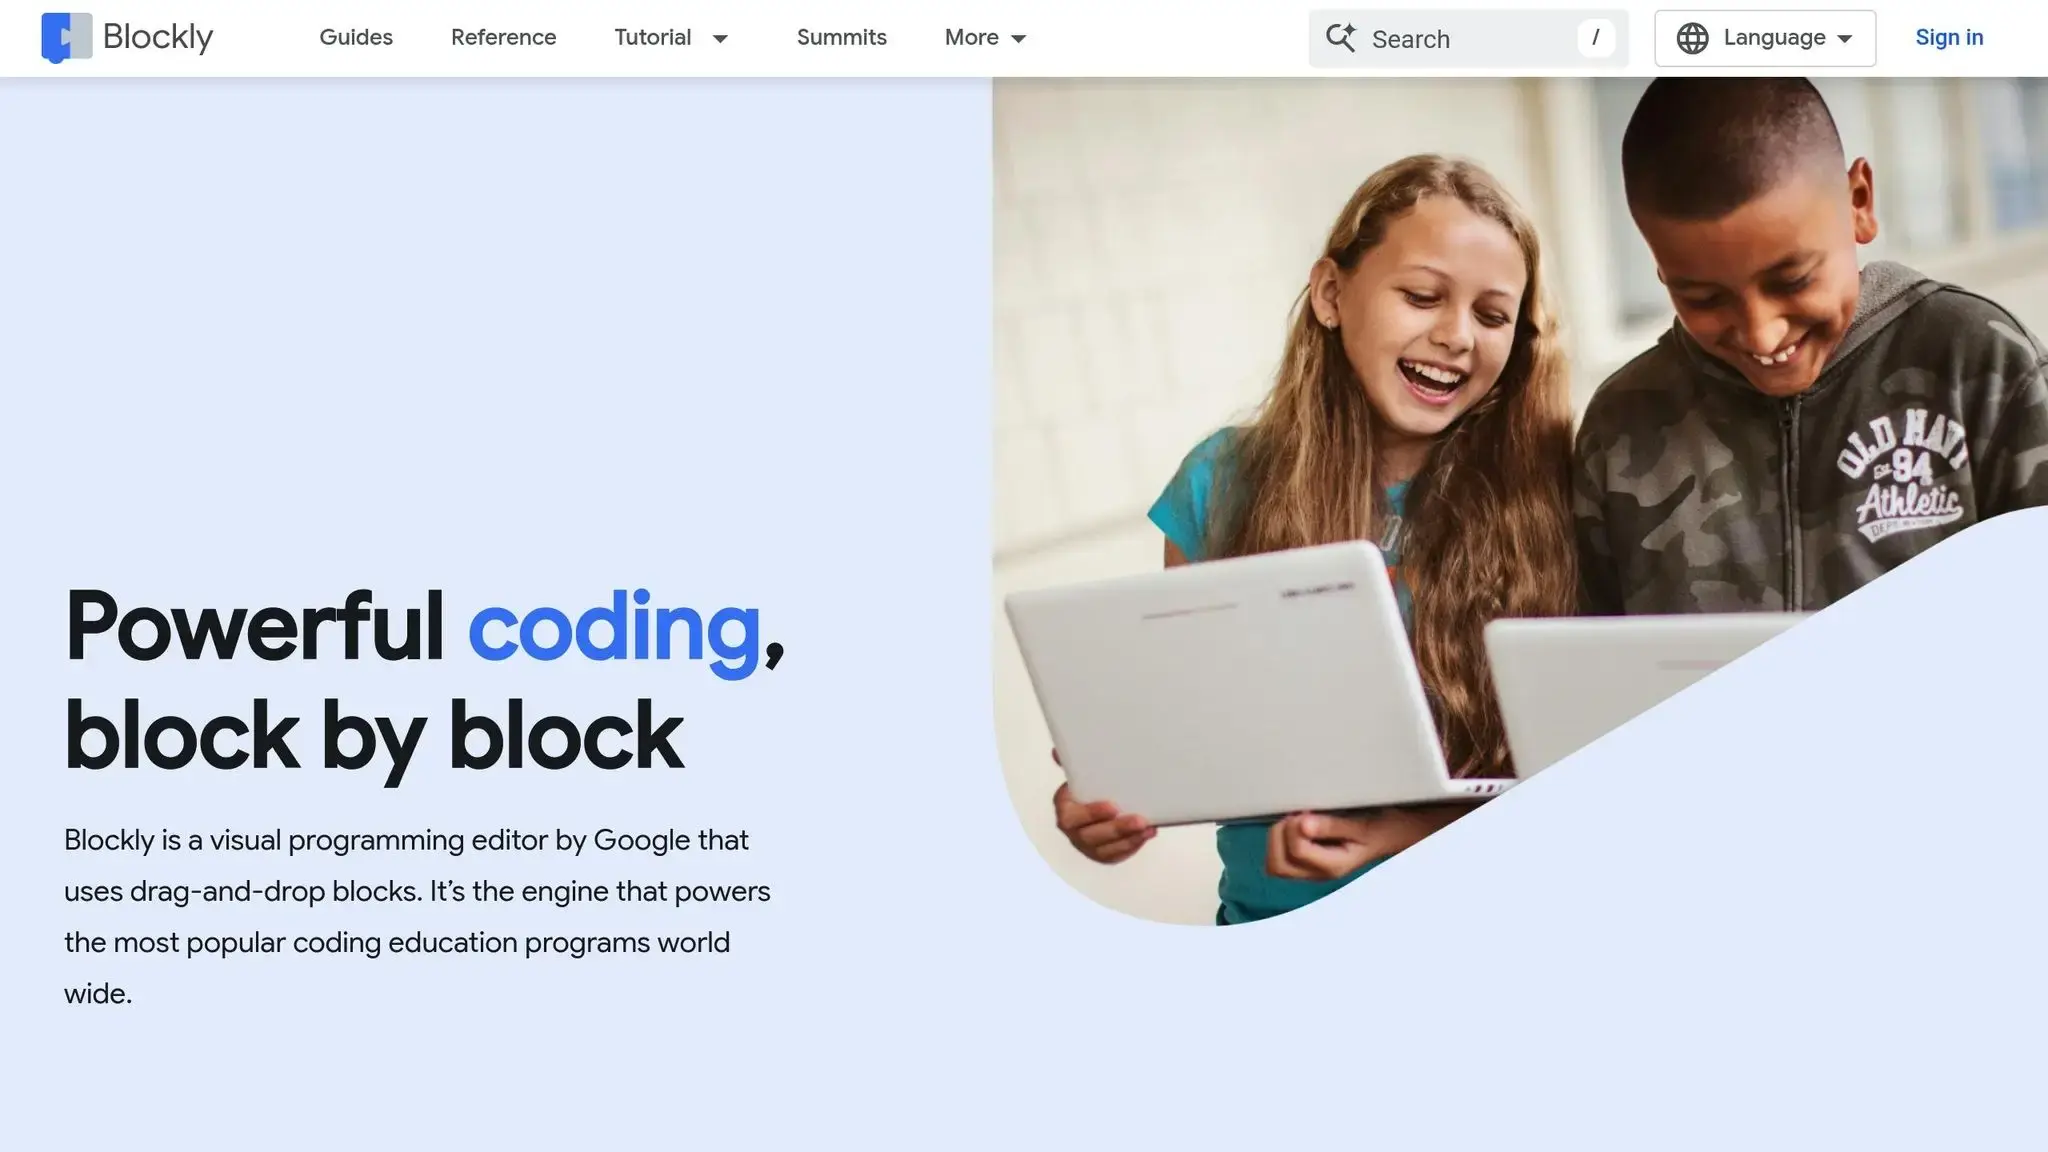
MCreator simplifies coding with Blockly, a drag-and-drop tool similar to Scratch. Instead of typing out lines of code, you snap together colorful blocks that represent programming elements. These include variables (to store information like a sword’s damage), conditionals (for if-then scenarios), and loops (to repeat actions).
Events are triggers that tell your mod when to perform an action. For instance, you can create an event that activates when a player breaks a specific block, causing an item to spawn or a sound to play. Procedures define what happens when these events occur – like making a block explode when touched or granting a player special effects upon crafting a custom tool.
To make things even easier, Blockbench’s “Minecraft Block Wizard” plugin provides templates for new projects, while MCreator’s WYSIWYG (What You See Is What You Get) editors let you preview changes as you work. This hands-on, visual approach helps you grasp coding concepts without worrying about syntax, making it perfect for beginners exploring coding for elementary students through Minecraft.
Coding Concepts Learned Through Minecraft Modding for Kids
This section dives into the essential coding skills kids can pick up while creating mods for Minecraft, building on the steps they follow during the modding process.
Minecraft modding introduces foundational programming concepts that professional developers rely on daily. By working on mods, students start applying variables to store information, loops to handle repetitive tasks, and conditionals to add decision-making logic to their creations.
Variables, Loops, and Conditionals
These three concepts are at the heart of nearly every programming language. Variables work as labeled containers, holding data like a player’s score, an item’s durability, or even a weapon’s name. Loops allow students to automate repetitive actions, making tasks like building long railways or placing blocks for a massive structure much more efficient. Conditionals bring “if-then” logic into play, enabling mods to respond dynamically to situations – for example, triggering an explosion only when a specific mob steps on a block.
One of the best parts of learning through Minecraft is the instant feedback students receive. David Dodge, CEO and Founder of CodaKid, explains:
“Minecraft Modding with Java allows students to get the nearly instant feedback of placing their creation into the Minecraft game and have fun with their code”.
This immediate visual feedback not only makes learning more engaging but also builds confidence faster than traditional coding exercises like printing “Hello World.” Once students grasp these basics, they can move on to mastering functions and sharpening their problem-solving abilities.
Functions, Logic, and Problem-Solving
Modding teaches students to organize their code using functions (also known as methods) – reusable sections of code designed to perform specific tasks. Instead of writing the same instructions repeatedly, students can create a single function to handle tasks like building a fenced pigpen.
Beyond just learning syntax, modding fosters critical problem-solving skills through debugging. When a mod doesn’t work as intended or crashes, students practice identifying the issue, planning a fix, and testing their solution.
“The issue of debugging code provides students with an opportunity to diagnose issues, plan solutions, and then test their work”, says Dodge.
This trial-and-error process helps develop patience, logical thinking, and resilience – key traits for any tech-related career. These skills also prepare students to tackle more advanced projects, such as creating custom tools or programming NPC behavior.
Building Custom Tools, Weapons, and NPCs
Once students understand the basics of variables, functions, and logic, they can begin working on more advanced and interactive mods. These projects often require decomposition, where students break big challenges into smaller, manageable tasks. For example, designing a custom sword with special properties involves planning its features, coding its behavior, and testing how it interacts with the game.
At this stage, learners are introduced to object-oriented programming (OOP). Using classes as blueprints, they define how custom tools, armor, or NPCs behave. Since Minecraft is built with Java, one of the most widely used programming languages globally, students gain experience with professional tools like the Eclipse IDE – the same software engineers use at major tech companies. With over 100,000 students trained by CodaKid, these skills extend far beyond gaming, laying a solid foundation for real-world software development.
Using CodaKid Minecraft Modding Courses for Homeschool Kids

Many homeschooling families are incorporating Minecraft modding into their curriculum to teach coding in an engaging way. To make this process easier, CodaKid offers a structured approach that simplifies coding education. Known for its high ratings, the platform provides flexible learning options tailored to homeschooling needs.
Self-Paced Courses for Flexible Schedules
CodaKid’s self-paced courses allow families to integrate coding into their routines without the pressure of fixed schedules. For $29 per month, students gain unlimited access to over 85 courses, covering everything from beginner-friendly tools like MCreator and Blockly to advanced Java programming. These courses include video tutorials and interactive projects, letting kids pause and resume lessons as needed – ideal for families balancing multiple subjects or extracurricular activities. Plus, lifetime access to materials and unlimited help desk support from certified teachers means students can learn independently, even if parents aren’t familiar with coding.
This flexibility has been a game-changer for many parents. Christy Lynn, a homeschooling mom, shared her experience:
“This has been a great addition to our home school curriculum! My son loves spending time in the program and even jumps back in after school when he’s finished his other work.”
For families seeking more direct support, CodaKid also offers personalized learning options.
Private 1:1 Lessons and Virtual Camps
For students who thrive with personalized attention, CodaKid provides private 1:1 lessons for $249 per month. These weekly sessions pair students with the same instructor, who tailors lessons to their pace and interests. This one-on-one approach reinforces skills from modding projects and prepares students for advanced challenges, such as coding custom Ruby items or developing mob AI.
CodaKid’s virtual camps offer a more collaborative experience. These week-long programs combine live instruction with group interaction, where students tackle team-based projects like creating custom NPCs or designing multiplayer world features. This group dynamic adds a social element to coding, which is especially valuable for homeschoolers who might otherwise miss out on peer interaction. Terrence Masson, another parent, highlighted this in his review:
“CodaKid is outstanding in the quality of its instructors and ease of operation; he’s doing Java coding for Minecraft mods and LOVES it.”
Moving from Beginner to Advanced Projects
CodaKid’s curriculum is designed to guide students from basic to advanced coding, mirroring the workflow of professional software developers. Beginners start with simple tasks like creating custom blocks and textures using visual tools. From there, they move on to intermediate projects, such as Lucky Blocks and Magic Armor, which introduce programming concepts like variables, methods, and arrays. Advanced courses tackle complex topics like custom biomes, inheritance, and special effects, all taught using Eclipse IDE – the same tool used by major tech companies like Google and Facebook.
With over 800 hours of unique student projects and accolades like the Parents’ Choice Gold Award and recognition as a CODiE Finalist for Best Coding Solution, CodaKid offers homeschooling families a proven way to integrate coding into their curriculum. This structured progression ensures that students build a solid foundation before advancing to more sophisticated projects, all without requiring parents to have any prior coding experience. It’s a seamless way to turn creativity into real-world coding skills.
Conclusion (Minecraft Modding for Kids)
Minecraft modding transforms coding from a dry, abstract task into an exciting, hands-on adventure that homeschoolers can genuinely enjoy. Instead of staring at dull text outputs, kids get to see their custom swords, exploding blocks, and quirky mobs come alive in a game they already love. This instant visual feedback keeps them hooked while boosting their confidence, turning coding into something that feels more like play than schoolwork.
But it’s not just about writing code. Modding helps kids develop problem-solving skills by teaching them how to break down complex challenges into smaller, more manageable steps. Along the way, they pick up a mix of skills – math, geometry, and programming fundamentals like loops, conditionals, and variables – all without it feeling like a chore. As David Dodge, CEO of CodaKid, explains:
“The magical moment when a child first sees and plays with an object in the game that they have created from scratch is a sight to see and inspires students to dig deeper.”
Even beyond the fun, Minecraft modding equips kids with tools and knowledge that could set them up for future tech careers. Using professional-grade platforms like Java and Eclipse IDE, they gain experience that mirrors the real-world tech landscape. Plus, research shows that kids learning to code through gaming retain 30% more information compared to traditional methods. This powerful combination of creativity and technical skill makes Minecraft modding a standout approach to learning.
FAQs (Minecraft Modding for Kids)
What age is best to start Minecraft modding?
The best time to dive into Minecraft modding is typically around age 9. Many learning programs cater to kids 8 and older, though some simpler options are available for children as young as 6. These beginner-friendly courses help young learners develop basic coding skills while enjoying the creative world of Minecraft.
How can my child move from MCreator to real Java mods?
To help your child get started with Java programming, consider using beginner-friendly tools like those provided by CodaKid. Start with the fundamentals – concepts like variables, loops, and conditionals – by working on fun, hands-on projects such as Minecraft modding. This approach keeps learning engaging and interactive.
Once they’ve grasped the basics, guide them toward creating their own custom mods using Java, moving away from drag-and-drop platforms. Encourage consistent practice to help them gain confidence and eventually craft fully functional mods on their own.
How do I fix Minecraft crashes after adding a mod?
If Minecraft is crashing after adding a mod, start by reviewing the crash logs to pinpoint the error. Check that the mod is compatible with both your Minecraft version and the Forge version you’re using. Make sure you’ve installed the correct version of Forge, as mismatched versions often cause problems.
If the logs highlight missing dependencies or conflicts, address those issues by downloading the required files or removing conflicting mods. Update any outdated mods, as older versions might not work with newer game updates. After making changes, test the game one step at a time to isolate the root cause of the crash.